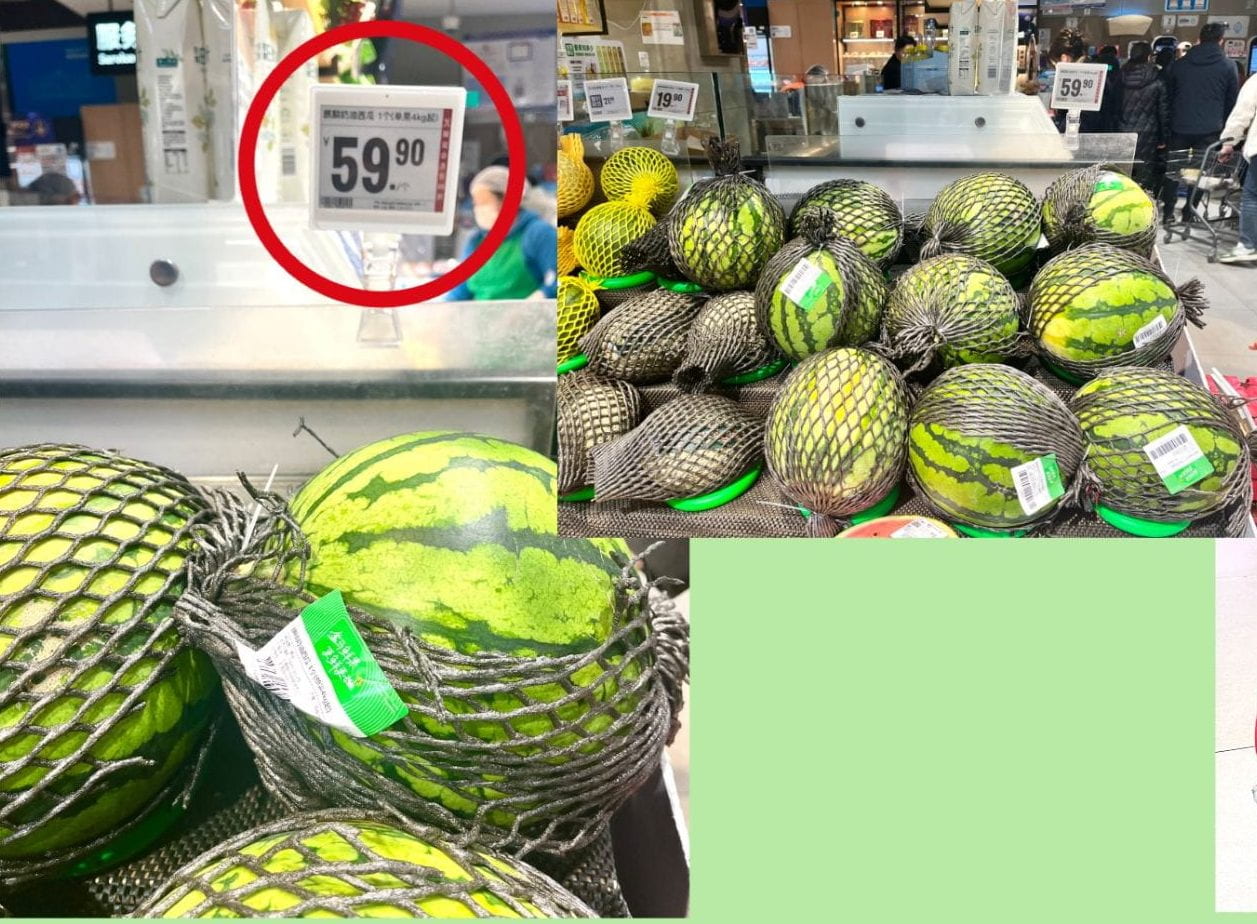
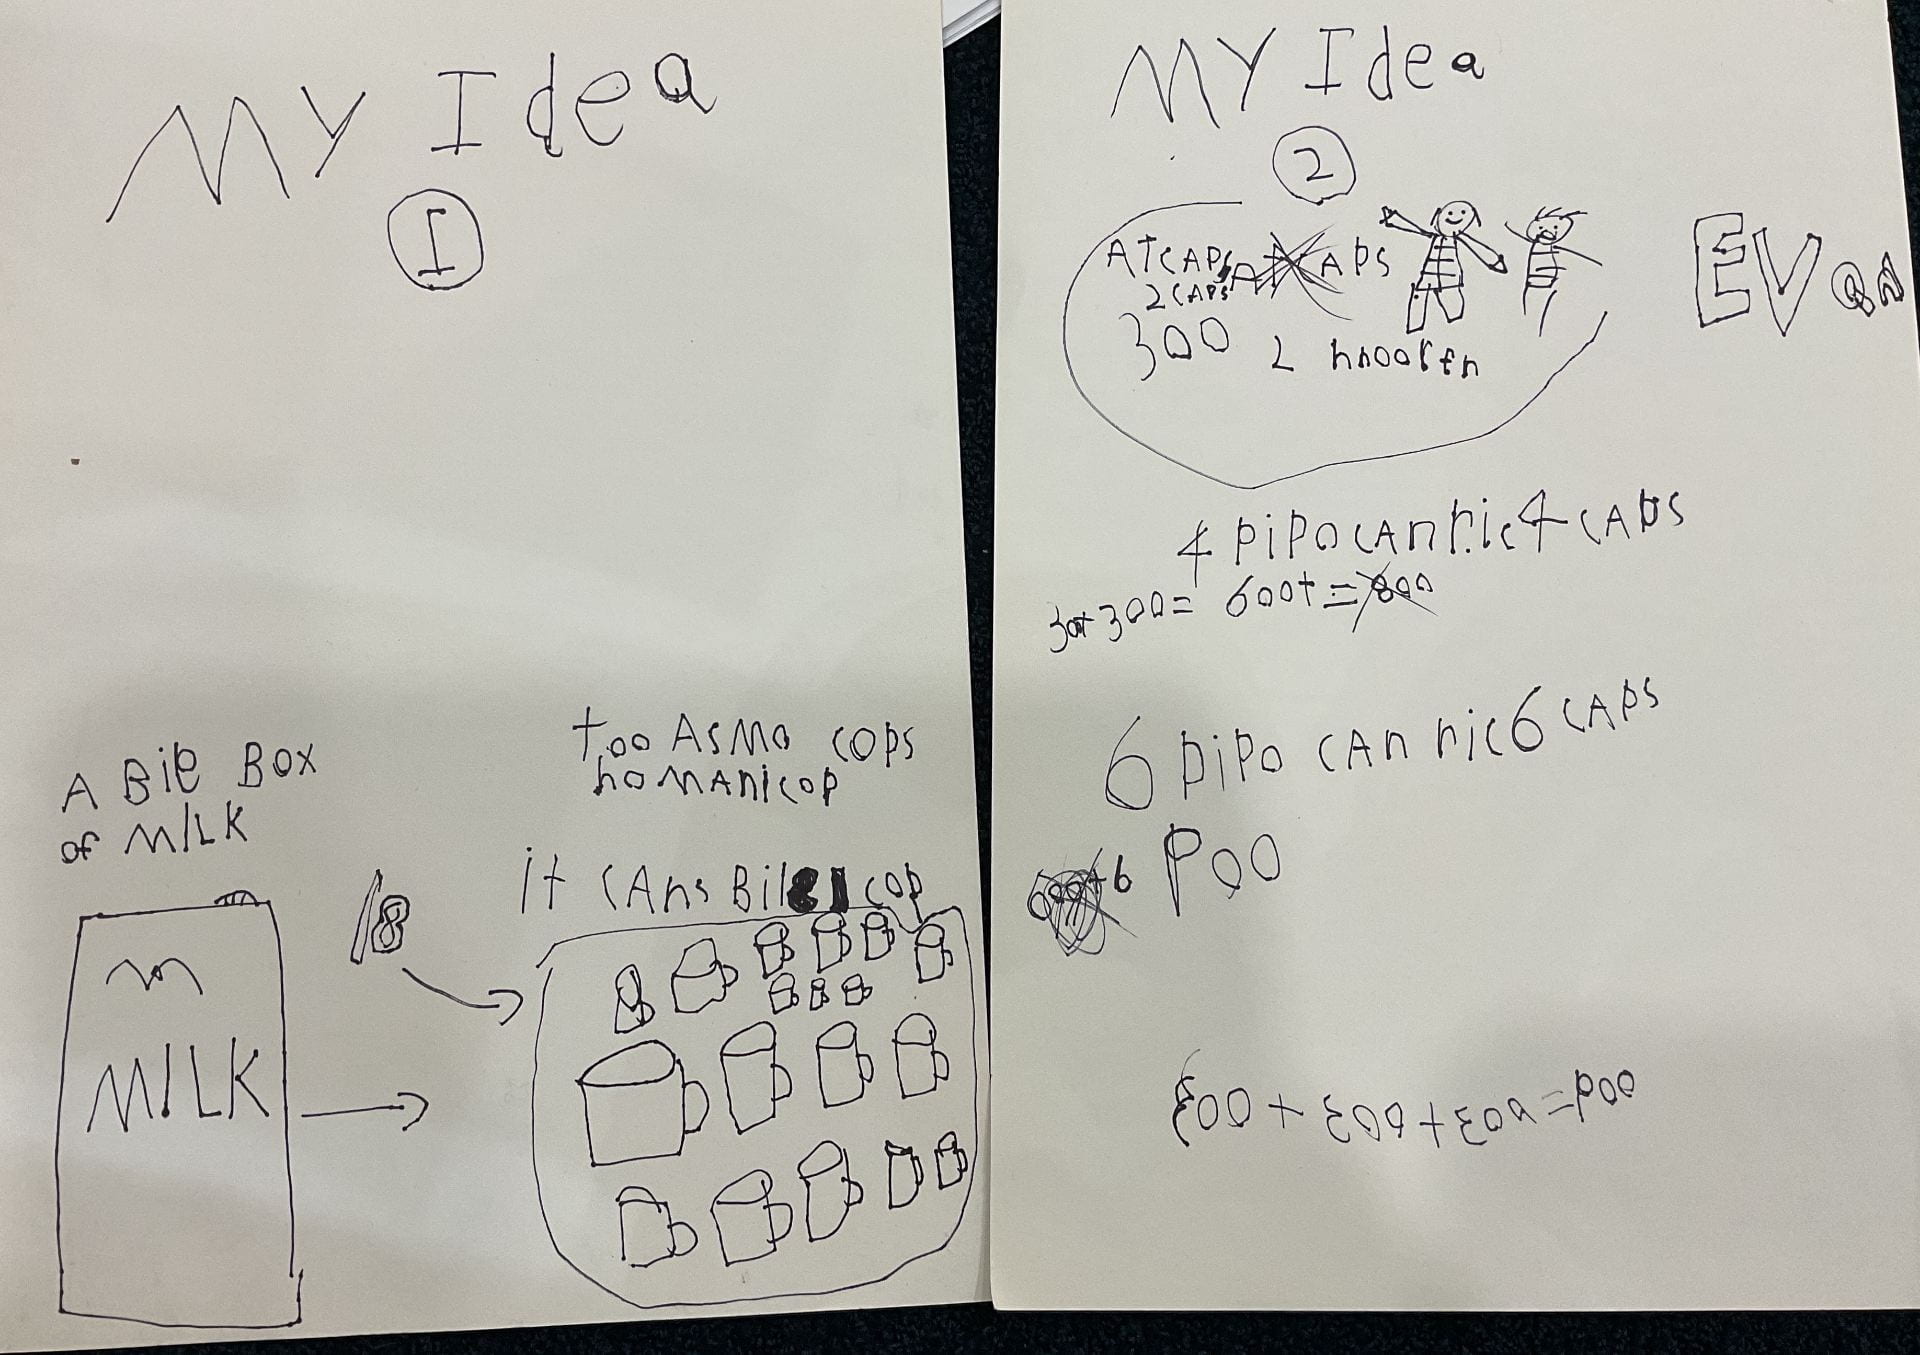
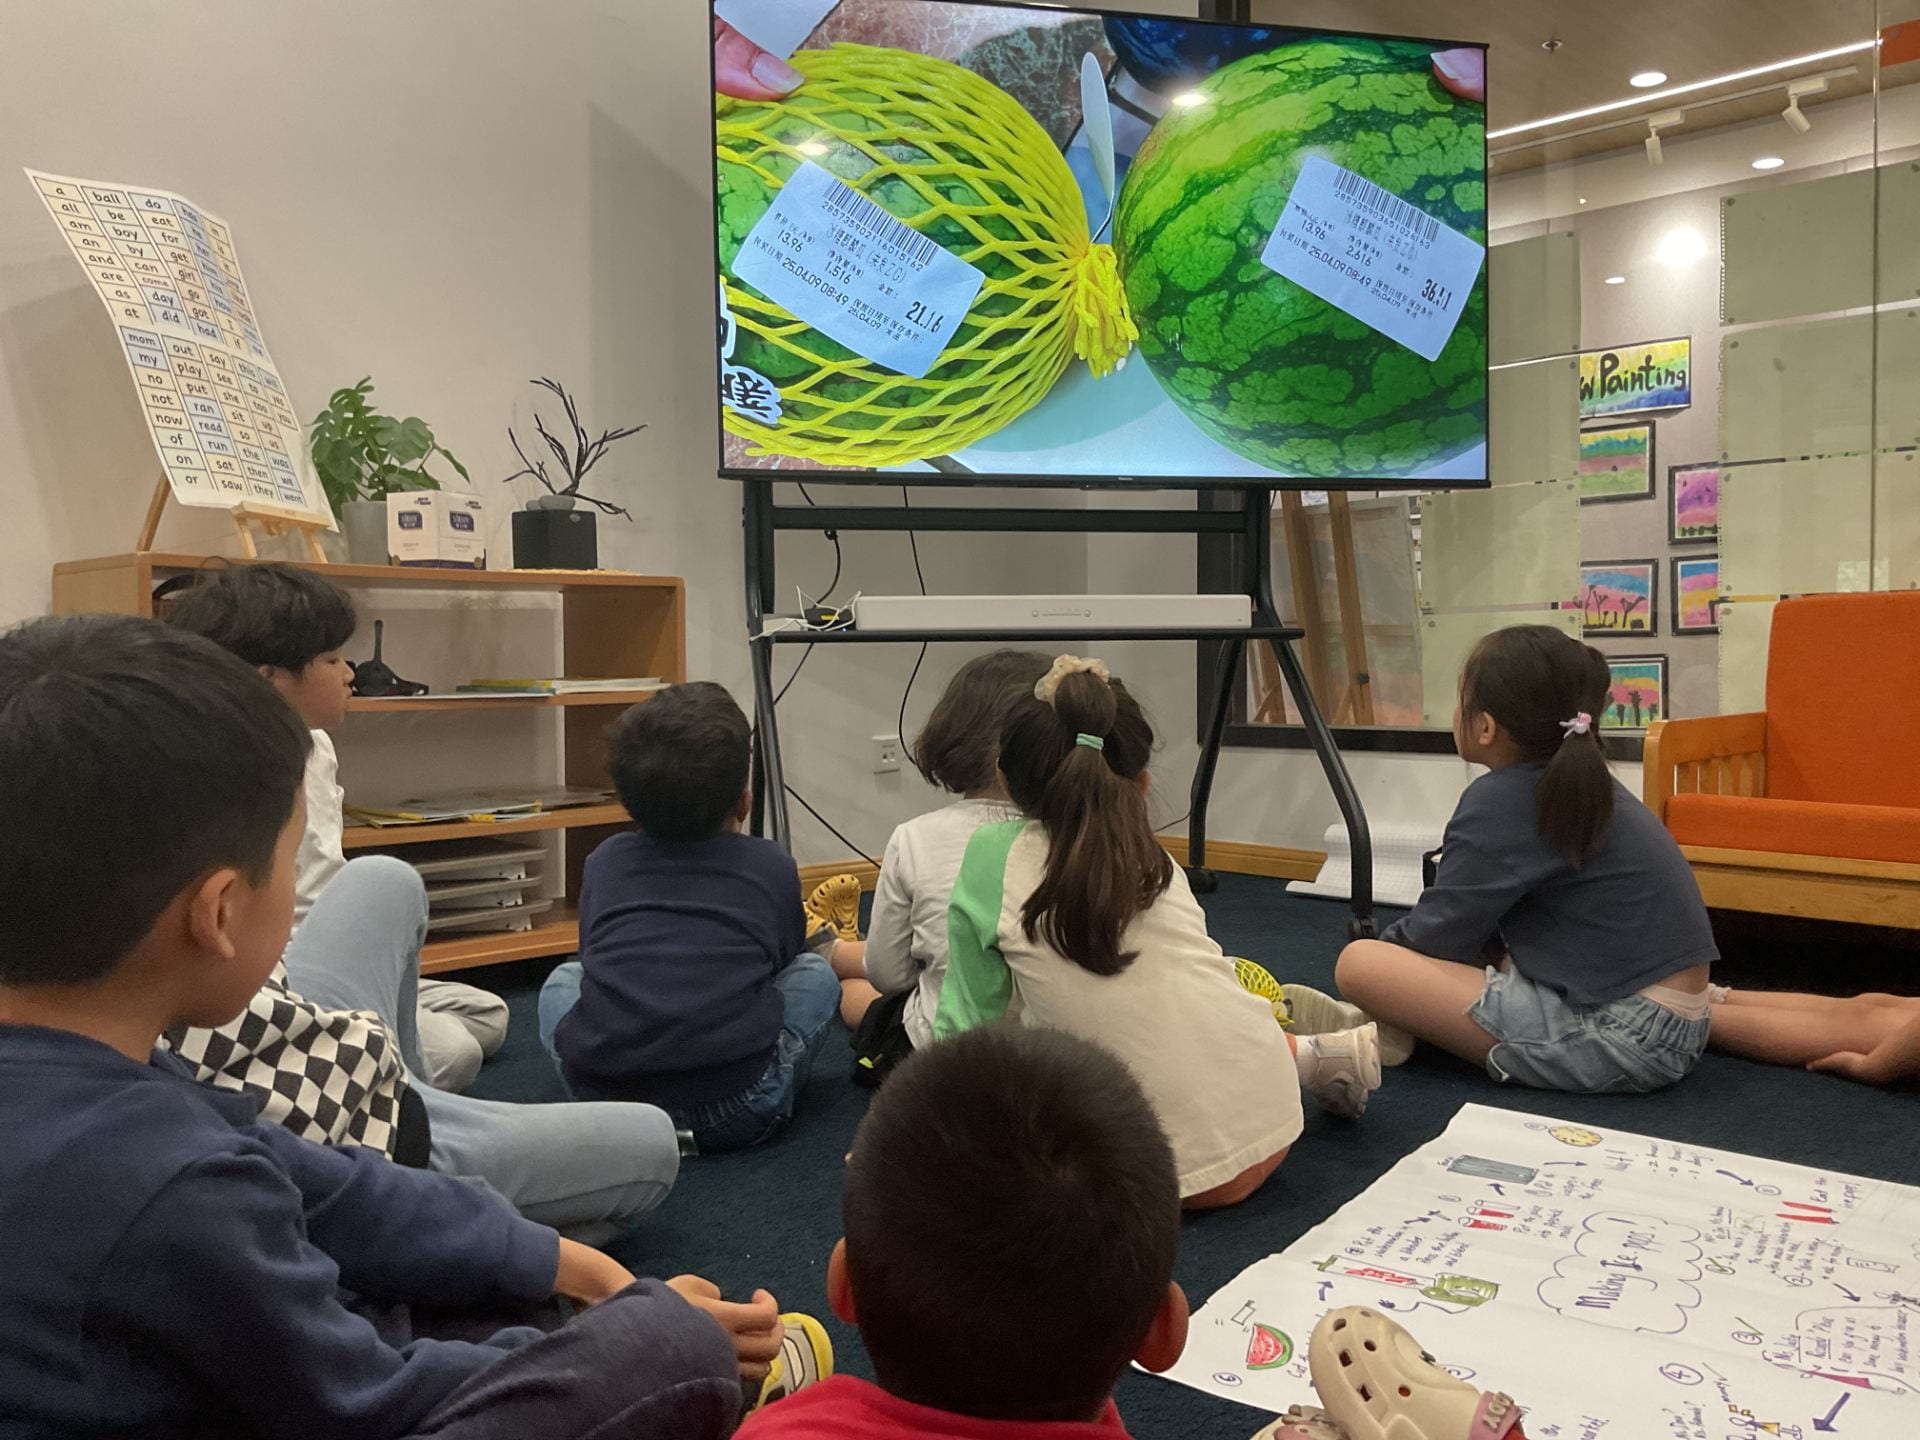
How many watermelons can we purchase for RMB59?
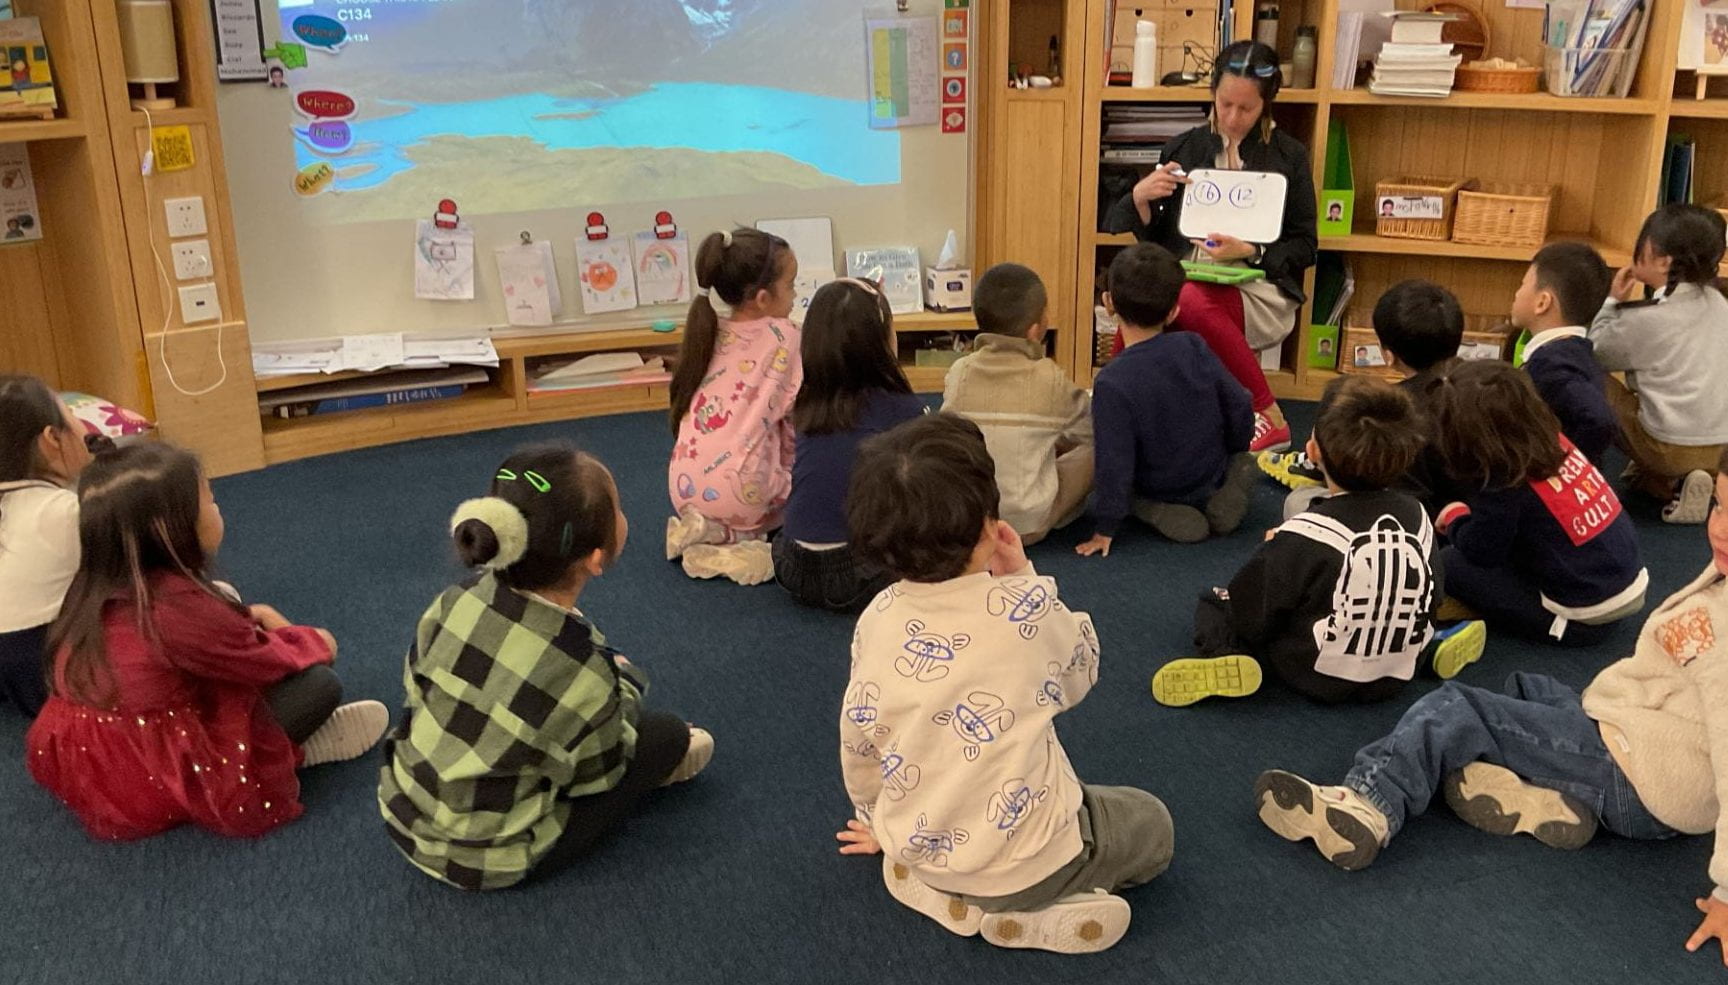
The children have been engaged in various activities related to ‘The Challenge Project’. Different teams will work on specific aspects of the project to help us stay organised. Following on from our inquiry into money, we were now ready to purchase the watermelon. It was time for us to have a small team walk across to the supermarket to buy the watermelon.
 The shopping crew updated the others on their trip to the supermarket.

-

- Suzy “This is NIS and this is where we buy the watermelon. We have the watermelon and give the RMB and then we will go into NIS again.”
-

- Isabella “First, we got to the Suguo supermarket. Second, we got in the Suguo and we figured out which one we can buy.”

- Riccardo “We went out of NIS.”
- Jacob “We crossed the road. We walk over the walkway. Ms. Hannah helped us. The security guards helped us, he stopped the cars and we can go across the road.”
- Isabella “We got to Suguo and we need to find the watermelon.”
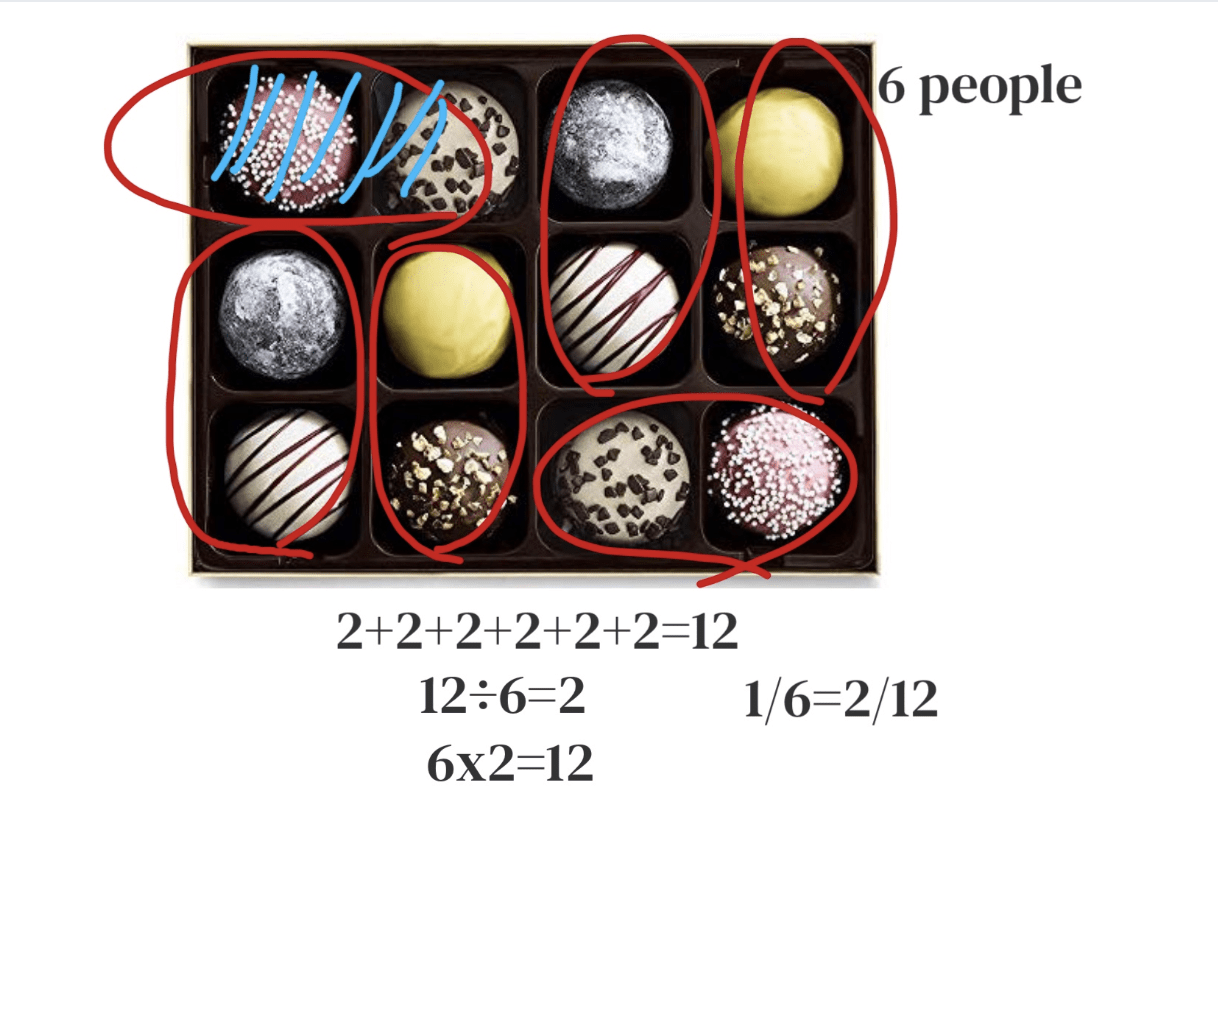
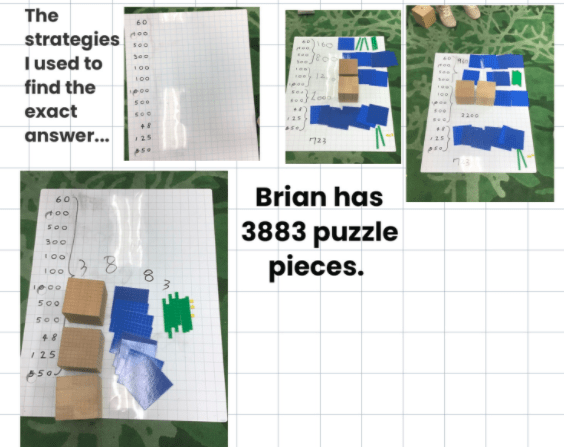
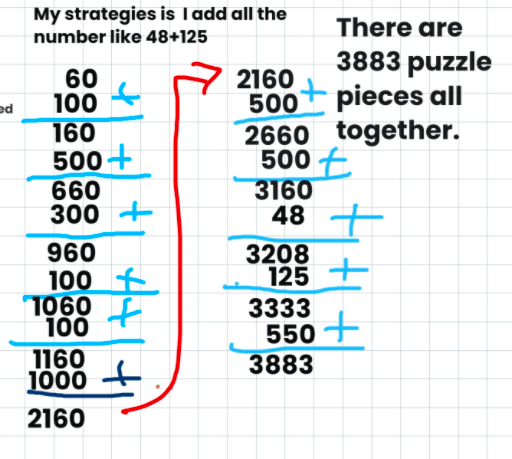
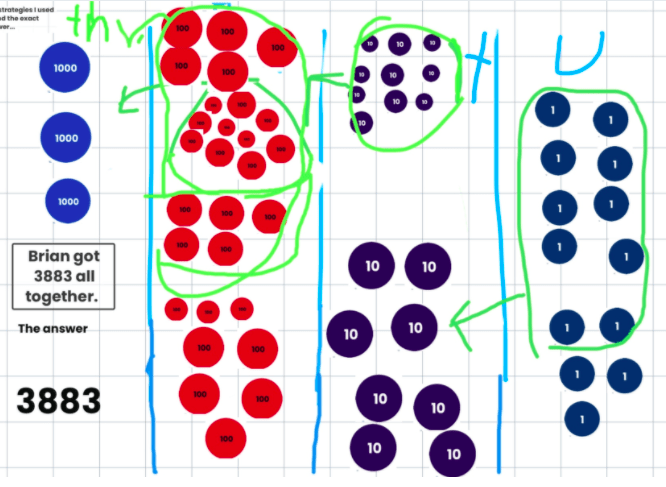
- Adalyn “We need to check the money. We had 59 RMB.
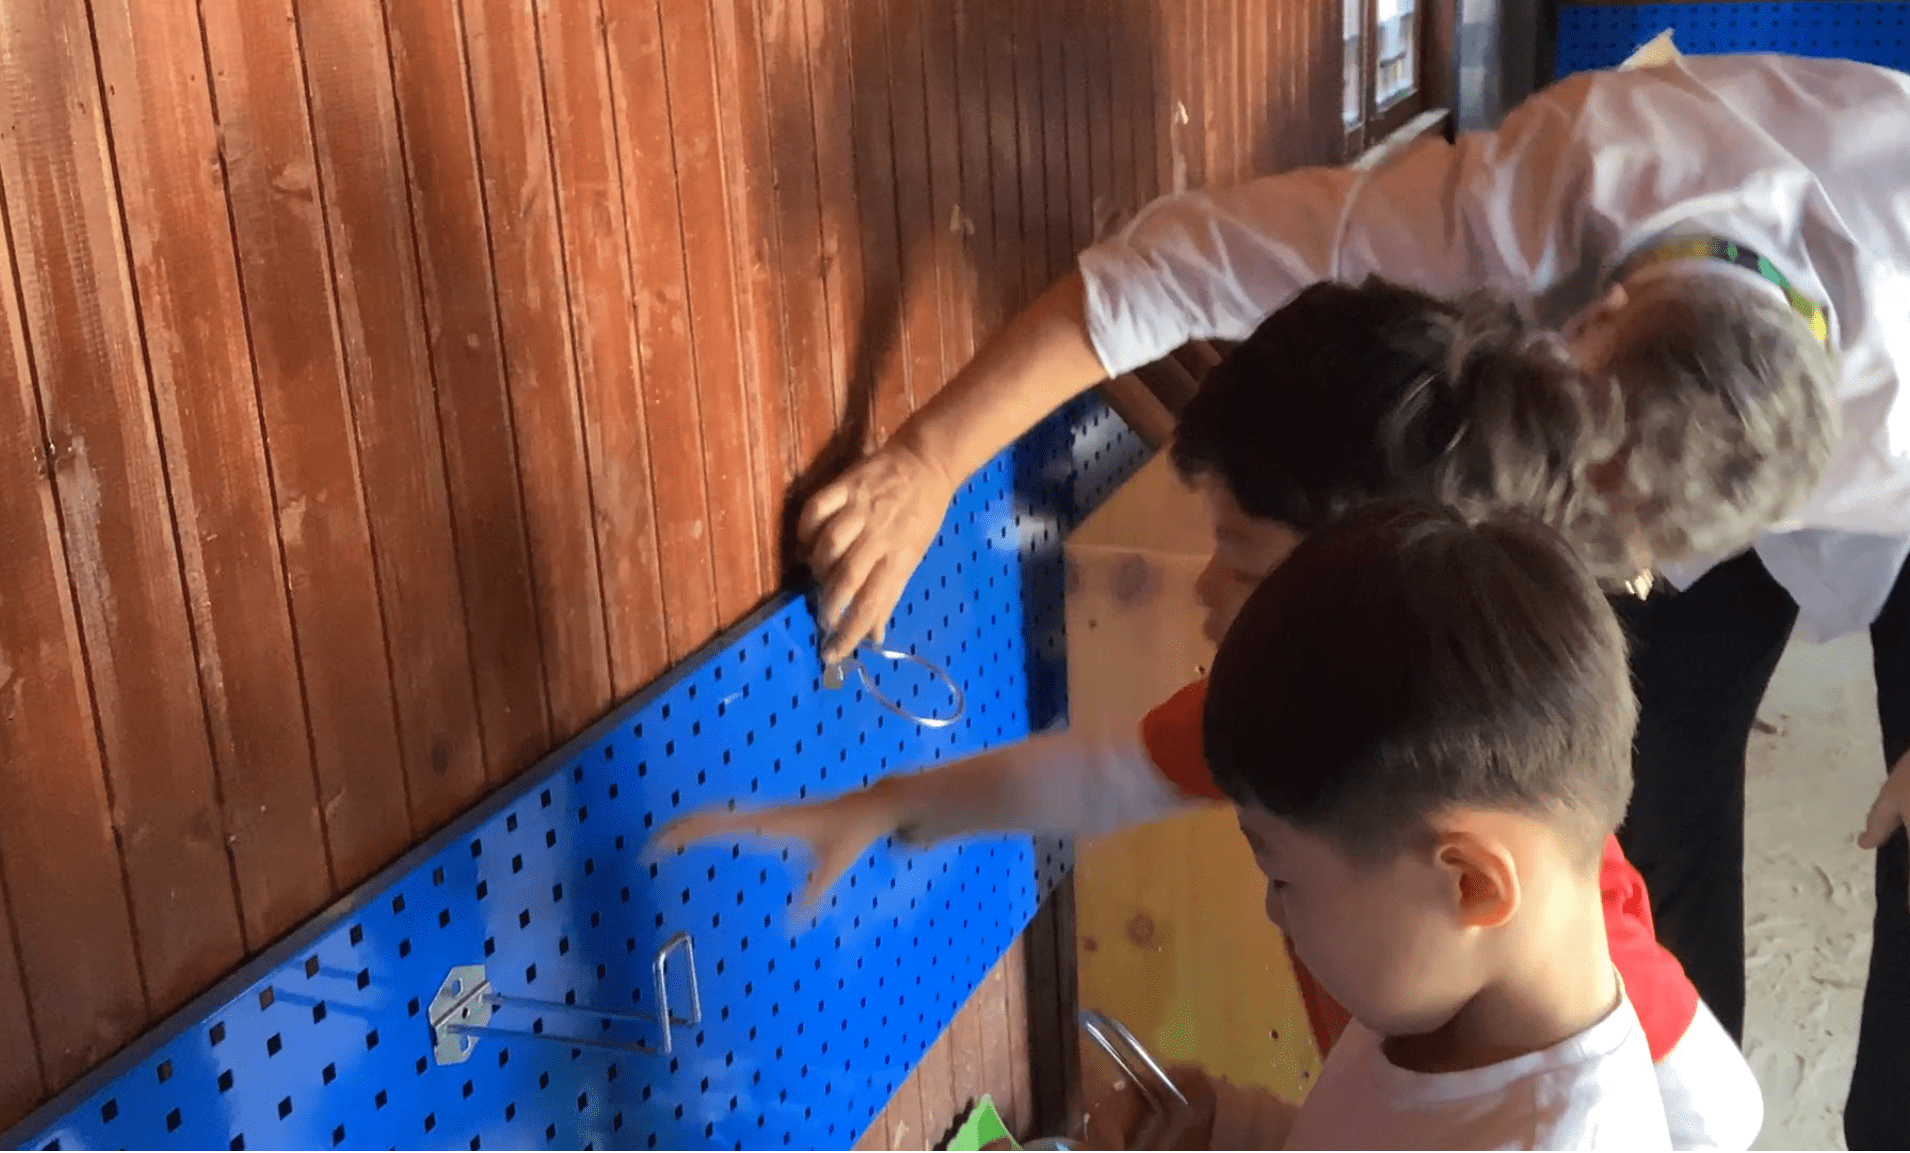
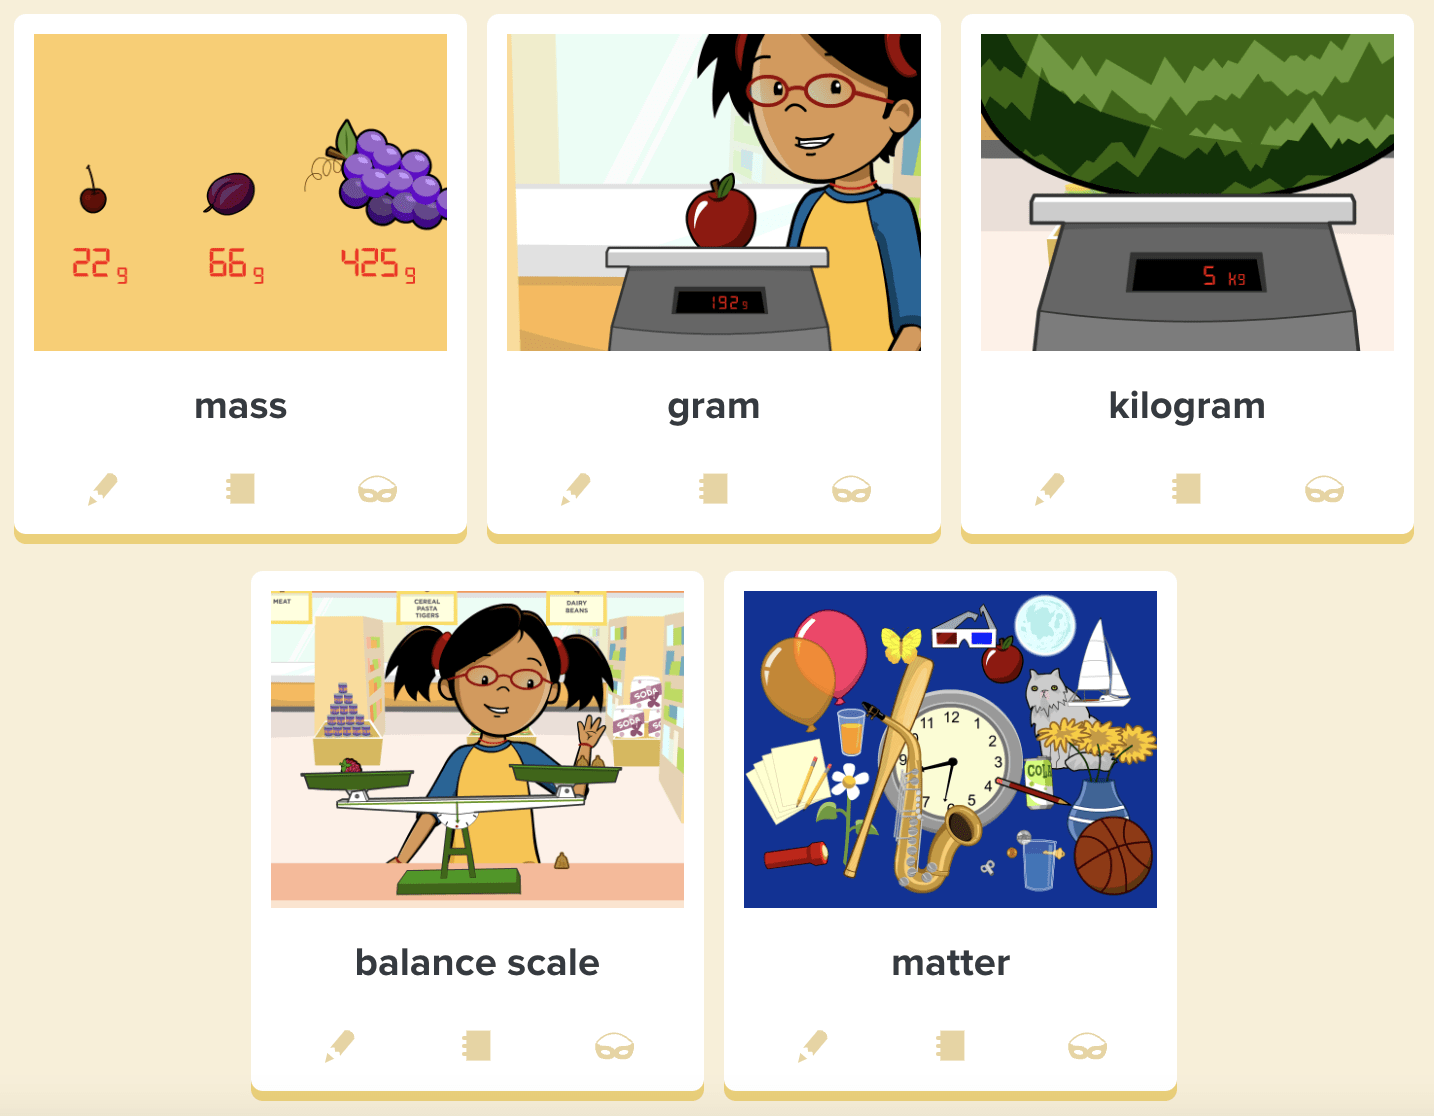
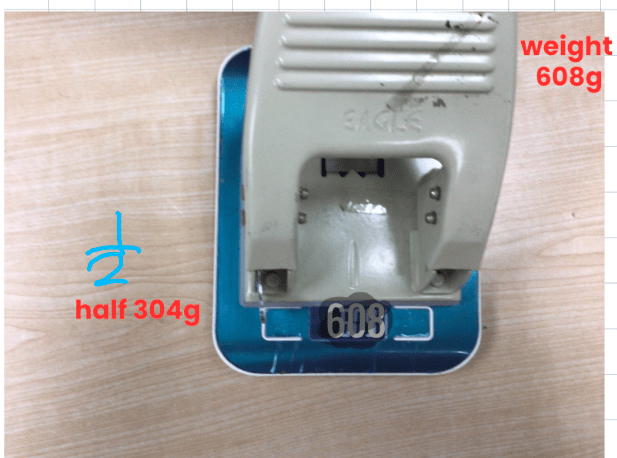
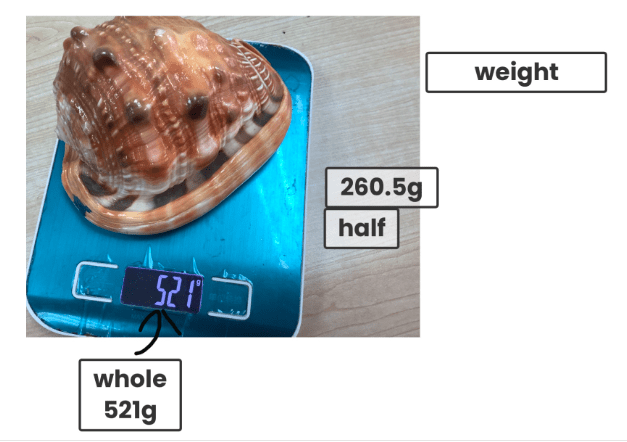
- Suzy “We have to test it to see how heavy the watermelon is. Some of the small watermelons were not as heavy as the big ones.”
- Isabella “We weighed the watermelons so we decide how many we need.”
- Riccardo “The Suguo people helped us weigh the watermelon and told us how much money is it.”
- Jacob “We carried it. If it is too heavy we cannot carry it so we need a small one.”
- Riccardo “We choose 5 first. “
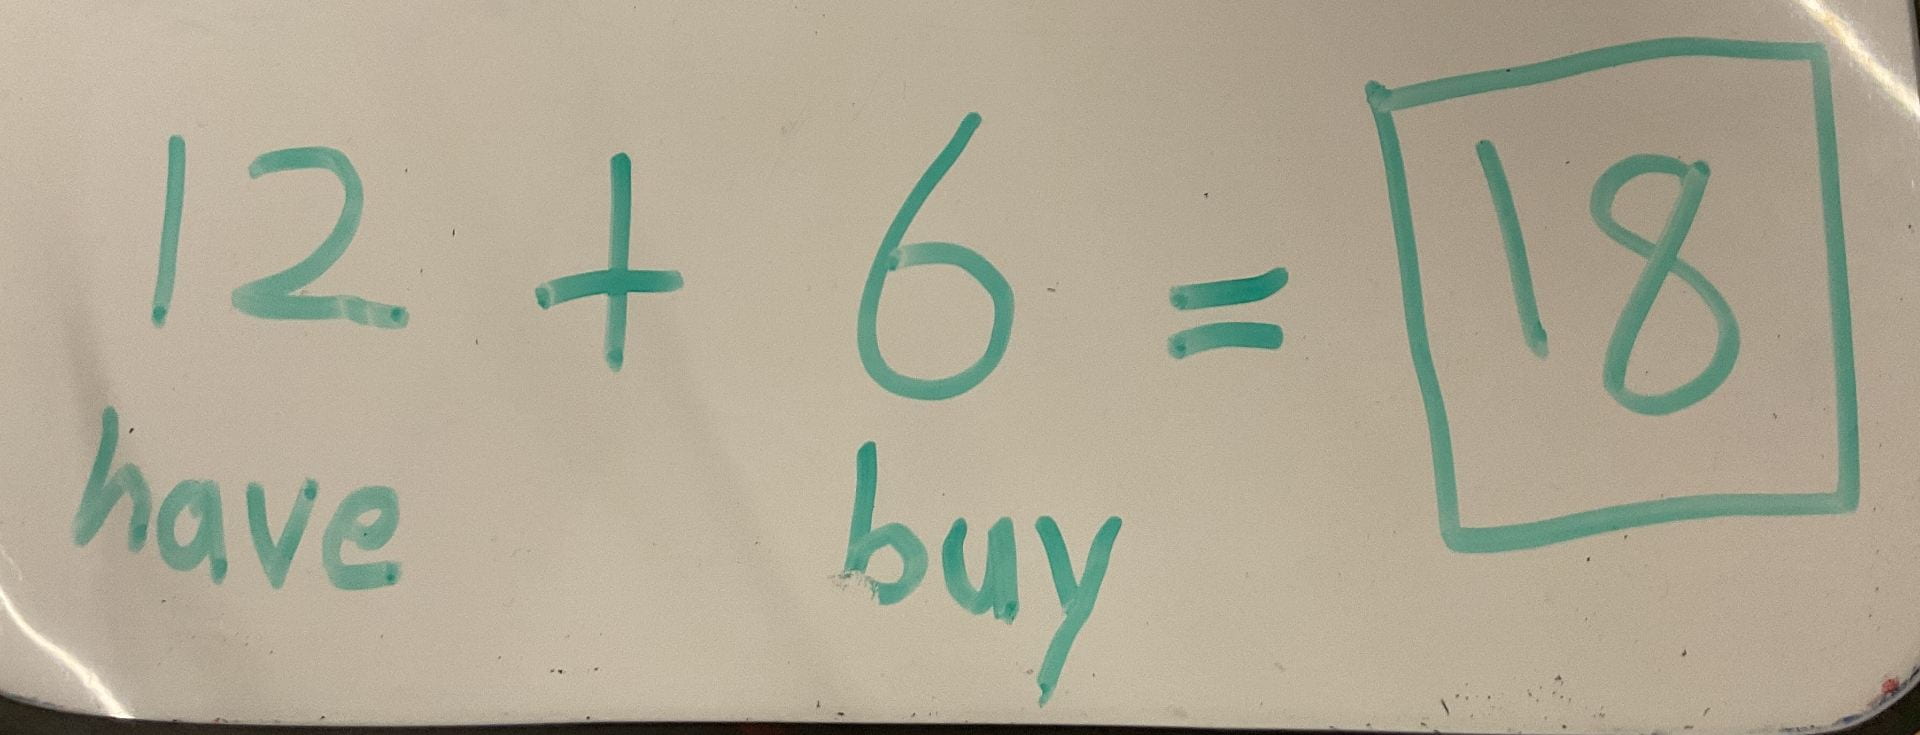
- Jacob “We first gave them 57, then we gave them another 59. It was less than 59. 2 left.”
- Adalyn “The two watermelon we add them and we buy them.”
- Suzy “We went out of Suguo and we cross the road and we go back to NIS. We were safe.”
The experience at the supermarket helped the children experience the process of choosing and purchasing food items. On their trip, they needed to make many decisions and work together as a team to solve the problems they encountered.
Jacob “We are going to the supermarket to buy the watermelon for making the ice pop challenge. 3 minute challenge our buddy can make the watermelon ice-pop. We use 57 RMB to buy the watermelon and we took the middle one and one small one. We chose not heavy one, we choose the smaller one and smaller so we can carry this, used the basket too heavy. Me and Isabella carry it and go to school. We take a long time.”

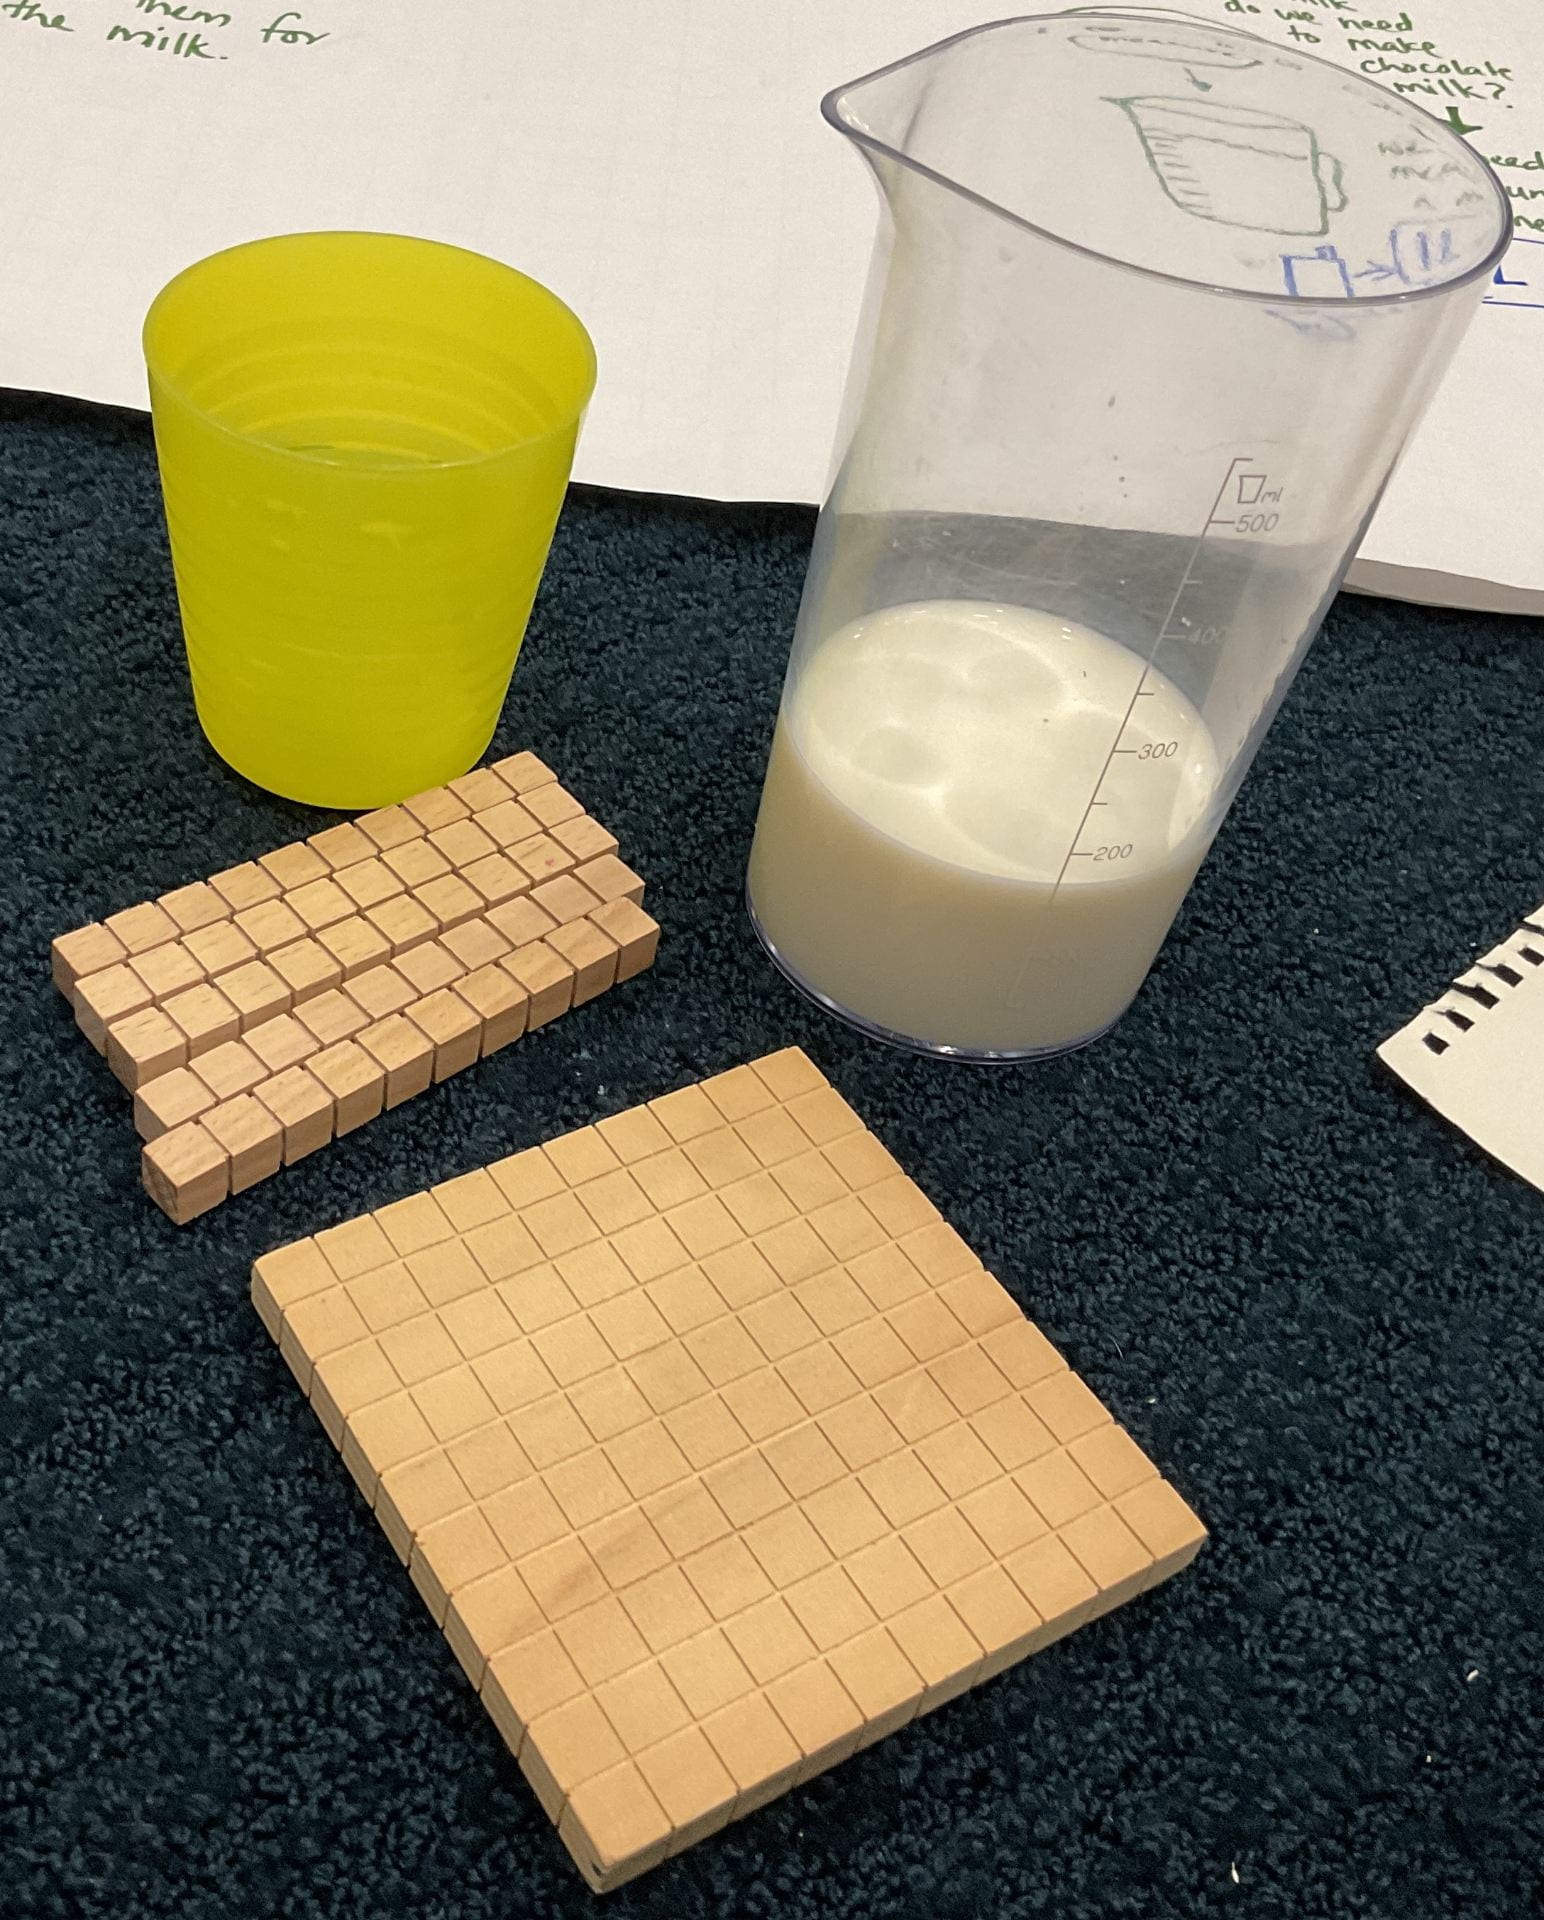
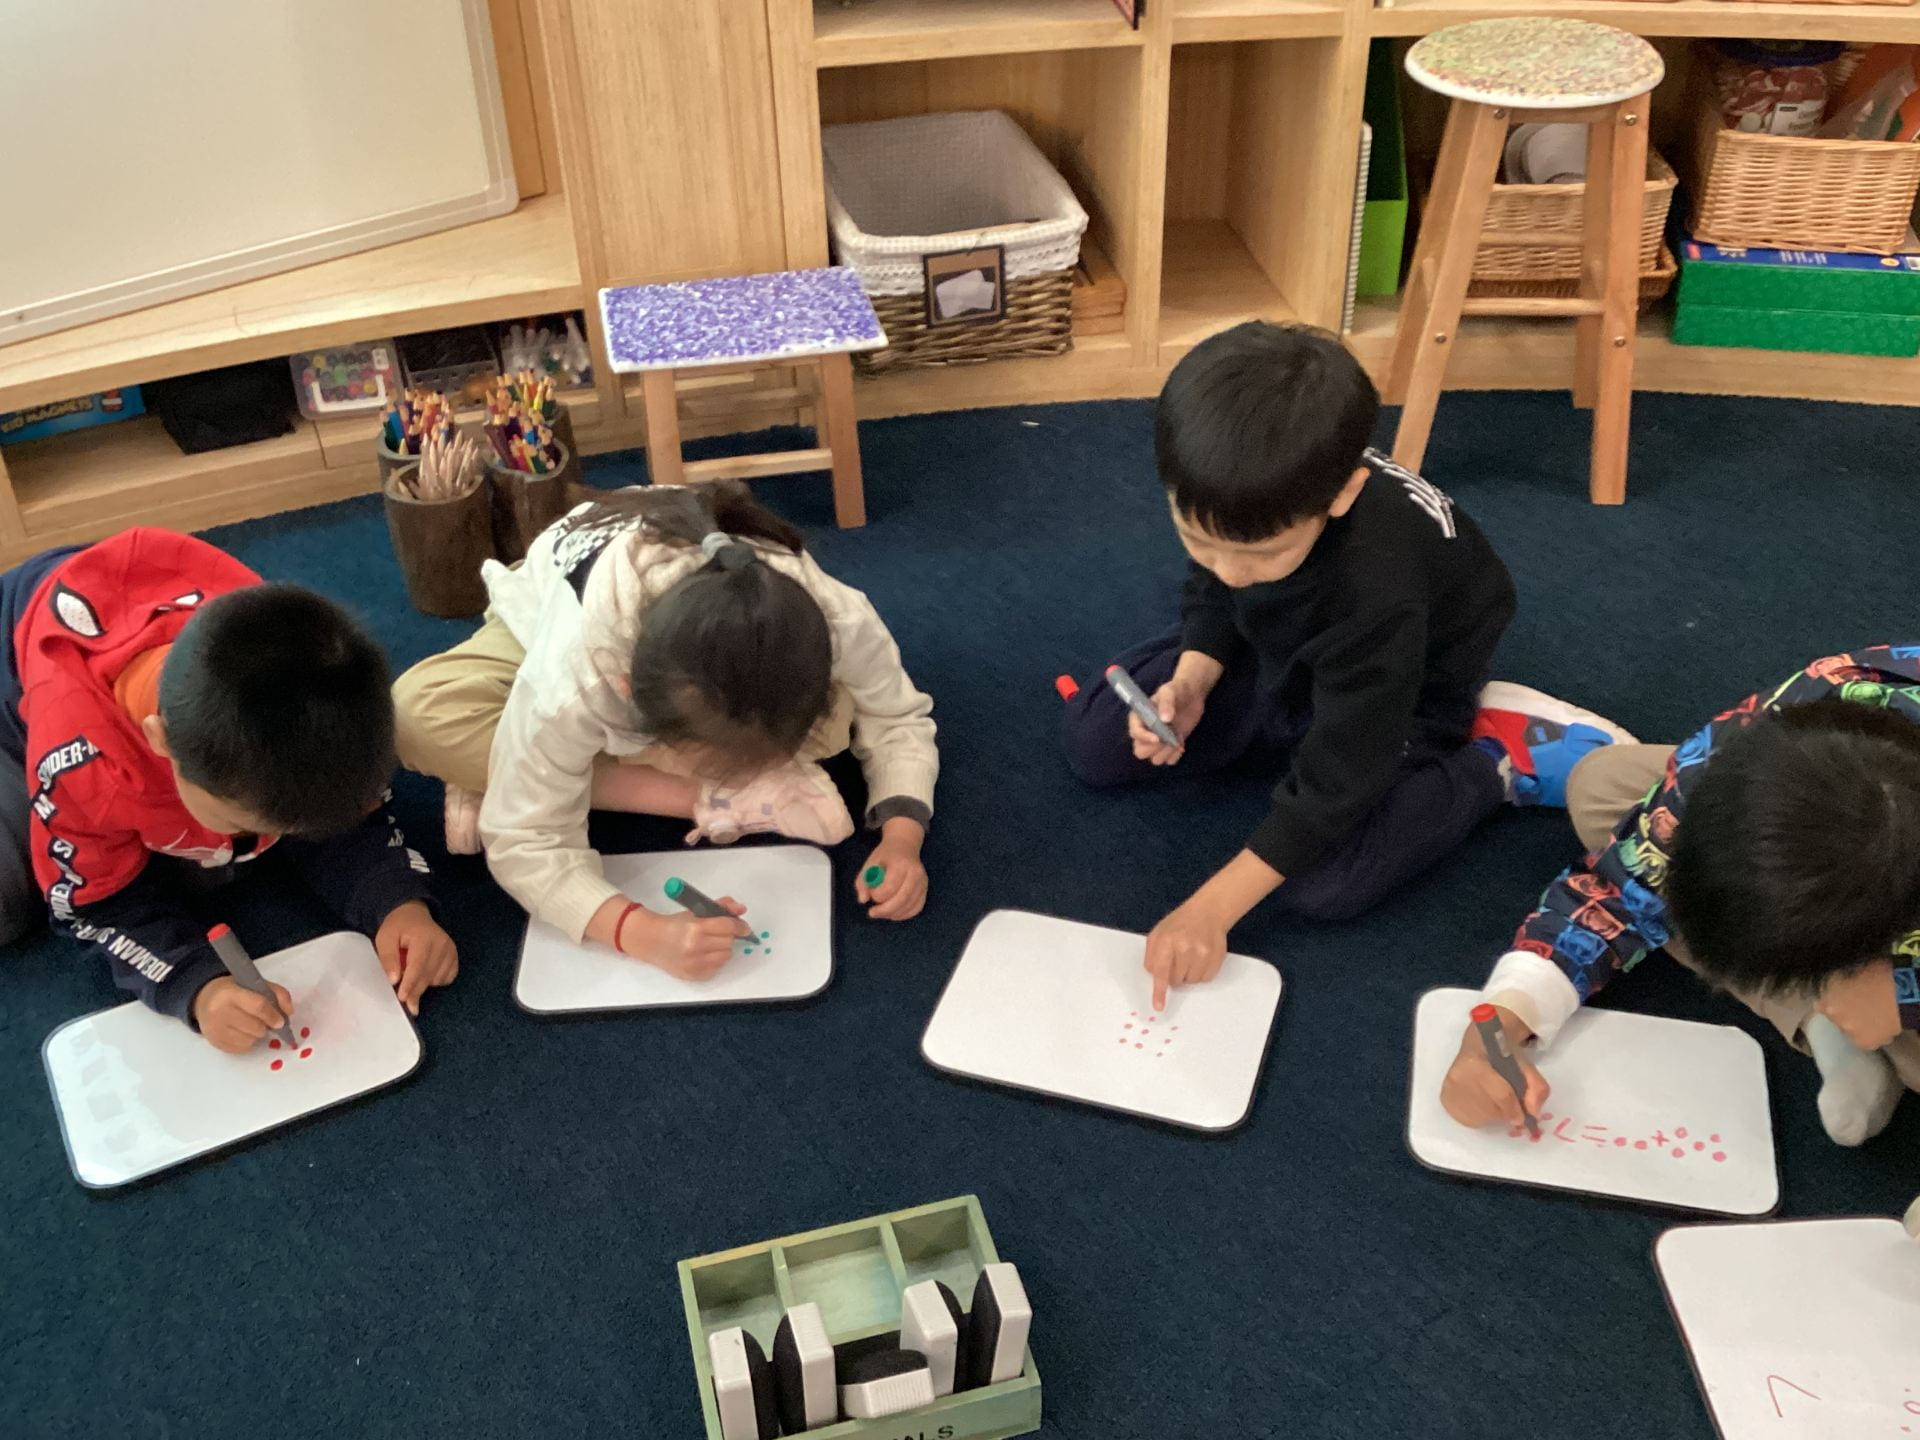
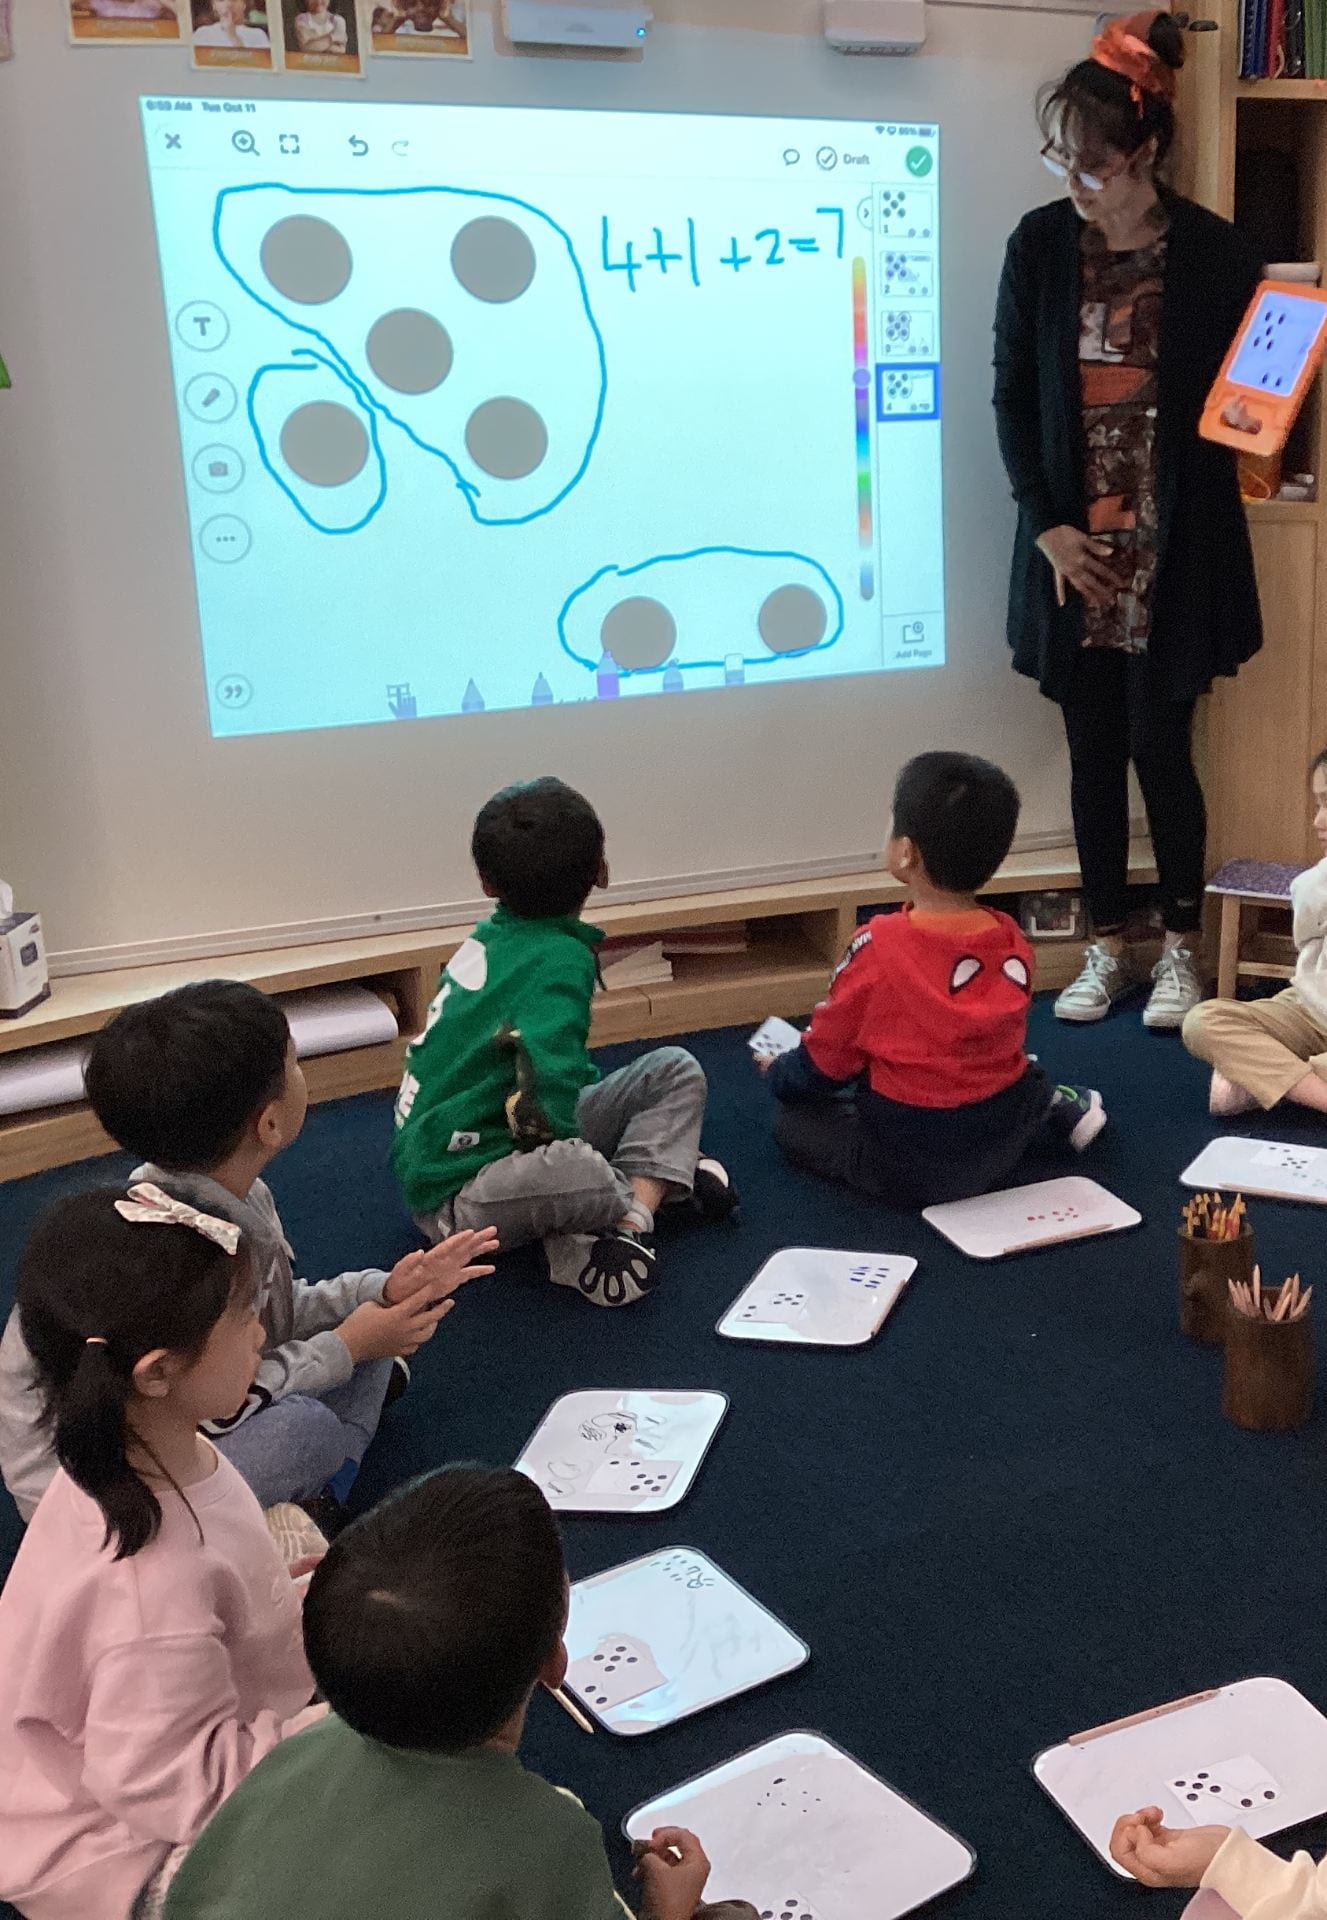
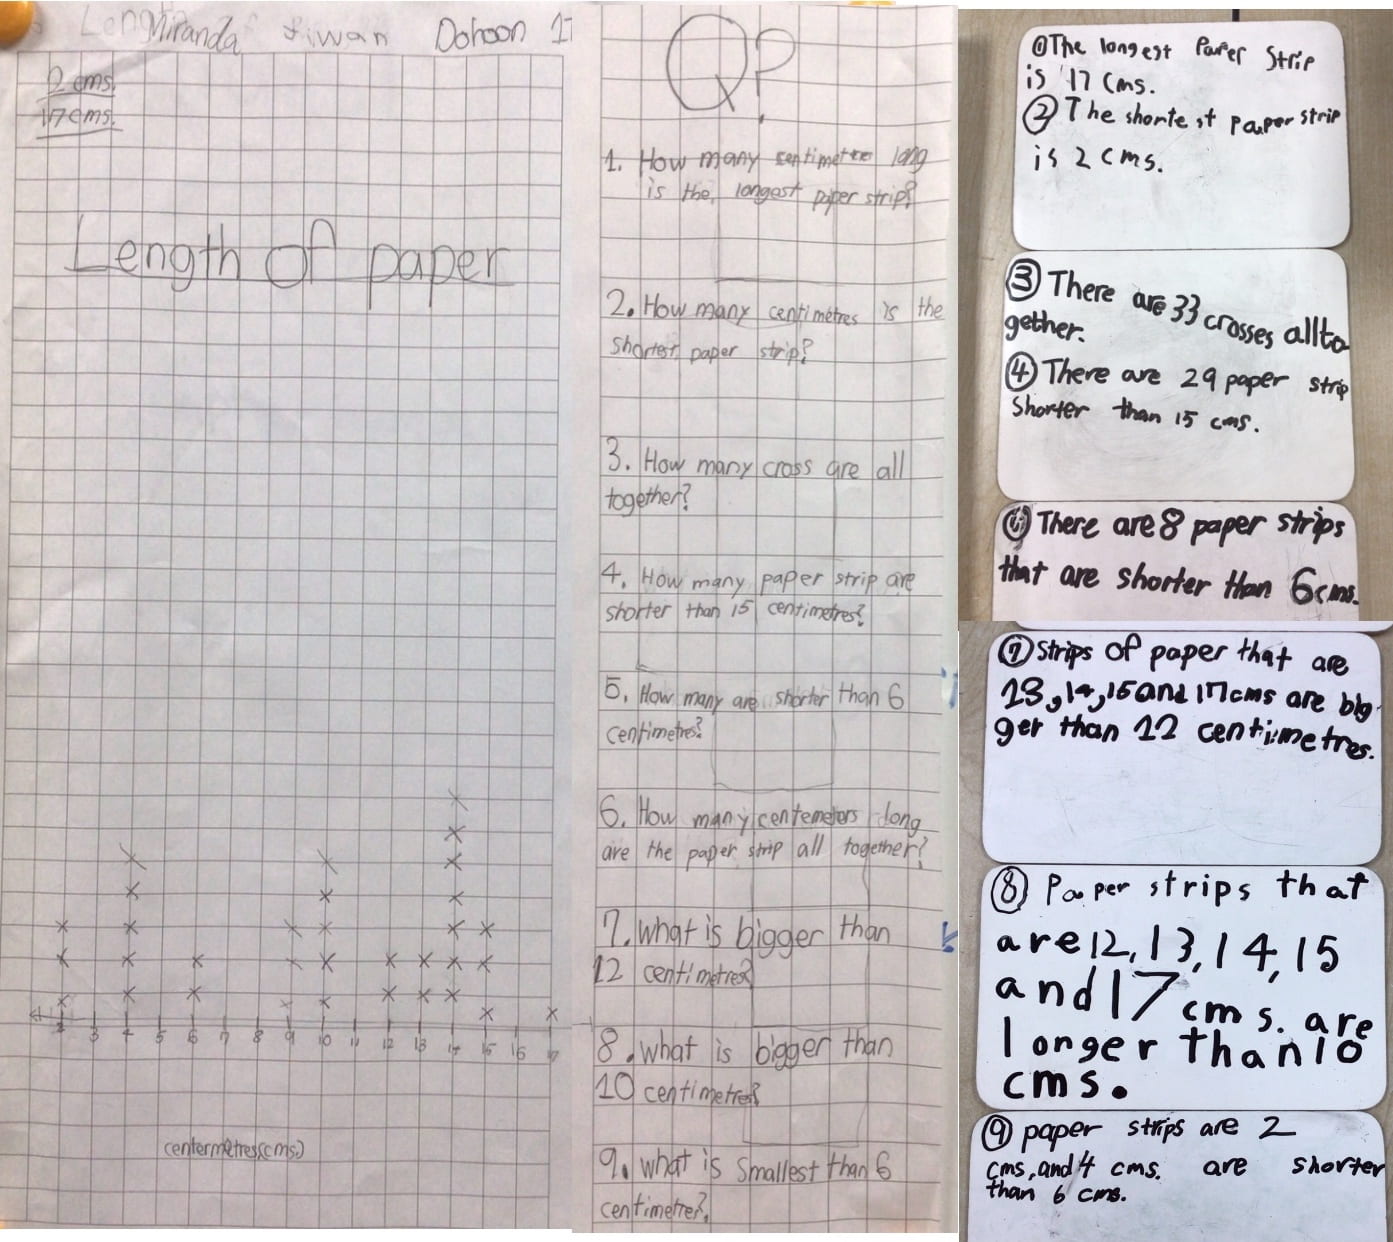
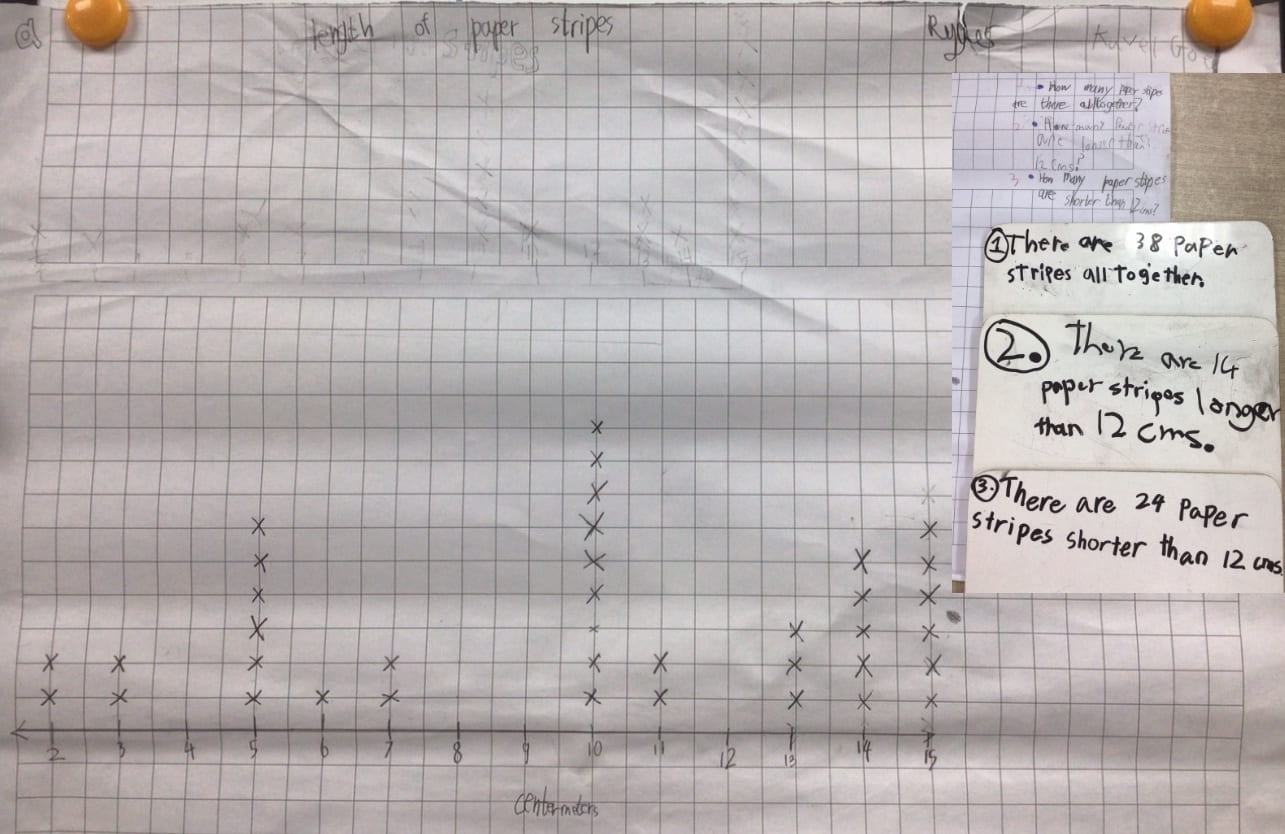
Many opportunities for mathematical thinking and learning were explored. These authentic learning experiences are great opportunities for children to explore and learn about concepts through real-life experiences.
Our next step would be to carry out the test to find out how many ice pops we can make from one watermelon.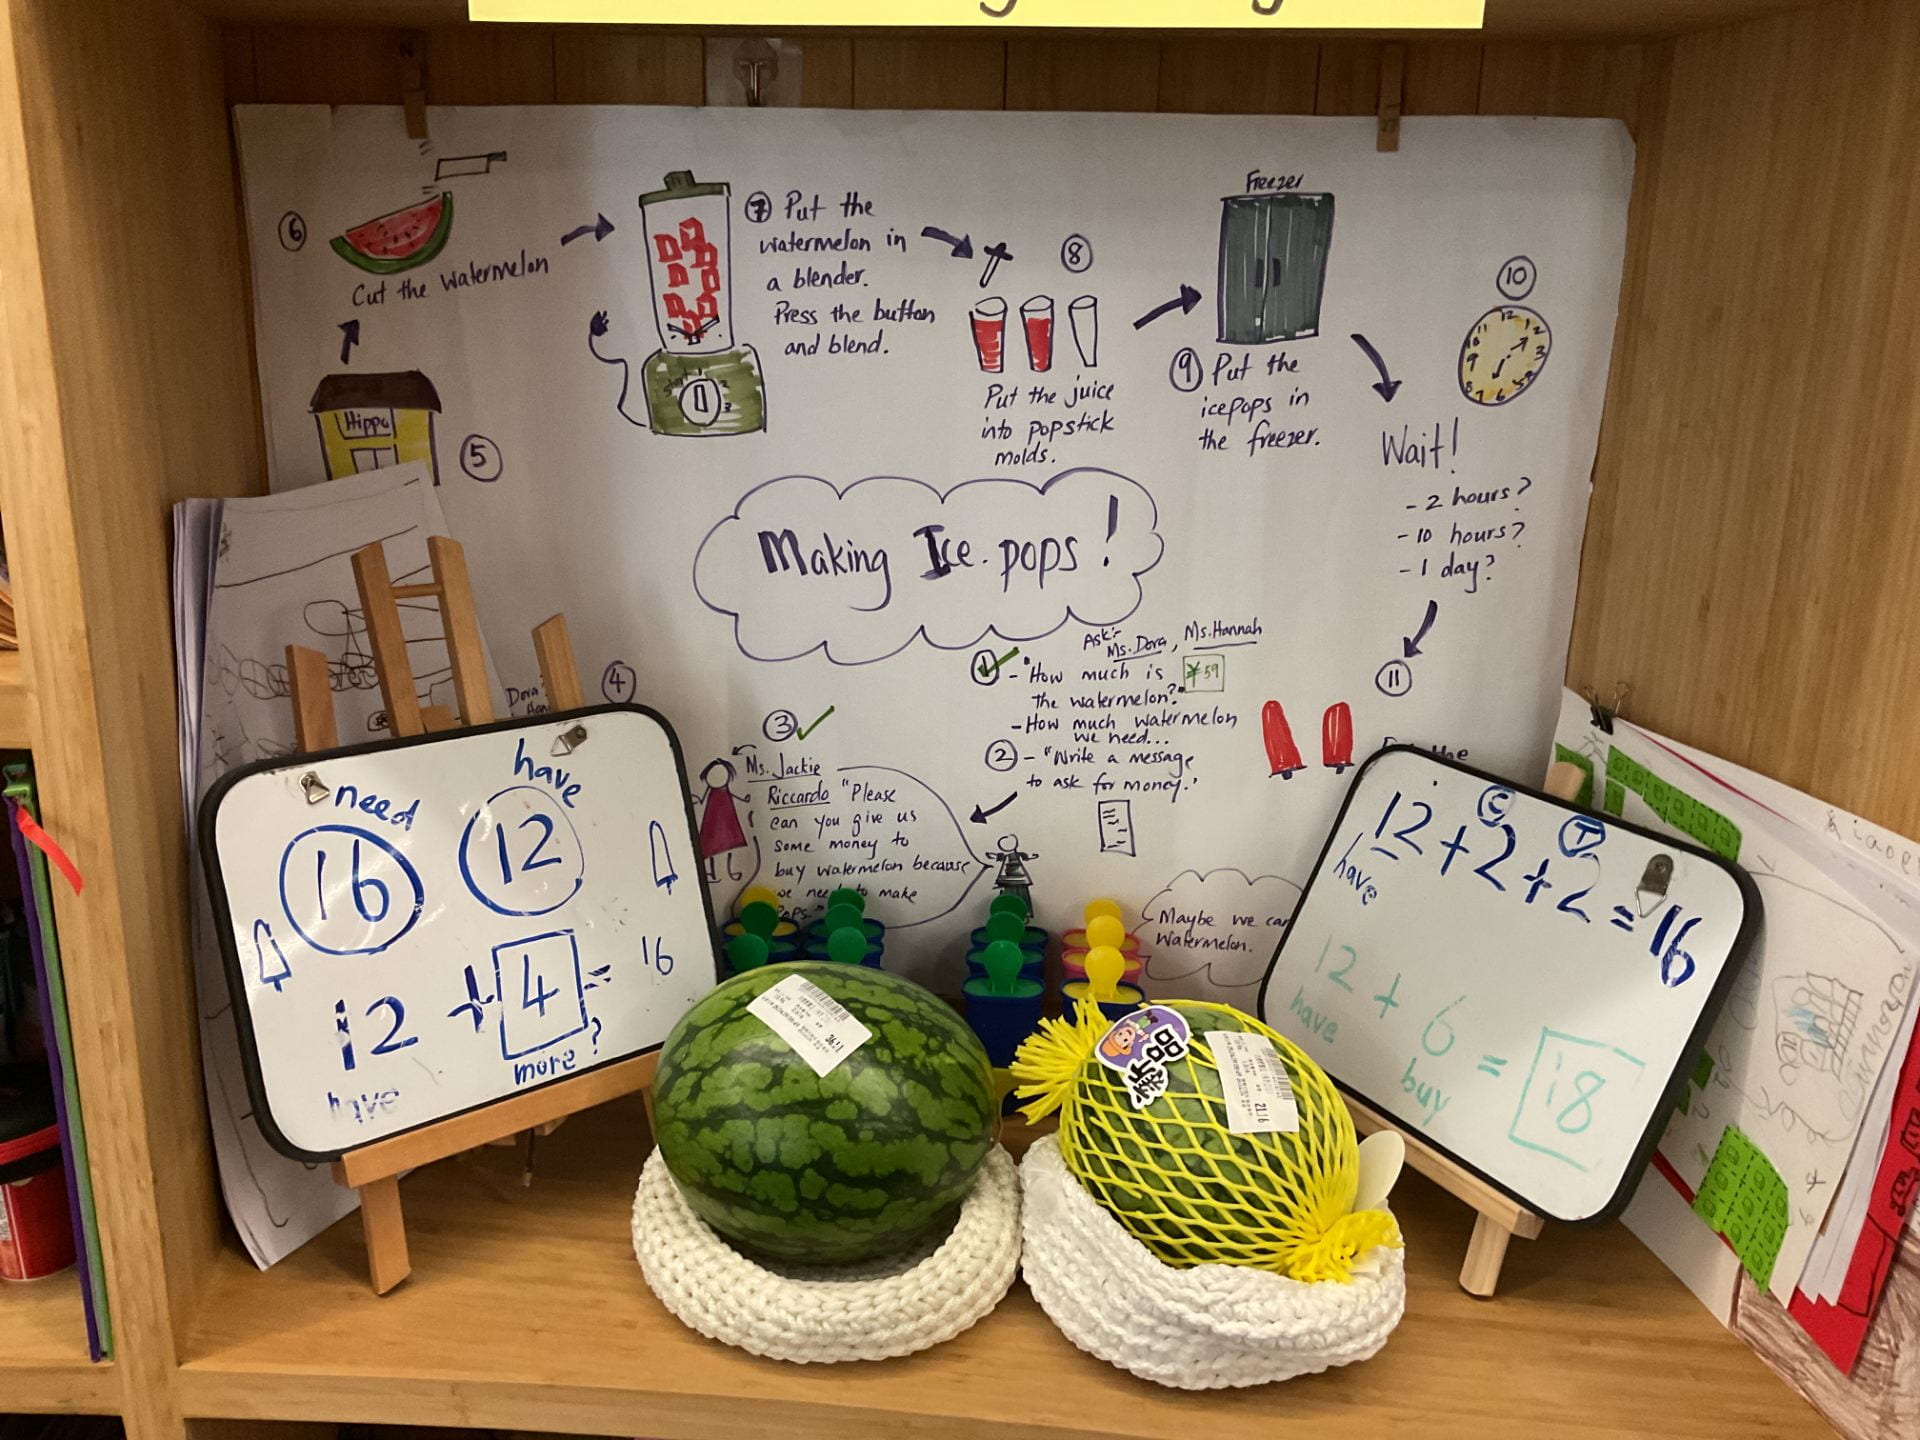
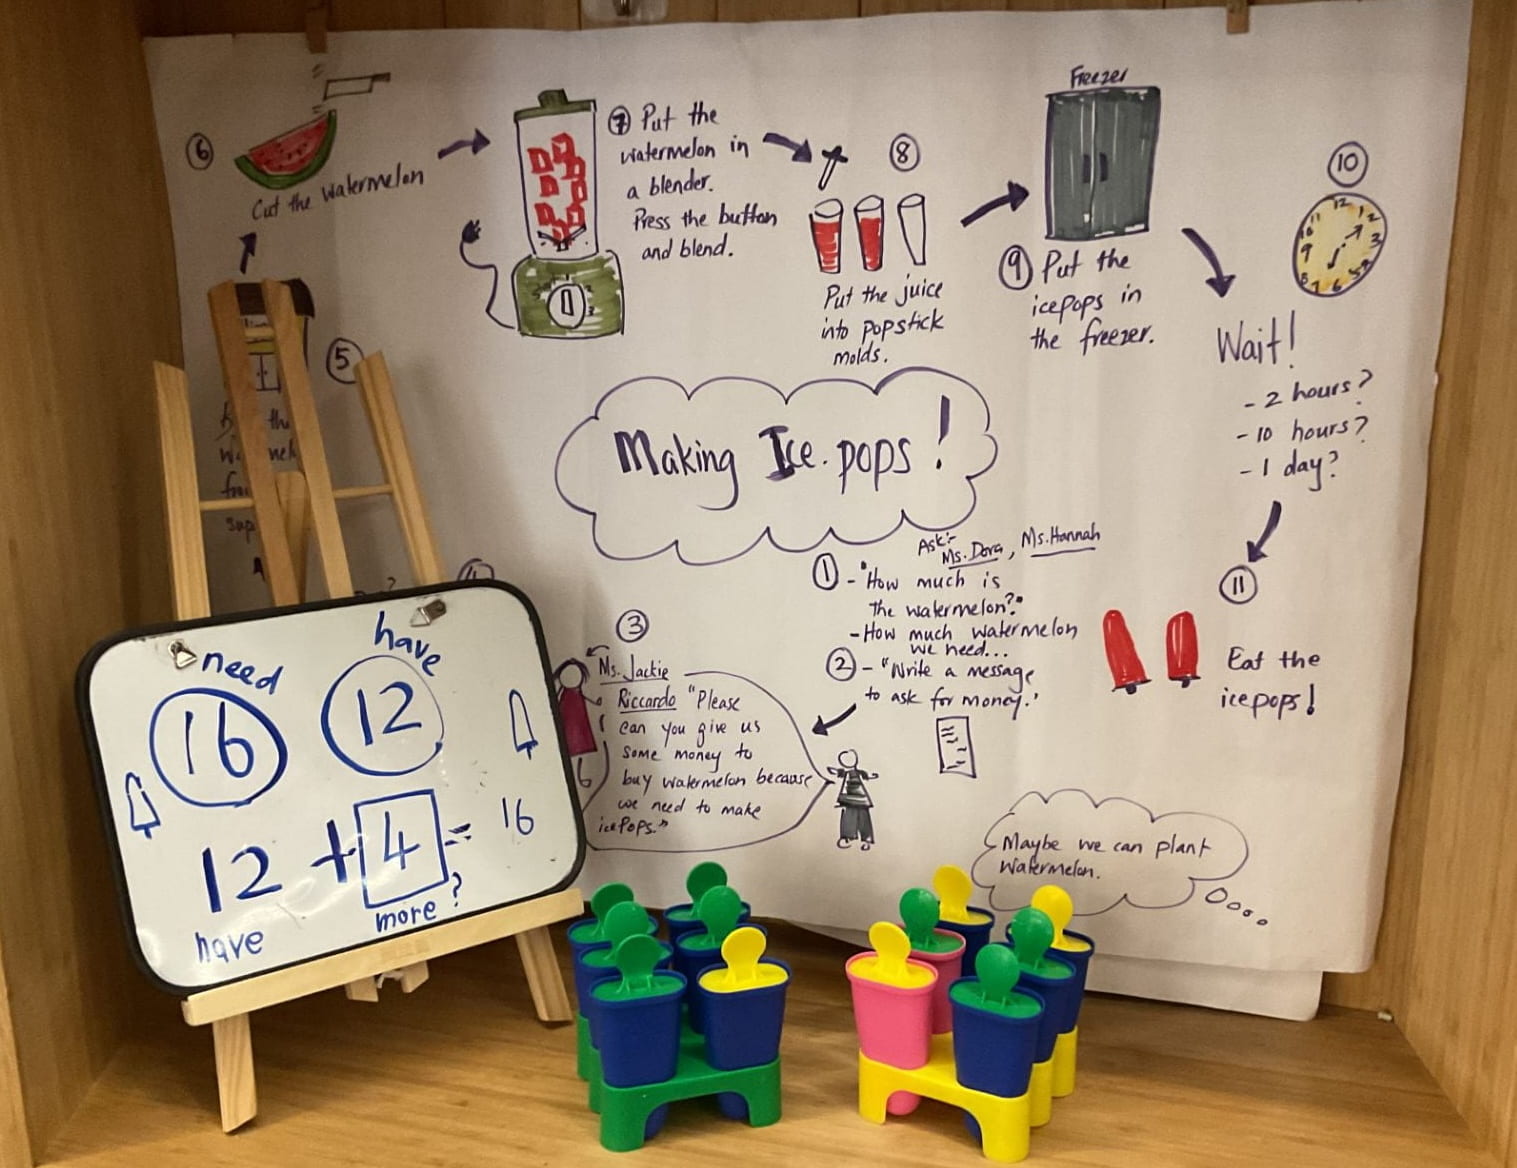
YAY! Making the Ice Pops!
-
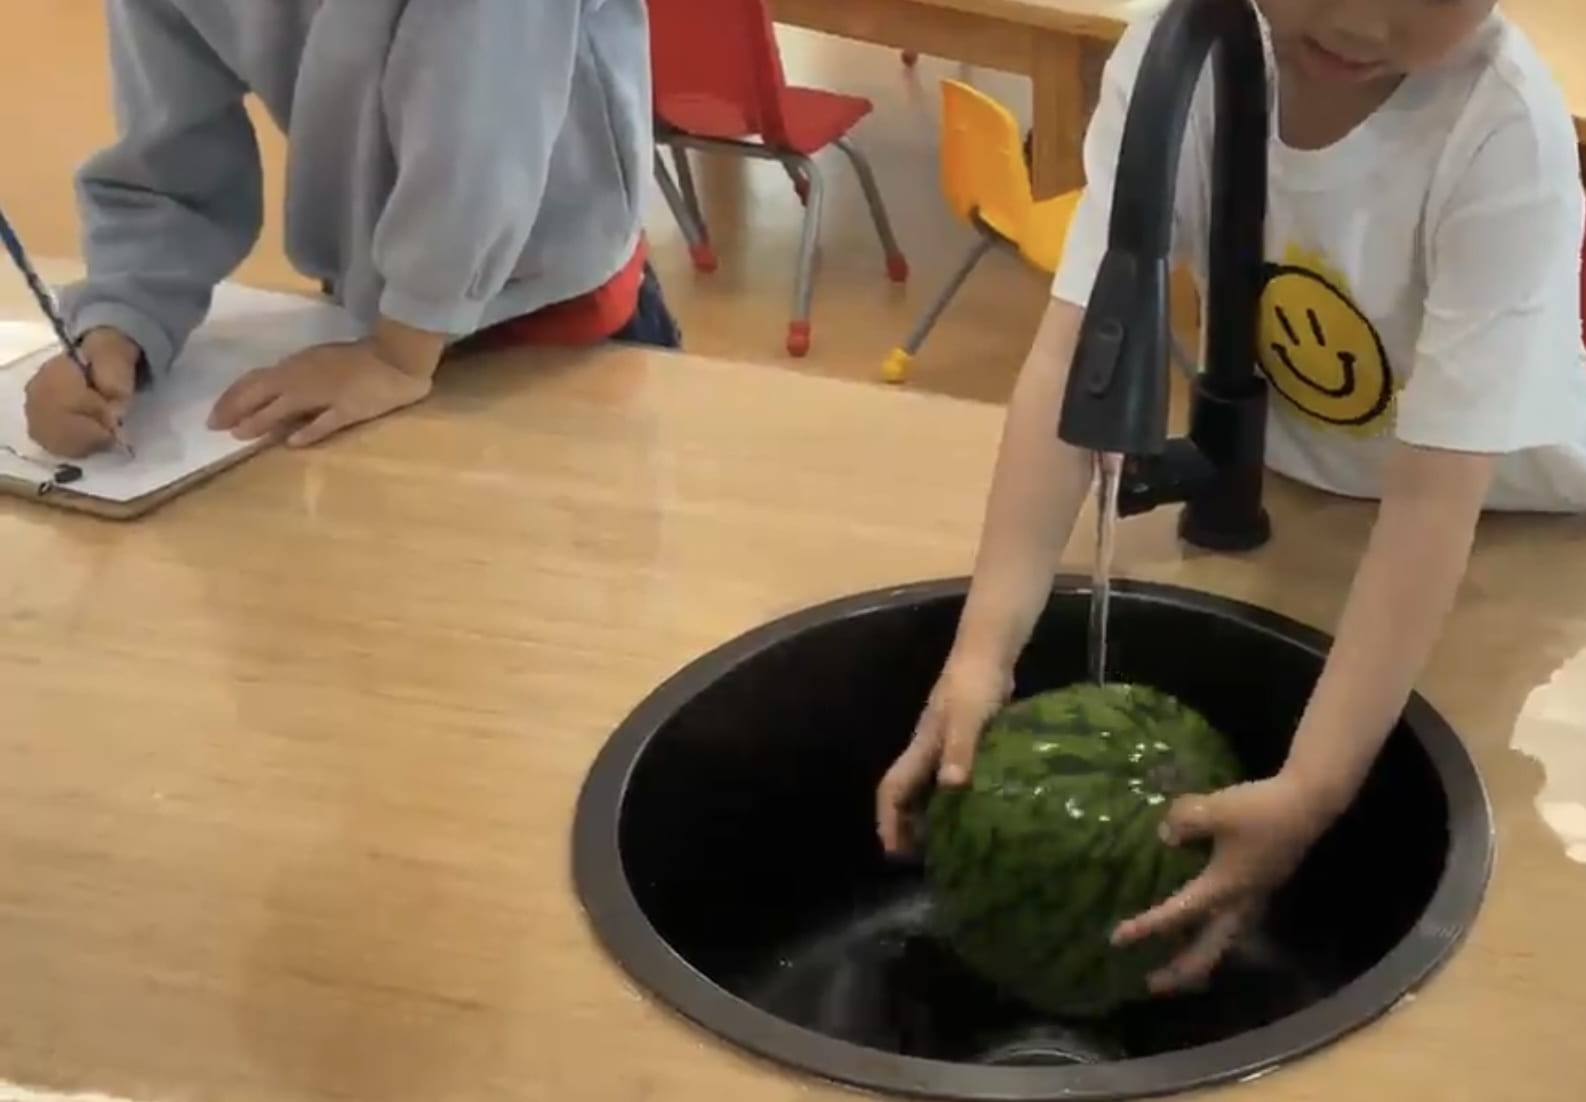
- Step 1
-
- Step 2
-

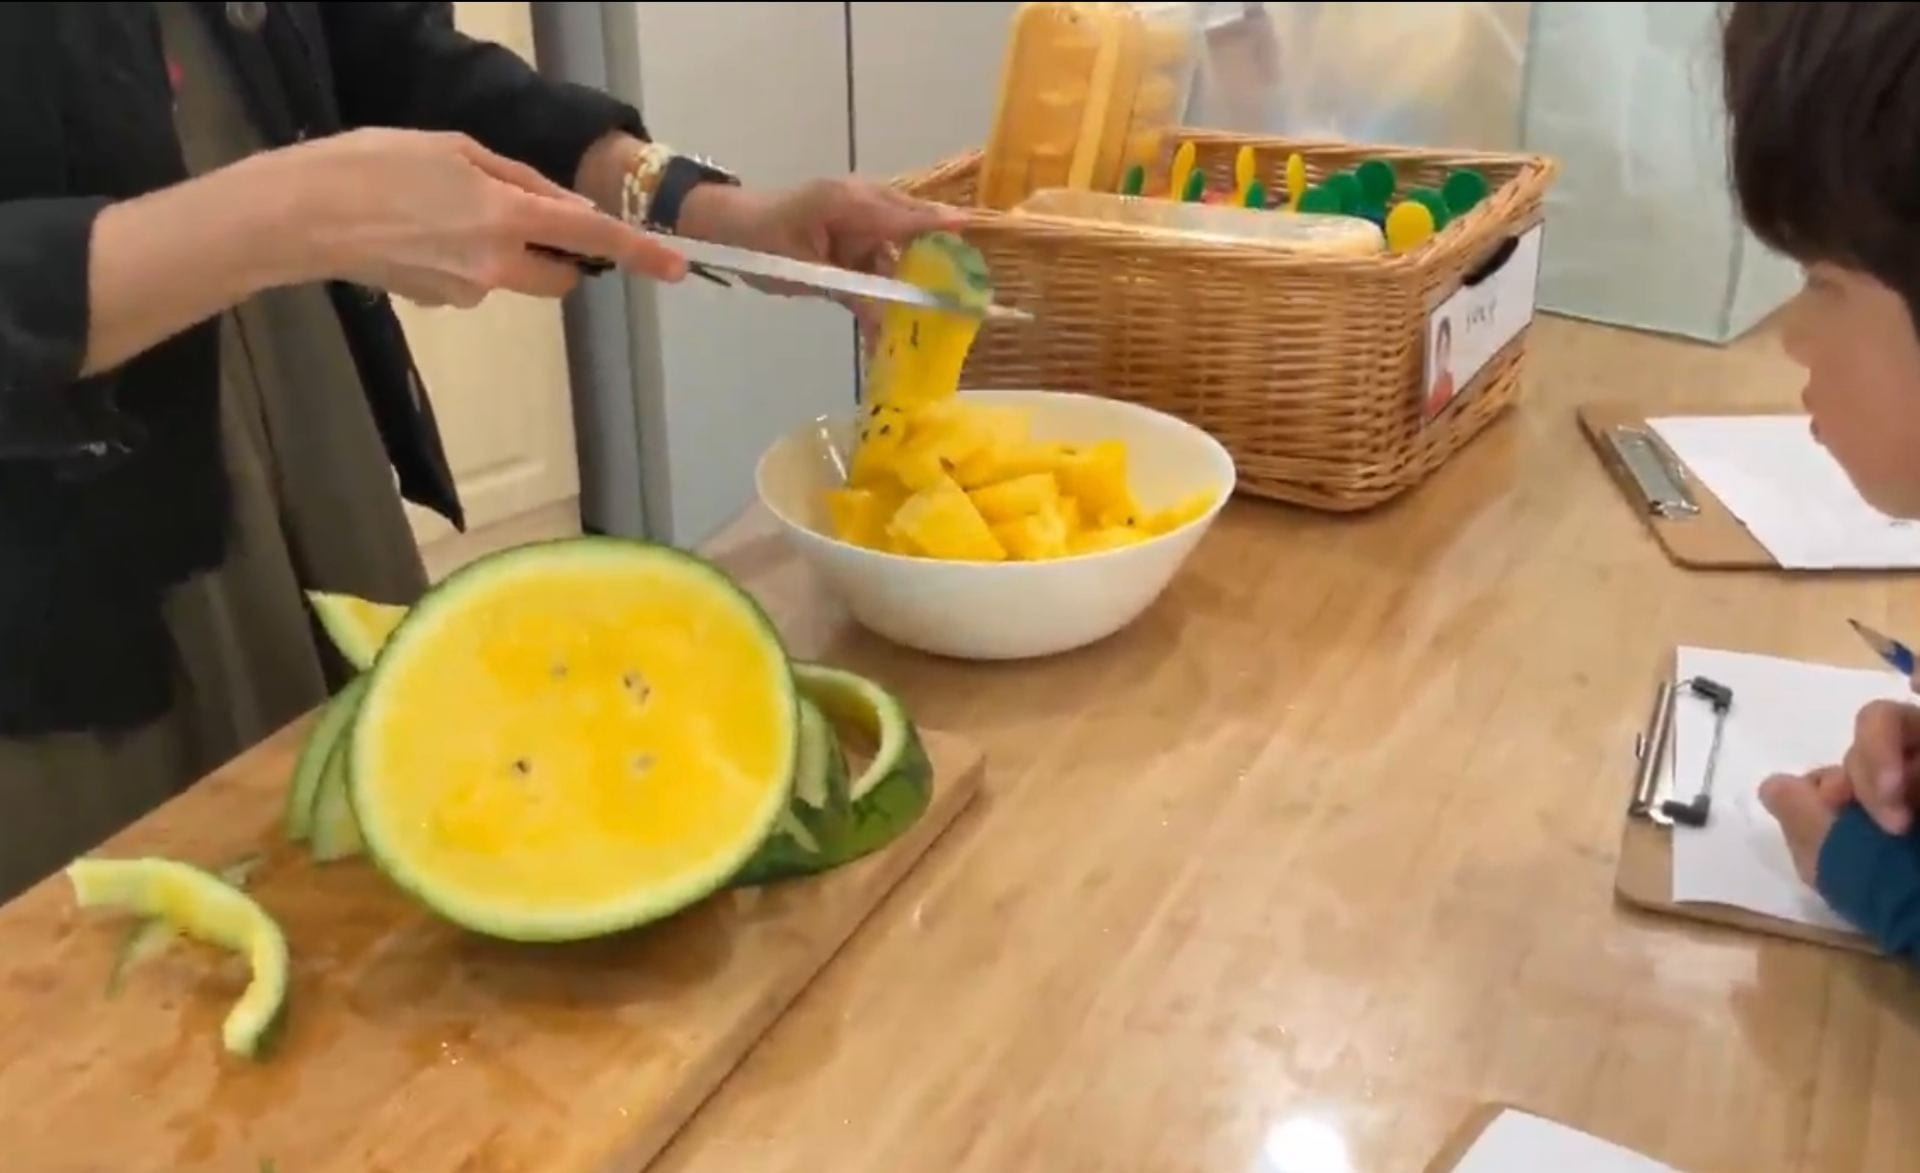
- Step 3
-
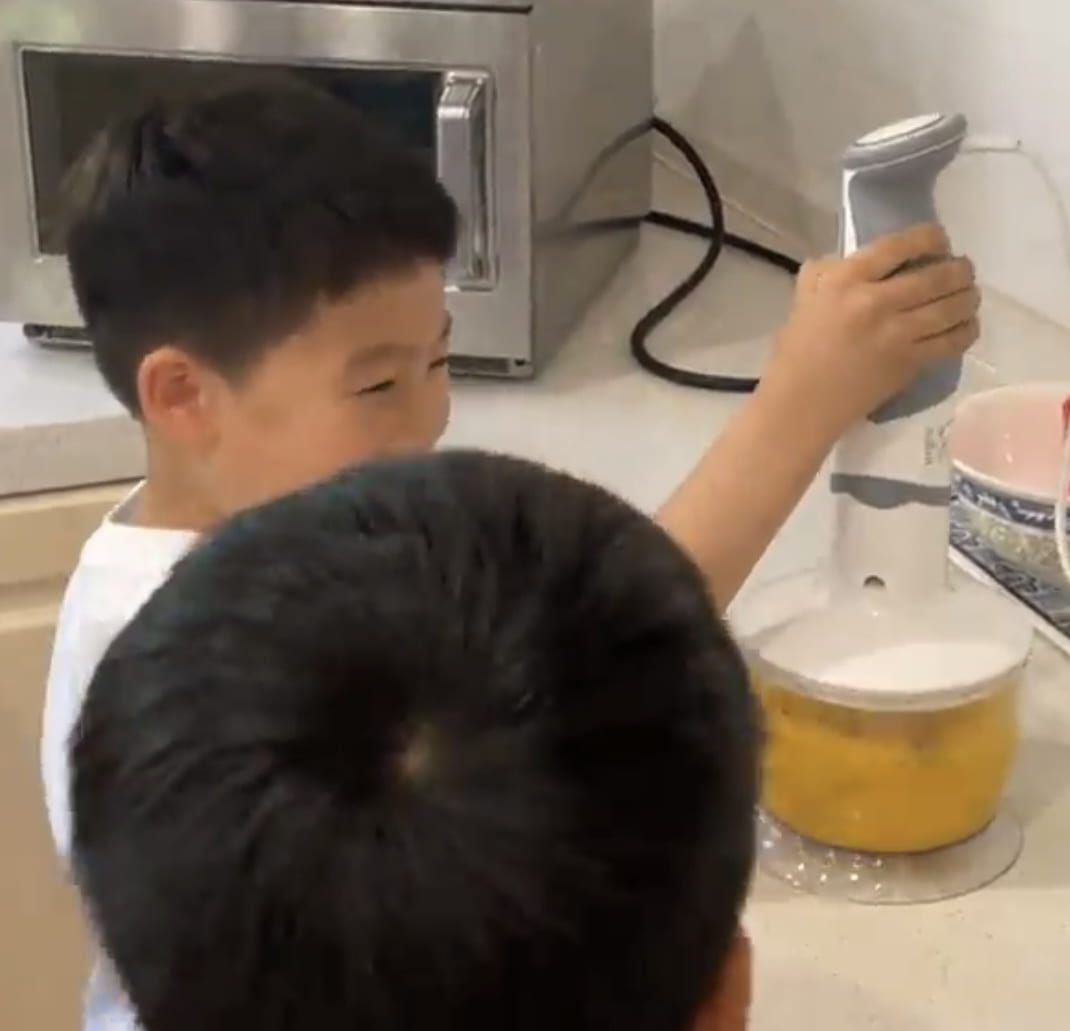
- Step 4
-

- Step 5
-
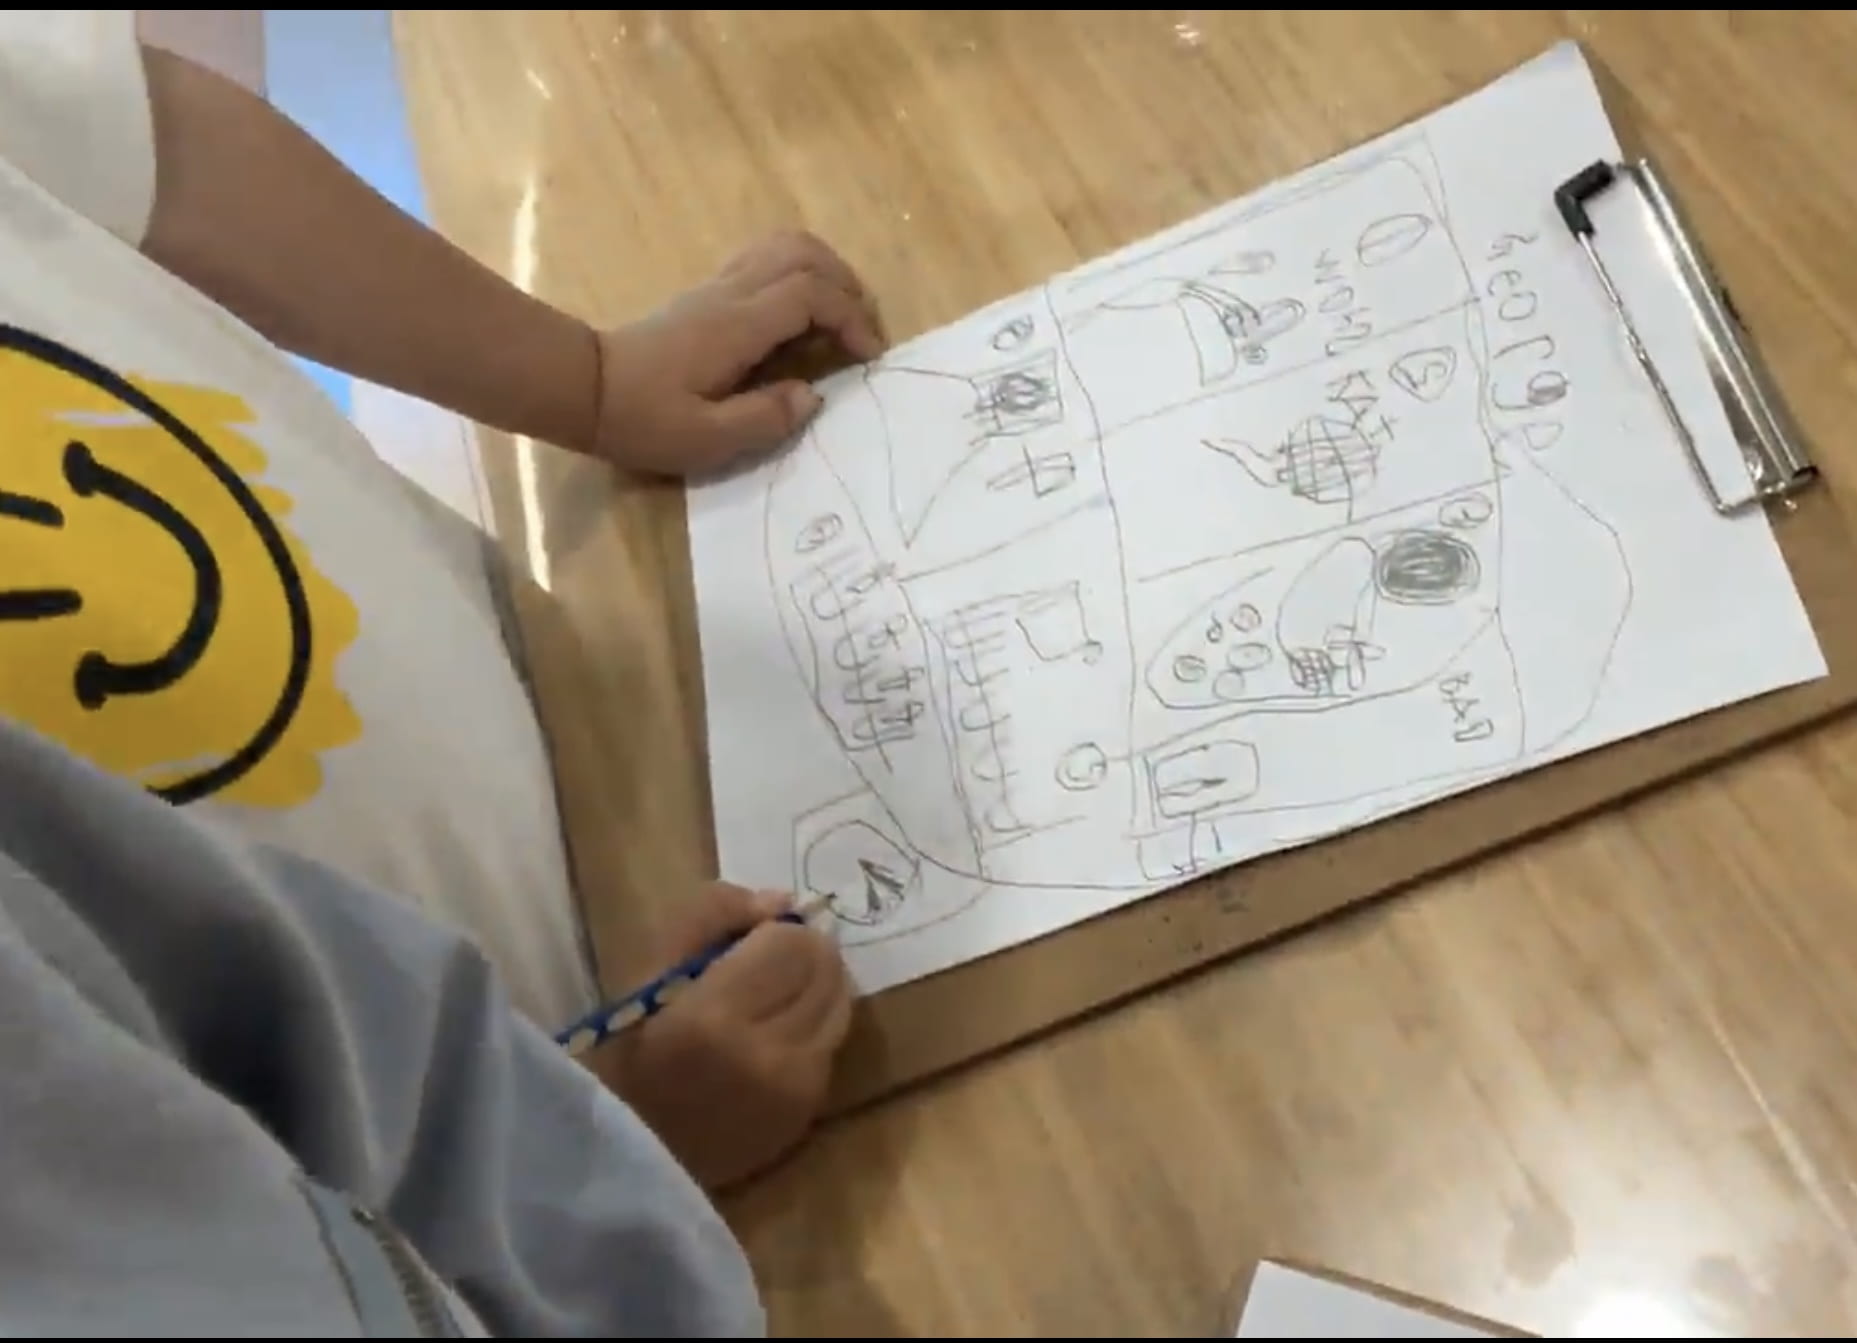
- Documenting the Process
-
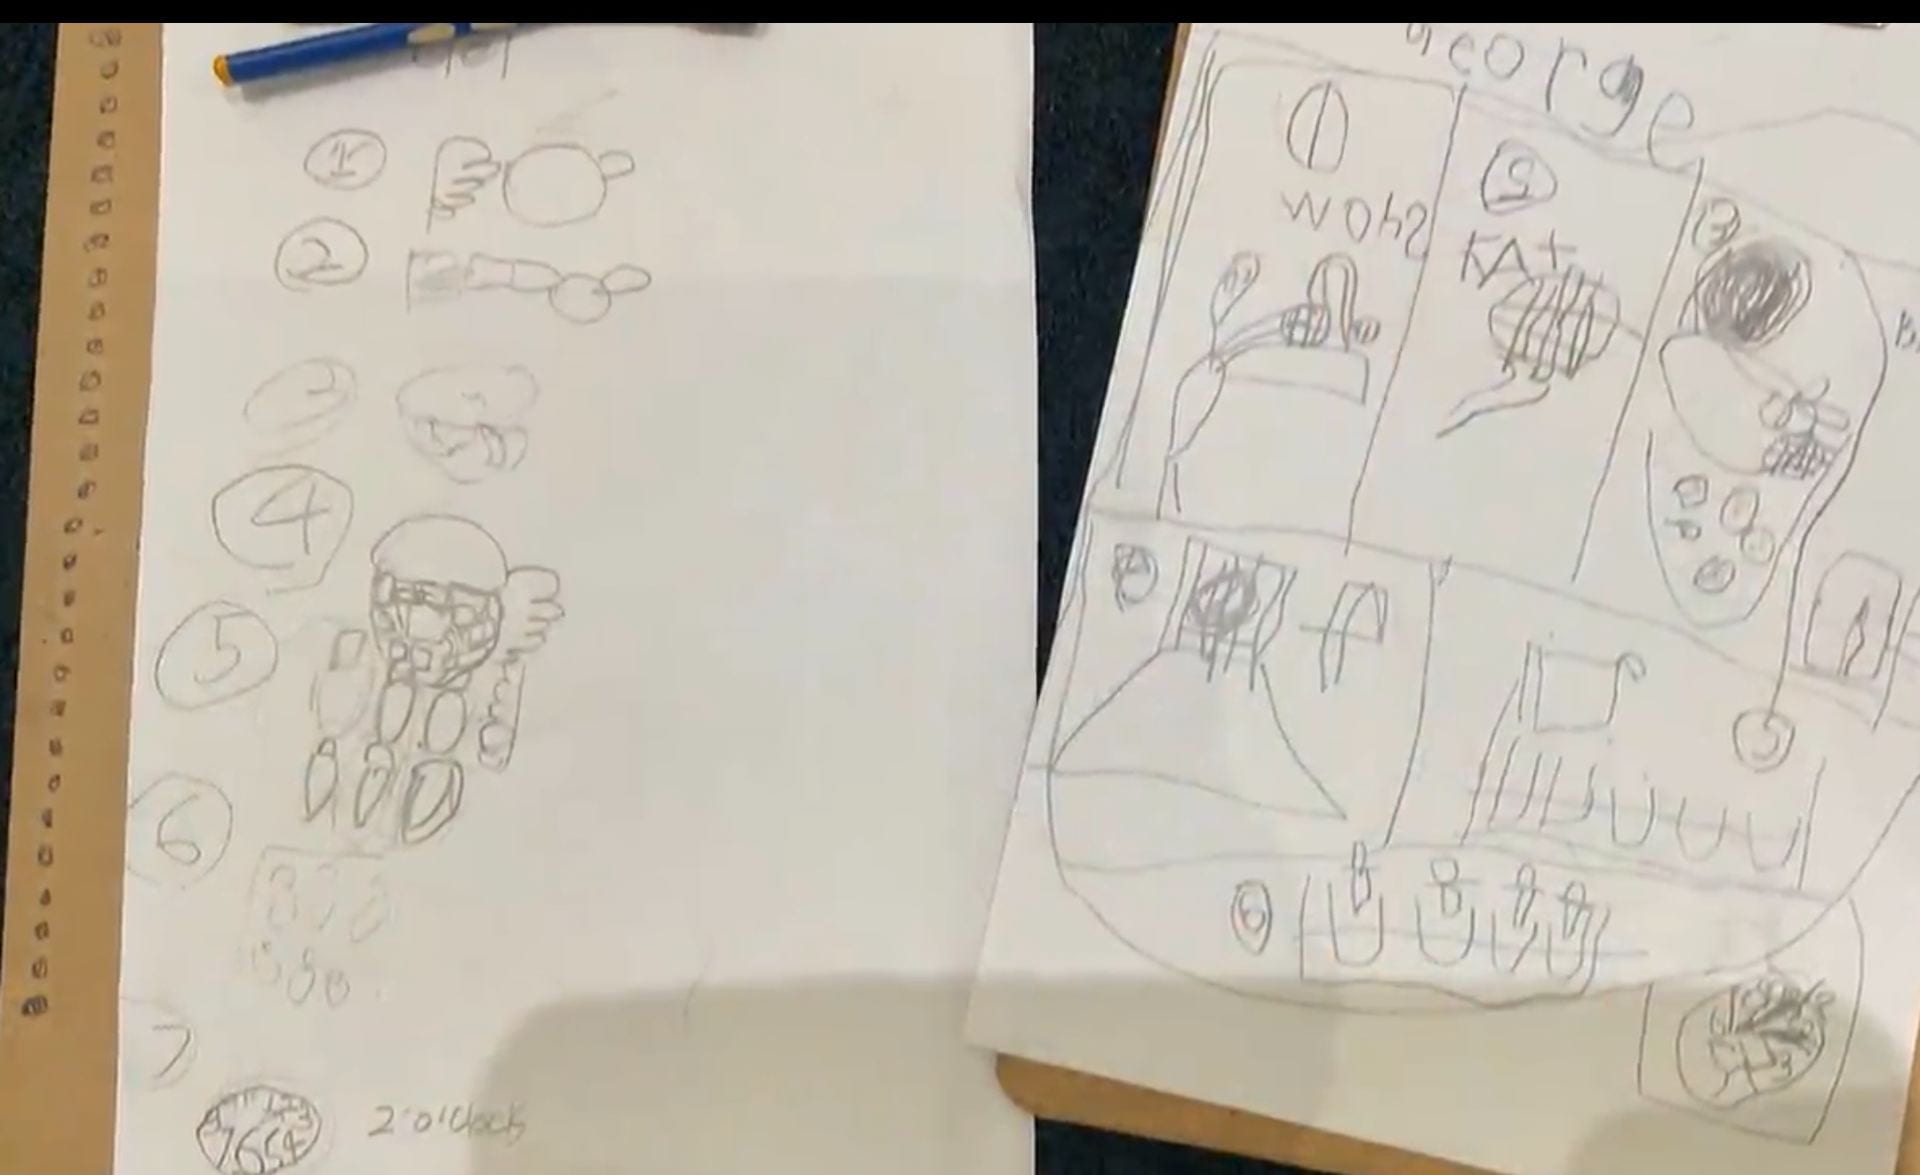
- Documentation
-

- Documentation
-

- Frozen Ice-POPS!

- Dahyun “We made the ice cream with the watermelon.”
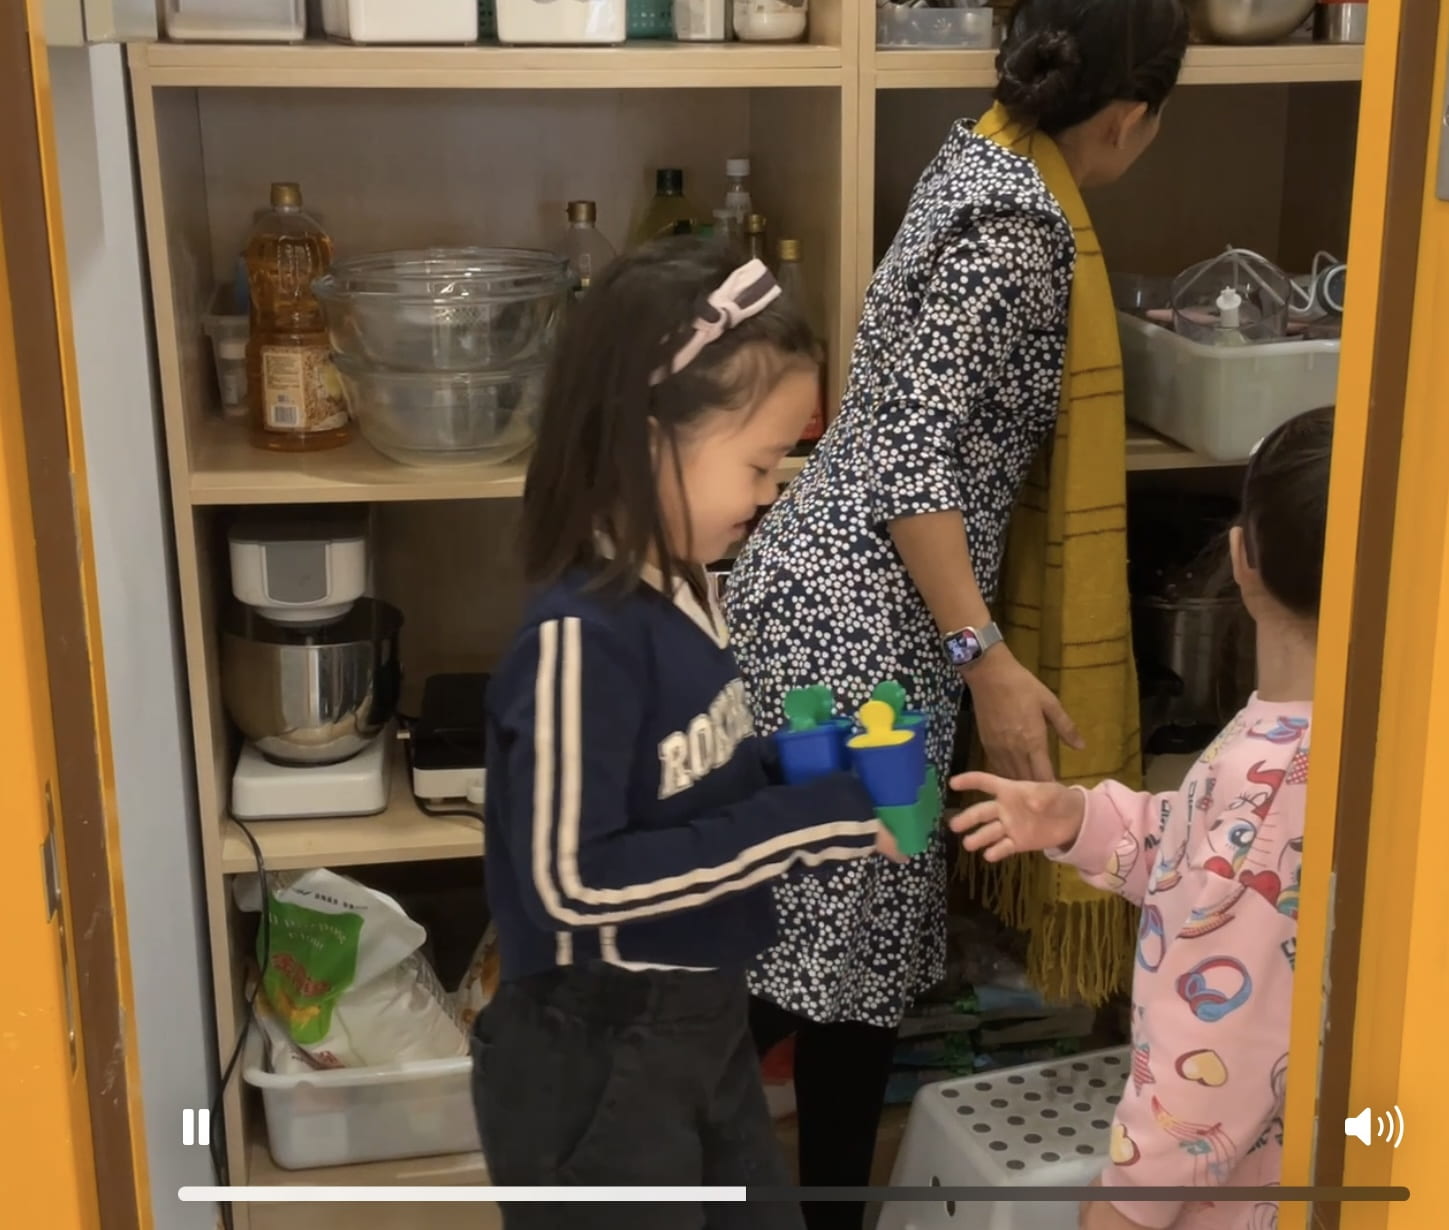
- Ciel “We put it in the freezer because then it will freeze.”
- Evan “Then we took it out because we need to eat it in 3 minutes because we need to have a challenge.”
- Isabella “It was really hard to take the ice pops out.”
- Evan “Then we eat it in 3 minutes.”
- Junsu “Some people don’t eat it in 3 minutes.”
- Riccardo “It was really icy.”
- Suzy “But it was yummy.”
- Evan “It was so cold!”
- Sea “We eat watermelon like ice pops. We eat it, it’s like cold. I ate it but my teeth was so cold.”
- Adalyn “We eat watermelon ice-pops, it feels like cold.”
- Isabella “It was sweet.”
- Suzy “The ice pop, maybe it was sweeter a little bit more.”
- Ciel “When Ms. Shemo took one ice pop out, it broke.”
- Junsu “And watermelon is in the body.”
- Dahyun “I eat ice cream then my body is so cold.”
- Evan “I eat the ice cream my teeth feels off.”
- Isabella “Riccardo finished the ice pop in 3 minutes. And Archie almost finished it.”
- Sophia “Sea and Jacob finished next.”
The children explained, “It was a fun challenge because it was icy.”
We wonder what our next challenge would be…