
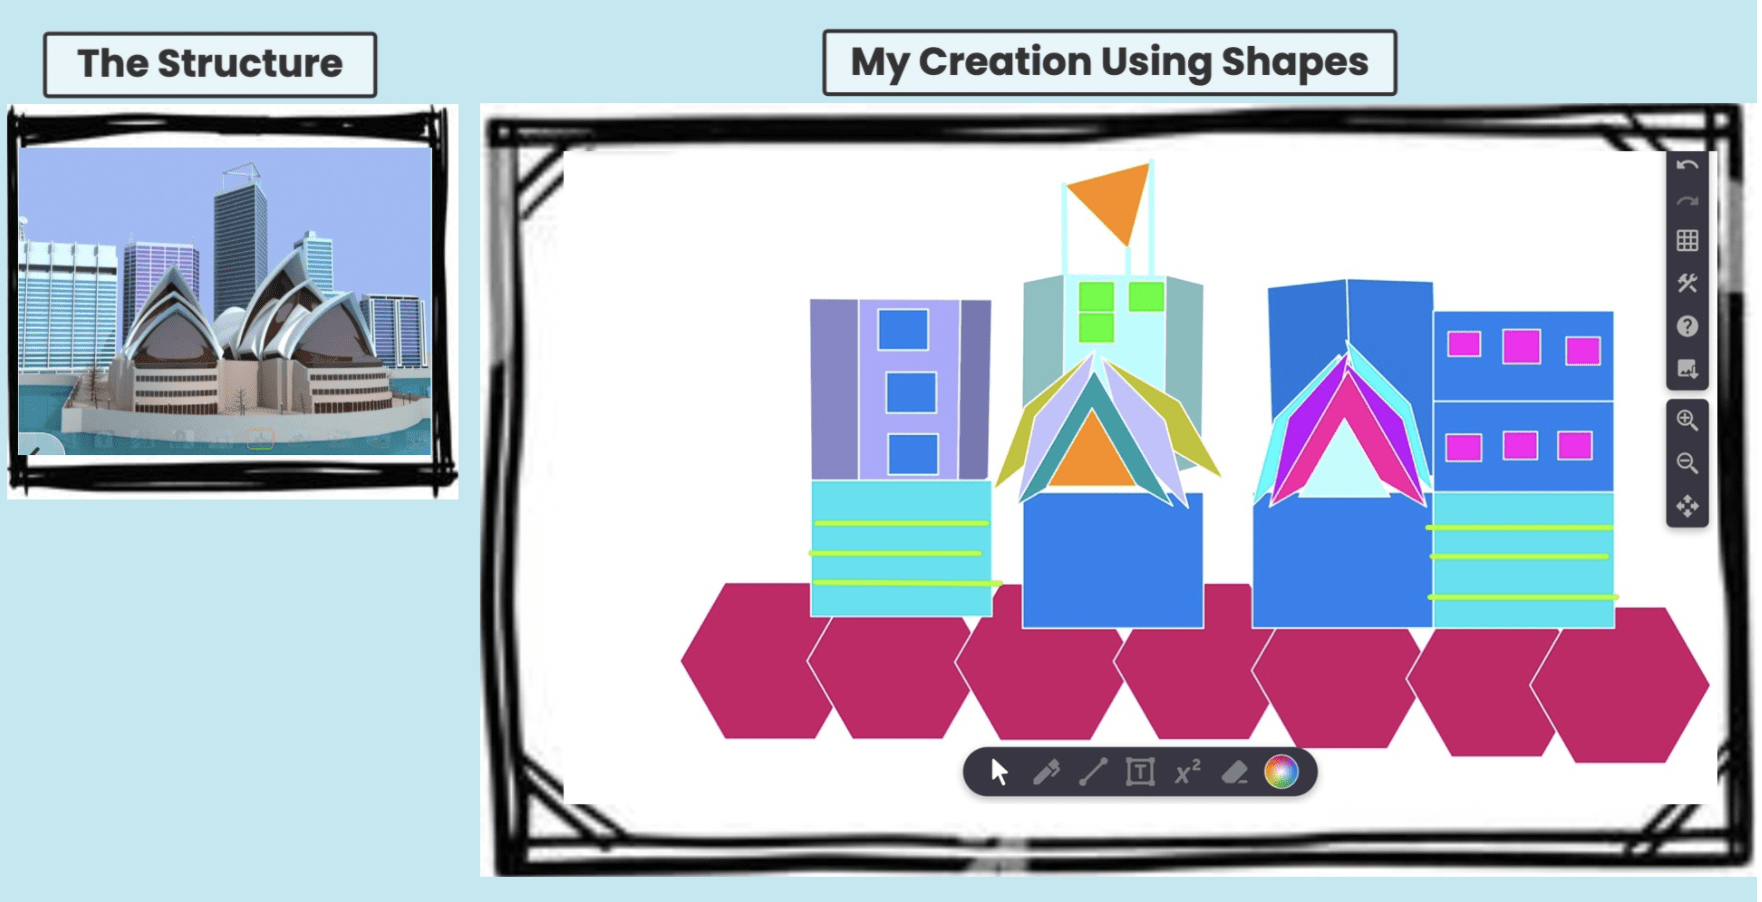
The Shape Test
A paper cube that Oliver made after the paper experiment led to a discussion about 3-dimensional shapes.

 The team wondered about the strength of paper shapes and decided to test their theories.
The team wondered:
- if some paper shapes were stronger than others.
- which shapes they could make to test their theories.
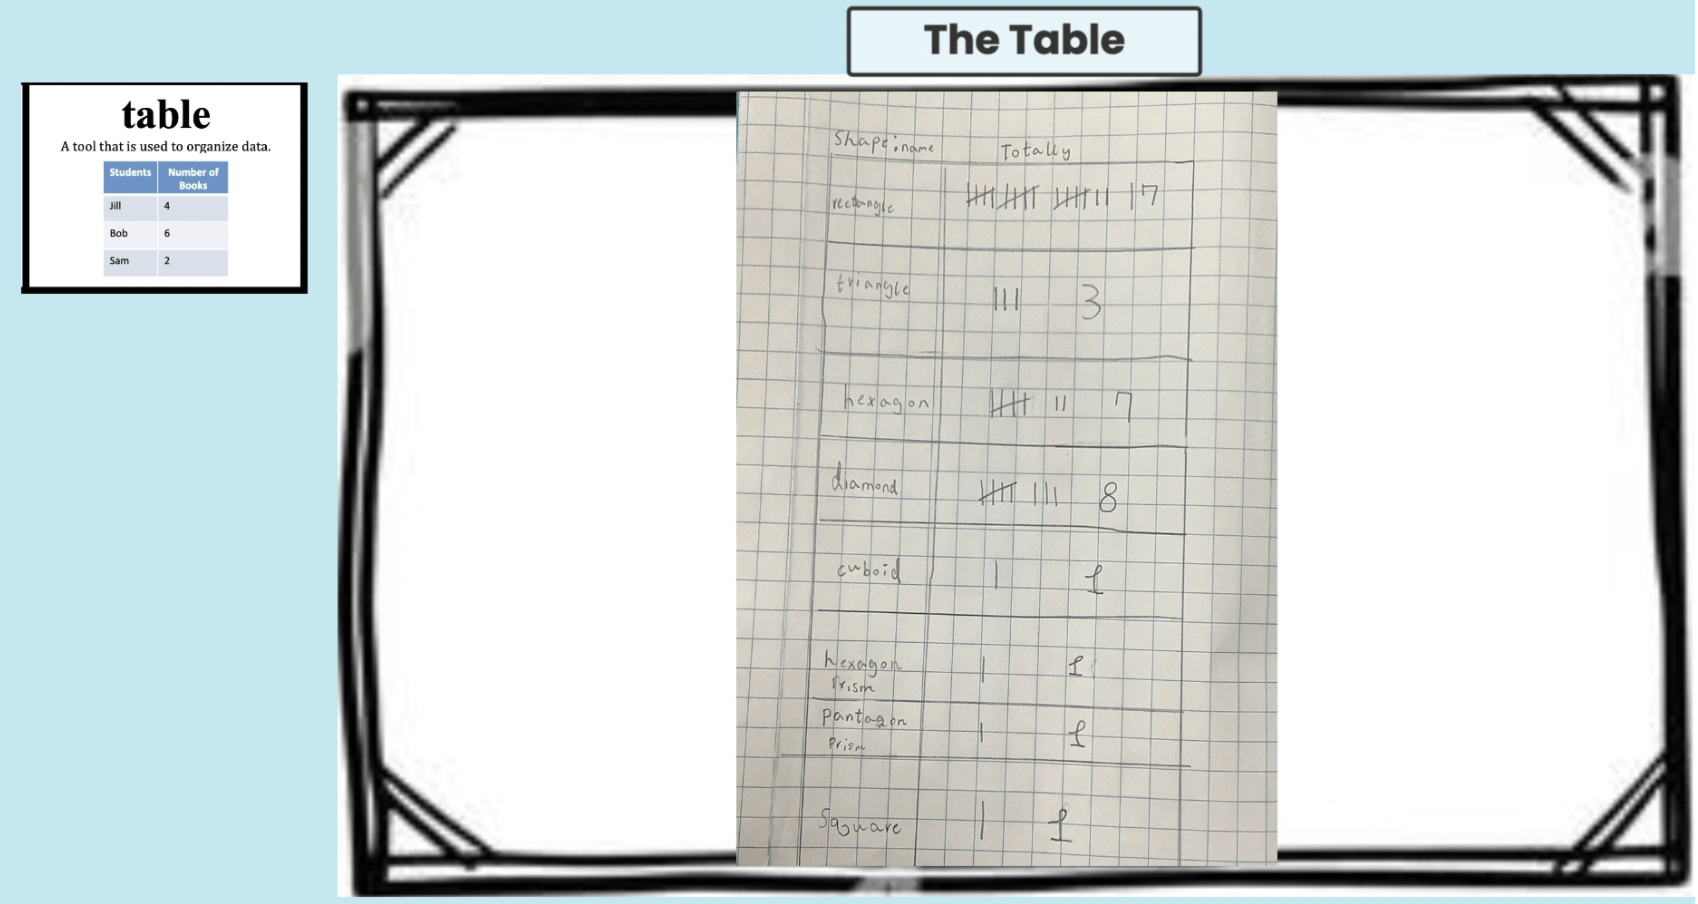
The team recalled a previous learning experience of going on a shape hunt and decided to refer back to the activity to choose the 3-dimensional shapes they wanted to make and test. When choosing the shapes Oliver stated, “Sphere is impossible for me cause how can you fold the paper round. I want to make a cylinder!”
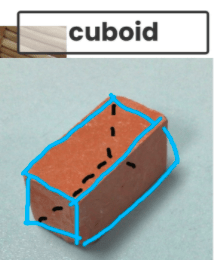
Eli pointed at the pentagonal prism, “I want to make that one.”
Having thought about their options for paper, they decided to choose card stock instead of paper for their test as they believed it would be stronger than the A4 paper.
 Oliver made his first paper cylinder by rolling up the paper and fastening it with tape. However, he quickly noticed that the edges weren’t flat and realised that this would impact the test. He decided to make a second cylinder, taking care to keep the edges of the shape levelled. During testing, Oliver discovered that the top and bottom edges of his first cylinder were not stable enough, so he decided to make a new cylinder.

 Having looked at the pentagonal shape, Eli realised that to fold a pentagon, he needed to divide the paper into five equal parts. Eli initially used a ruler to draw lines but found that the width of one ruler was too narrow, which resulted in a lot of extra space at one end.
Then, decided to use the width of two rulers, but each section was too wide and there wasn’t enough space on the card for 5 equal sections.
Eli shared this challenge with the teacher, explaining that he wanted to divide the long edge of the paper into five equal parts.
Having heard Eli’s challenge, the teacher decided to bring Eli’s attention to the concept of measurement to think about what he already knows about the function of hash marks and numbers on a measuring tool.
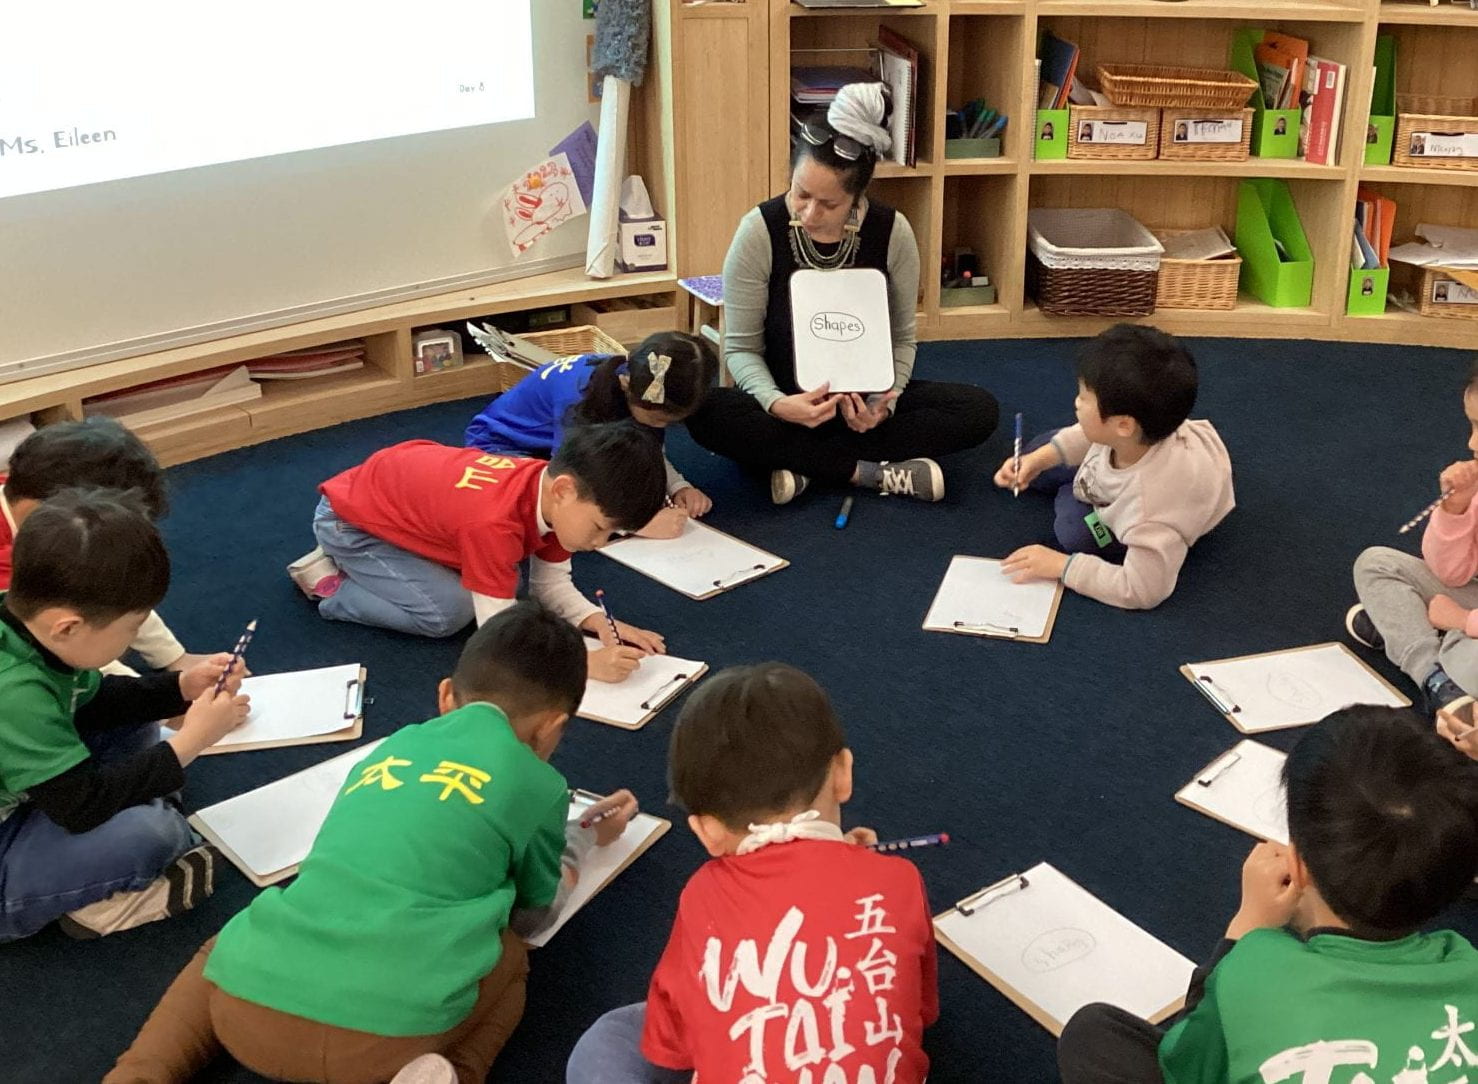
Ms. Eileen “How long is that edge? How did you measure it?”
- Eli thought about this and then pointed to the ruler and said, “Use ruler.”
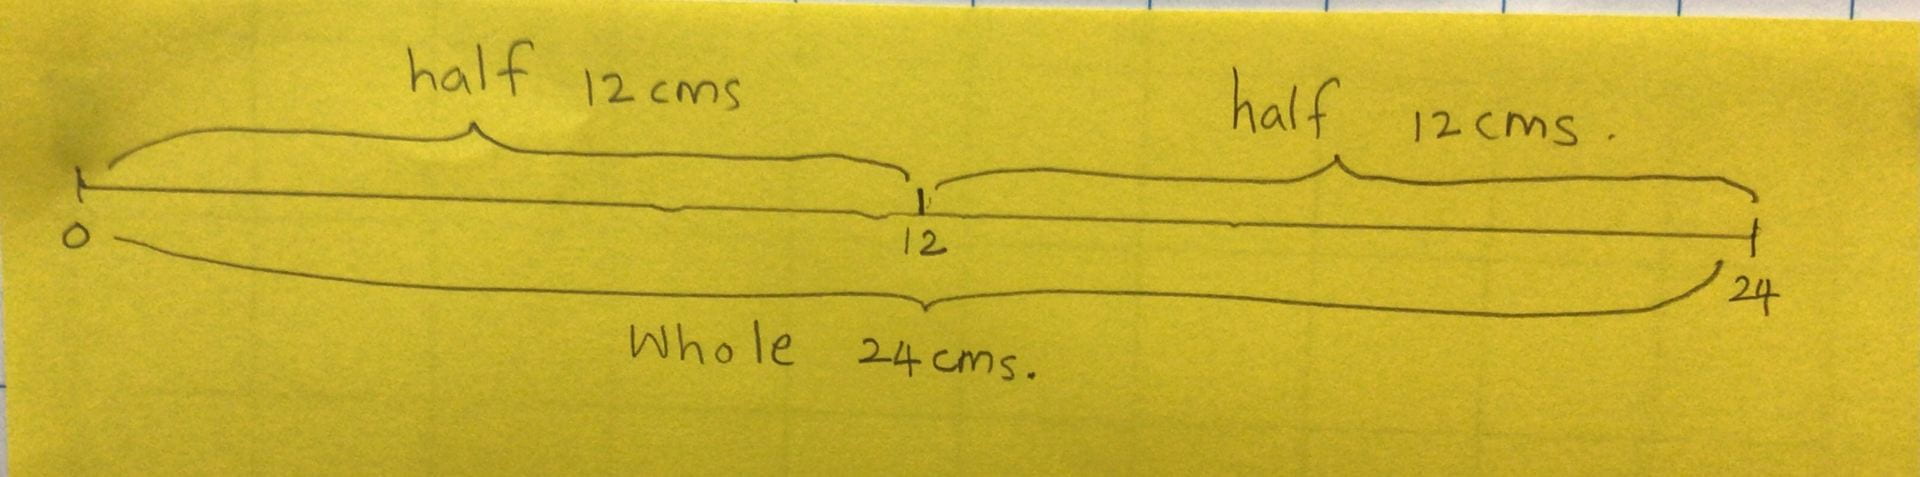
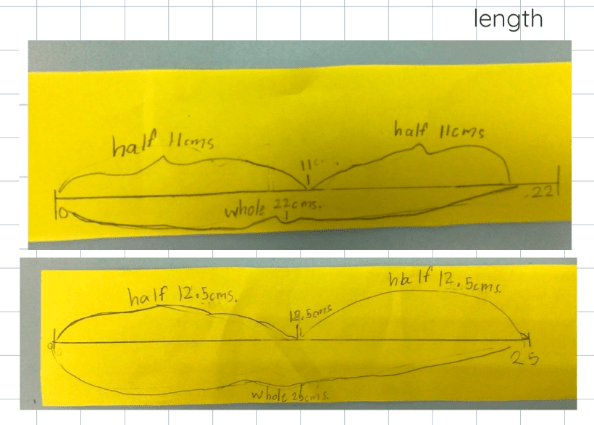
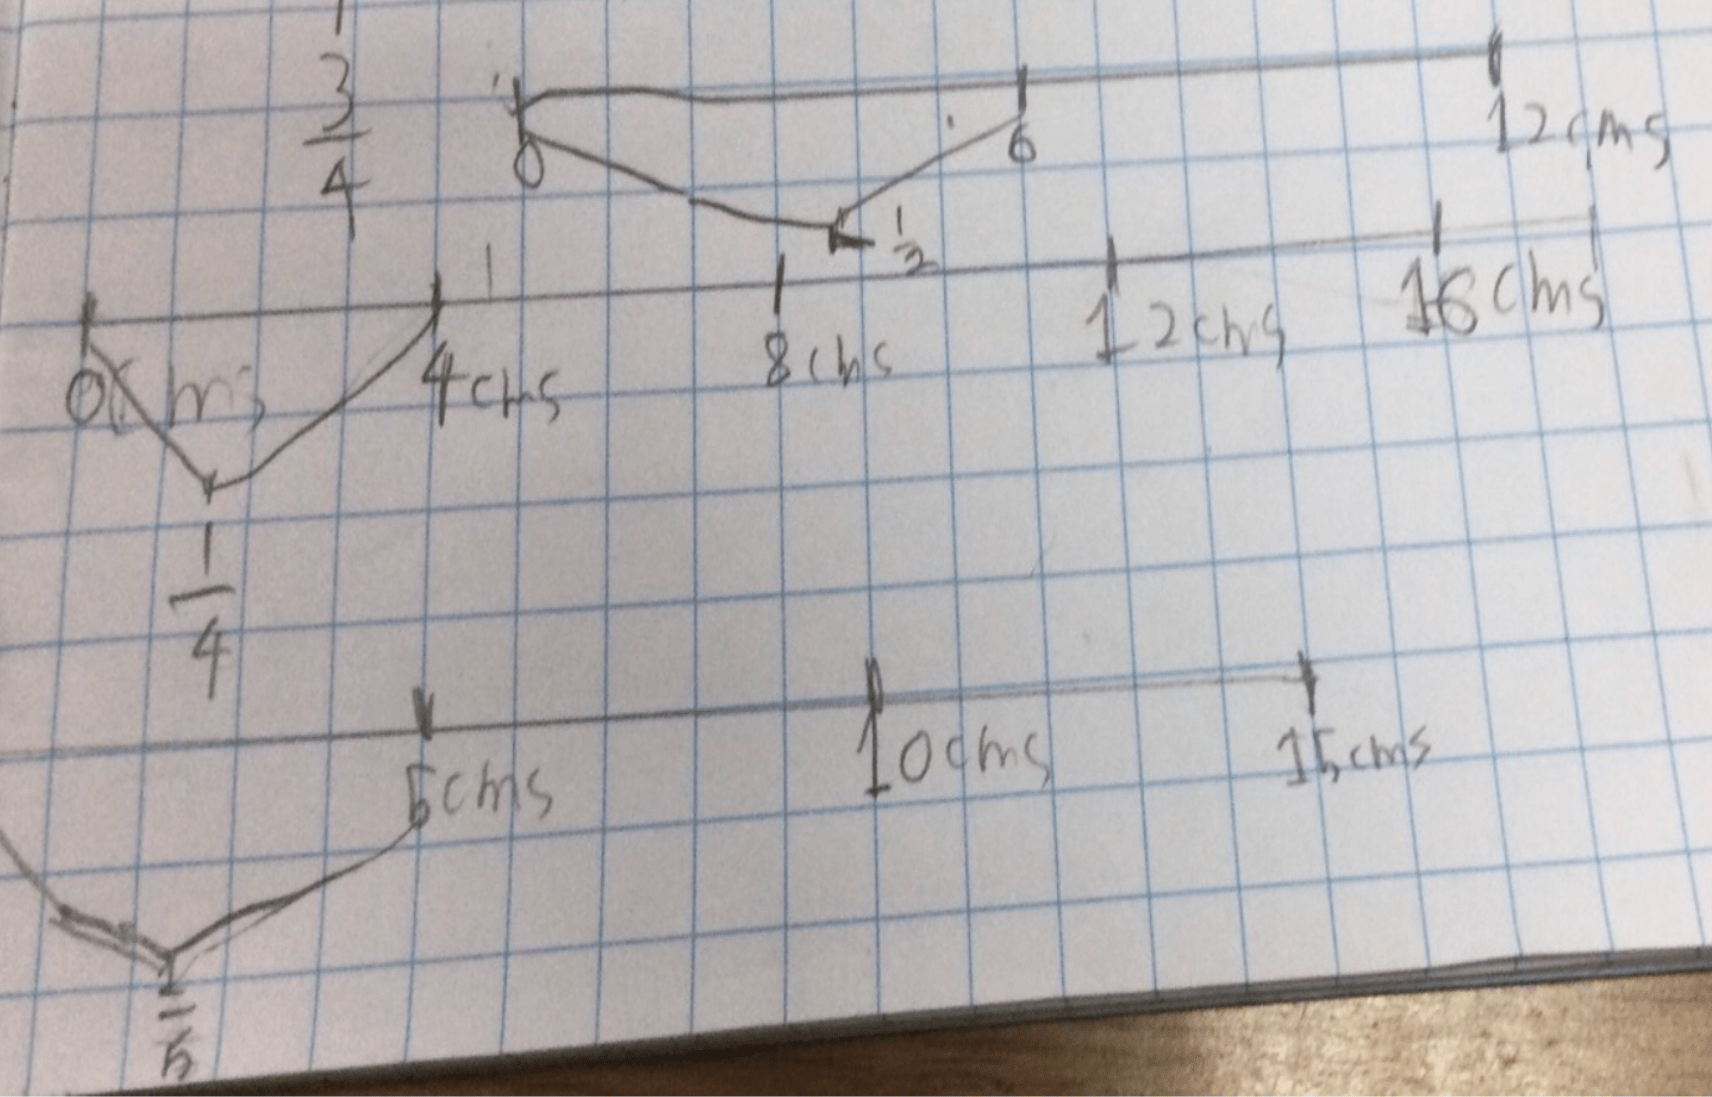
Eli used the ruler to solve his measurement challenge, learning that the length of the paper was about 30 centimetres.
Ms. Eileen “How can we divide 30 into 5 equal parts?”
Eli found the unit cubes and counted out 30 unit cubes to represent the 30cms. Then, he divided them into 5 equal parts, with each part being 6cm.
 Finally, Eli drew out the lines and folded his paper pentagonal shape for the test. The researchers were now ready to test their shapes!
 The team decided to choose books that were of a similar size for their test. As they placed one book at a time on the shapes, they began to see that although the shapes were made with paper, they were extremely strong.
The team had enough books to reach a total of 19 books for each shape. Then, they ran out of books!
As they didn’t have enough of the same books in the classroom to support the progression of the experiment, they decided to test their shapes in the library.

The team’s paper and shape experiments have allowed them to think about the function of shapes and materials in design and engineering and the impact of forces like compression and tension that act on structures. Through their experimentation, they continue to explore how the design can impact the strength and stability of structures.


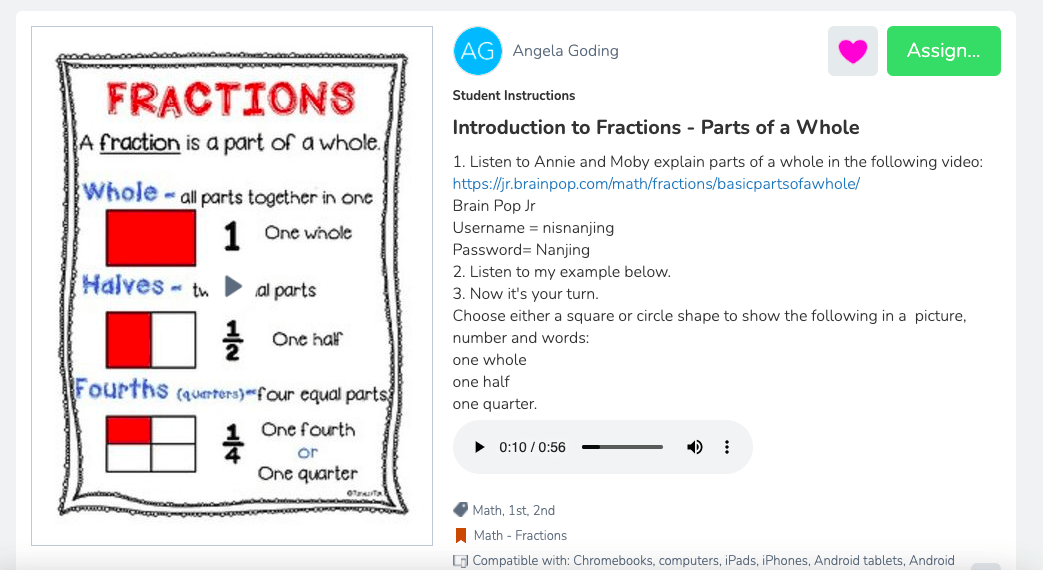


 Online Leaning


