Domino Effect – How does it work?
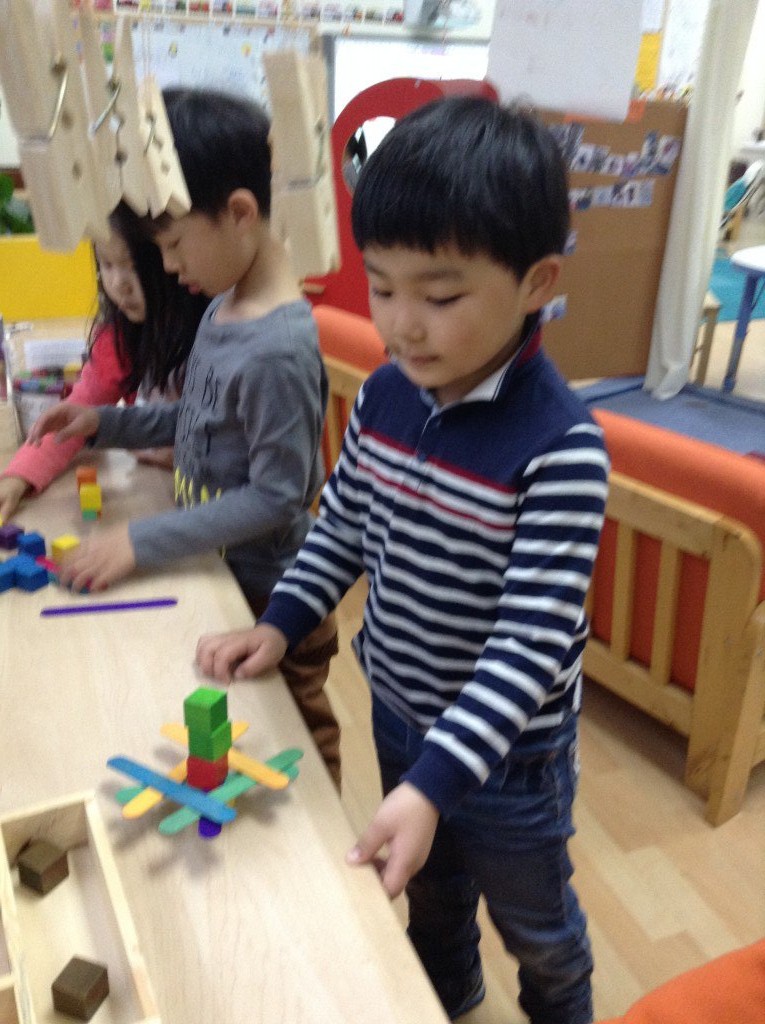
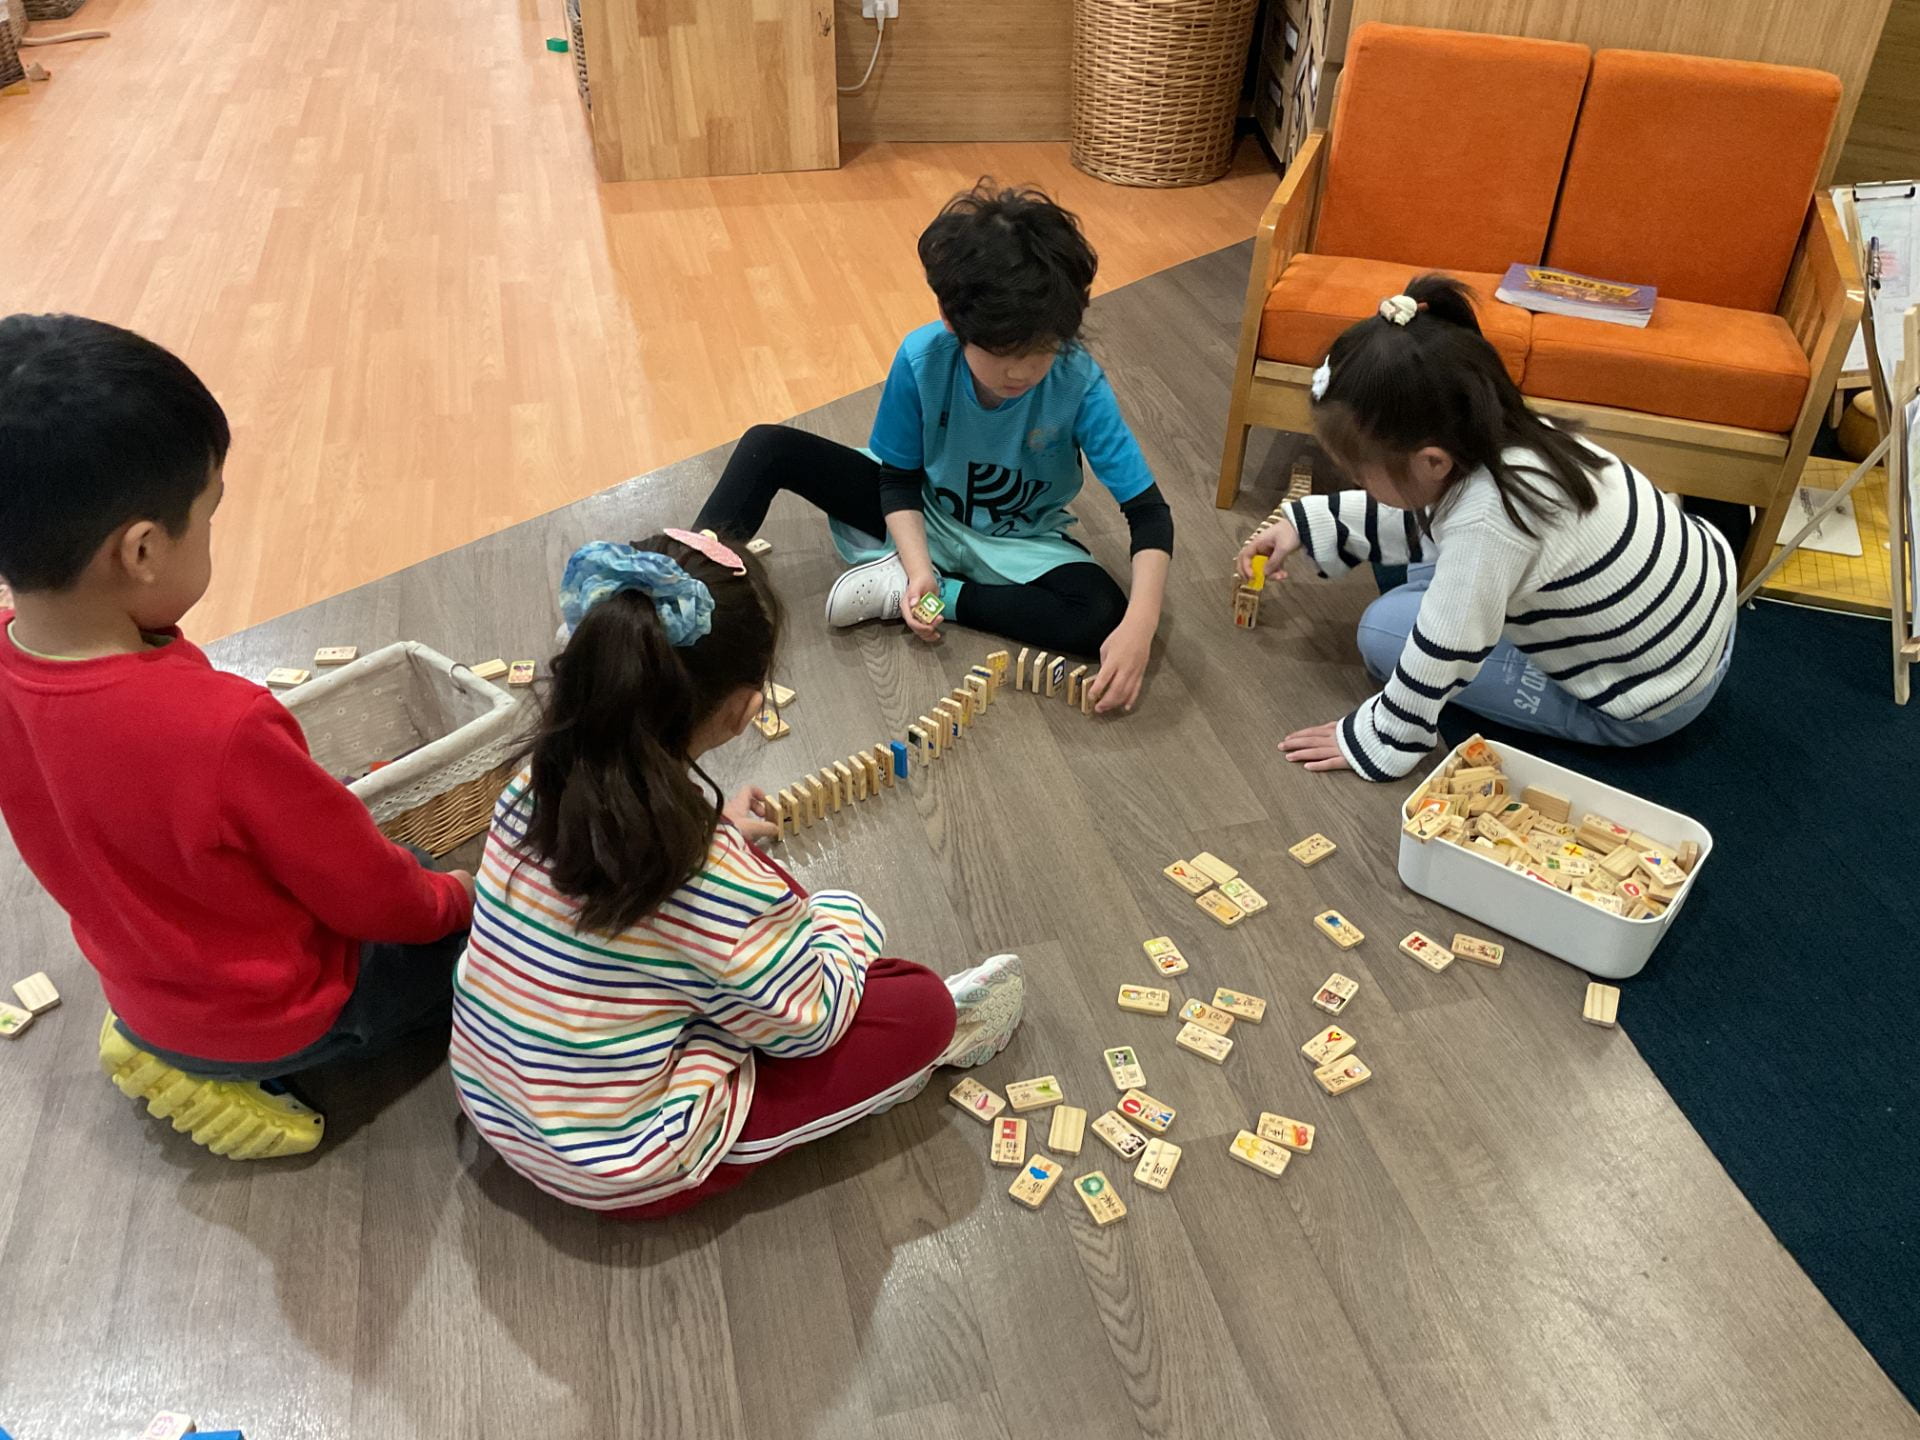
A group of children were interested in using Domino’s to create a game. They began to prop the dominoes up next to each other, to create a structure that would produce the domino effect. Each time they placed a few Dominoes, they fell over. 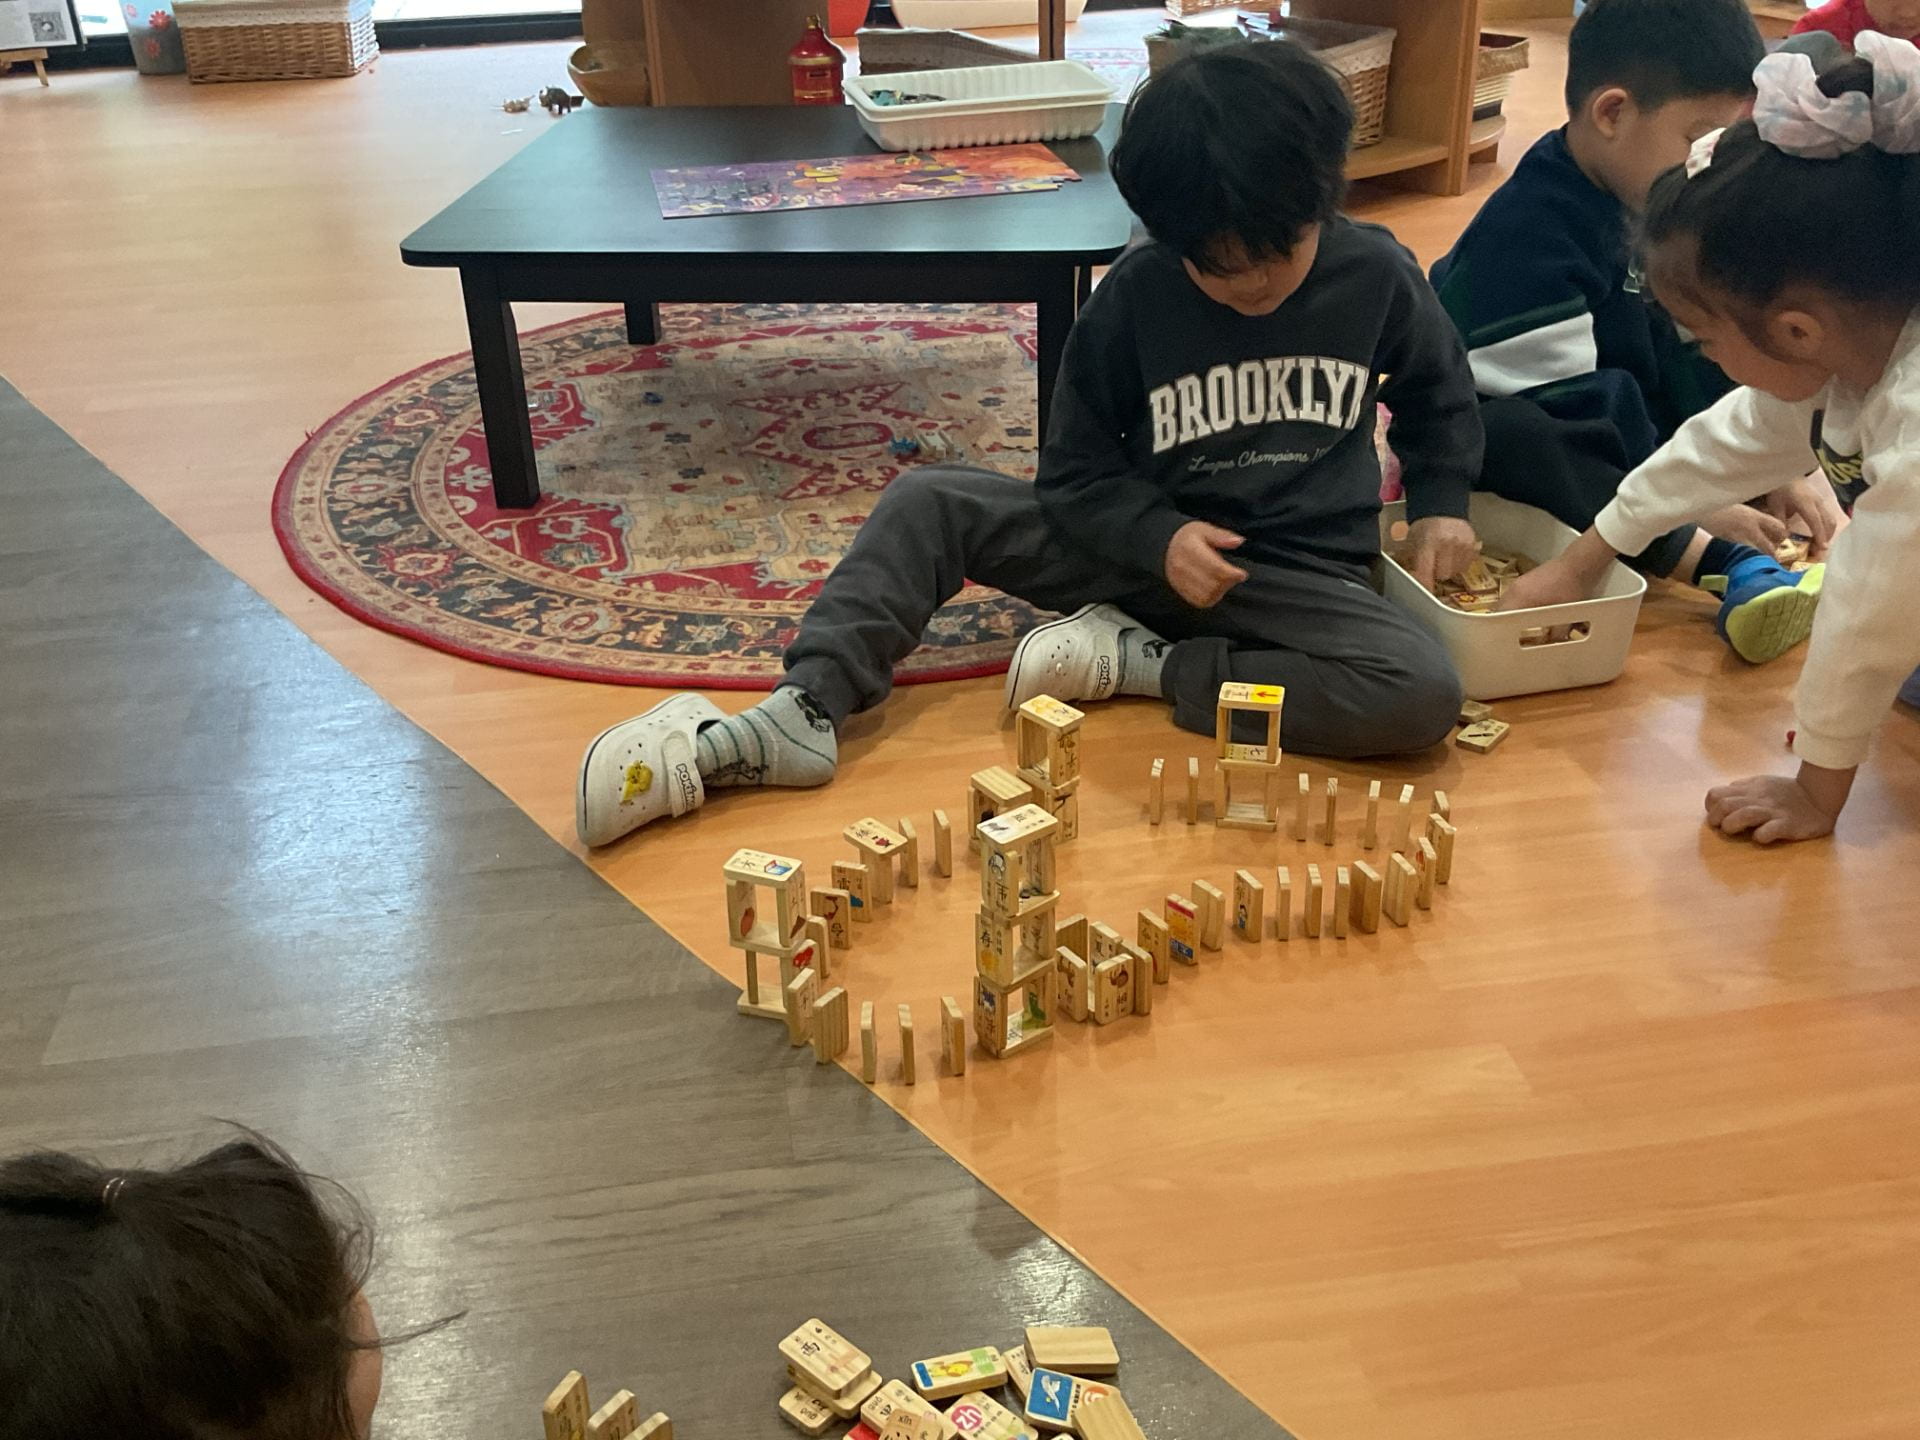
How can we make the challenge more interesting?
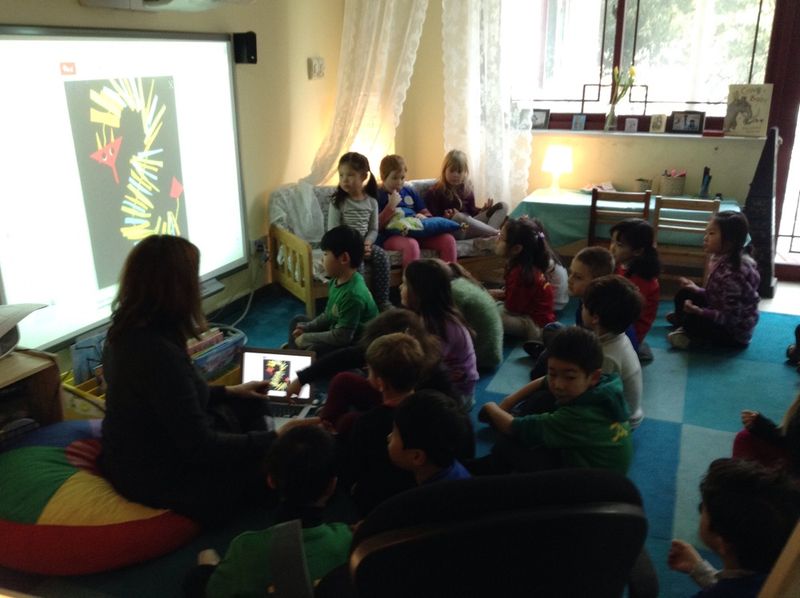
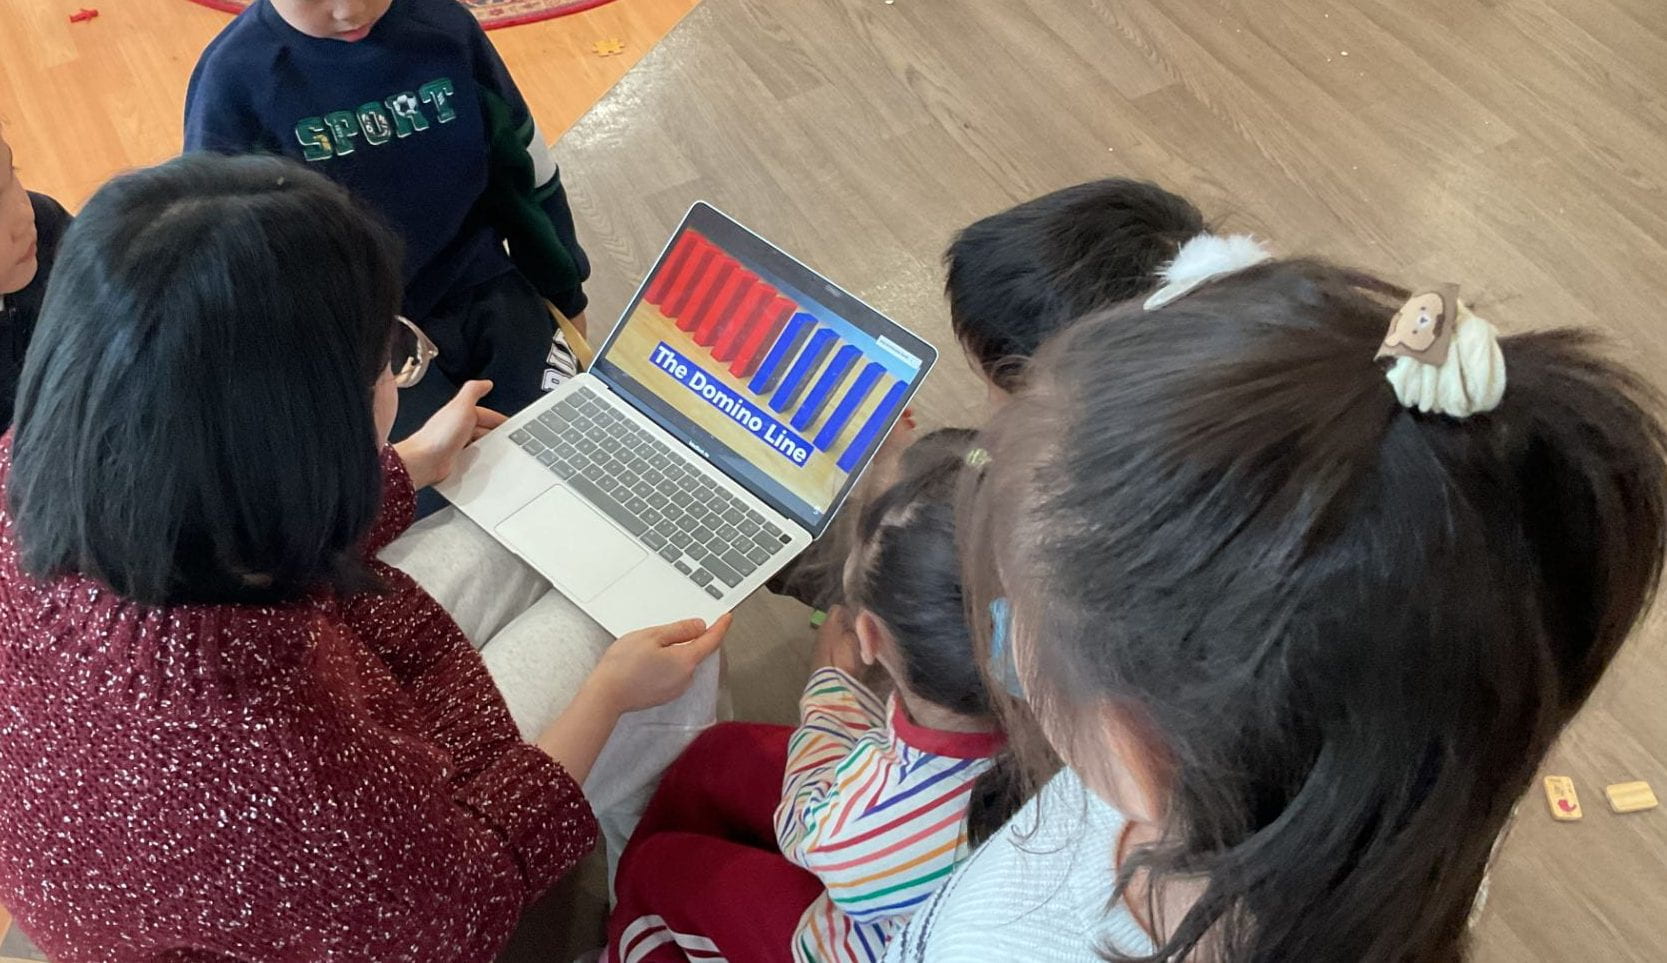
Noticing the children’s interest in creating the domino challenge, we decided to share a video that shared many different ways to create the challenge using a range of materials and toys to make it more exciting.
Isabella recalled watching a similar video in the past. She was excited by all the ideas that were shared.
- Ciel “Why do we need to watch the video?”
- Euno “Because this important because Grade 5 made this game.”
- Isabella “Because you can build it yourself in different ways.”
- Sea “We can make it together it is fun.”
- Junsu “We make more blocks and make fantastic fun.”
- Dahyun “Because then we can make play for some things.”
- Isabella “Because you can build more cooler stuff.”
- Euno “We watch the video and we can make dominoes fun and we can play and be happy.”
- Ciel “We can make and watch, then we will be good at dominoes.”
What are some important things to consider when we play with the dominoes?
- Ciel “We need to tidy up when we are finished.”
- Evan “Make a story with dominoes.”
- Junsu “Dominoes is broken then they go straight and push and then fall.”
- Dahyun “Be kind to each to each other and kind hands and kind voice.”
- Isabella “We need to say kind words. Nice words.”
- Suzy “We can’t do too loud or else people’s ears will hurt.”
- Euno “We need to be safe with dominoes because we don’t have space and people kick the dominoes because we can’t see. SO careful to play dominoes (accidentally kick it).
- Sea “We be kind to dominoes because dominoes fallen down the floor and people will slip and their back is hurt.”
- Dahyun “We need to be kind or people be sad.”
The team went back to work on the chain. They persisted till they created a long chain. More children wanted to join in as it looked like fun! The domino chain spanned the width of the classroom. The team was ready to test the chain reaction. Gently, they pushed the final domino forward hoping for the others to come crashing down. However, the chain reaction only resulted in a few dominoes falling over each time, which resulted in the team knocking some over until they reached the end.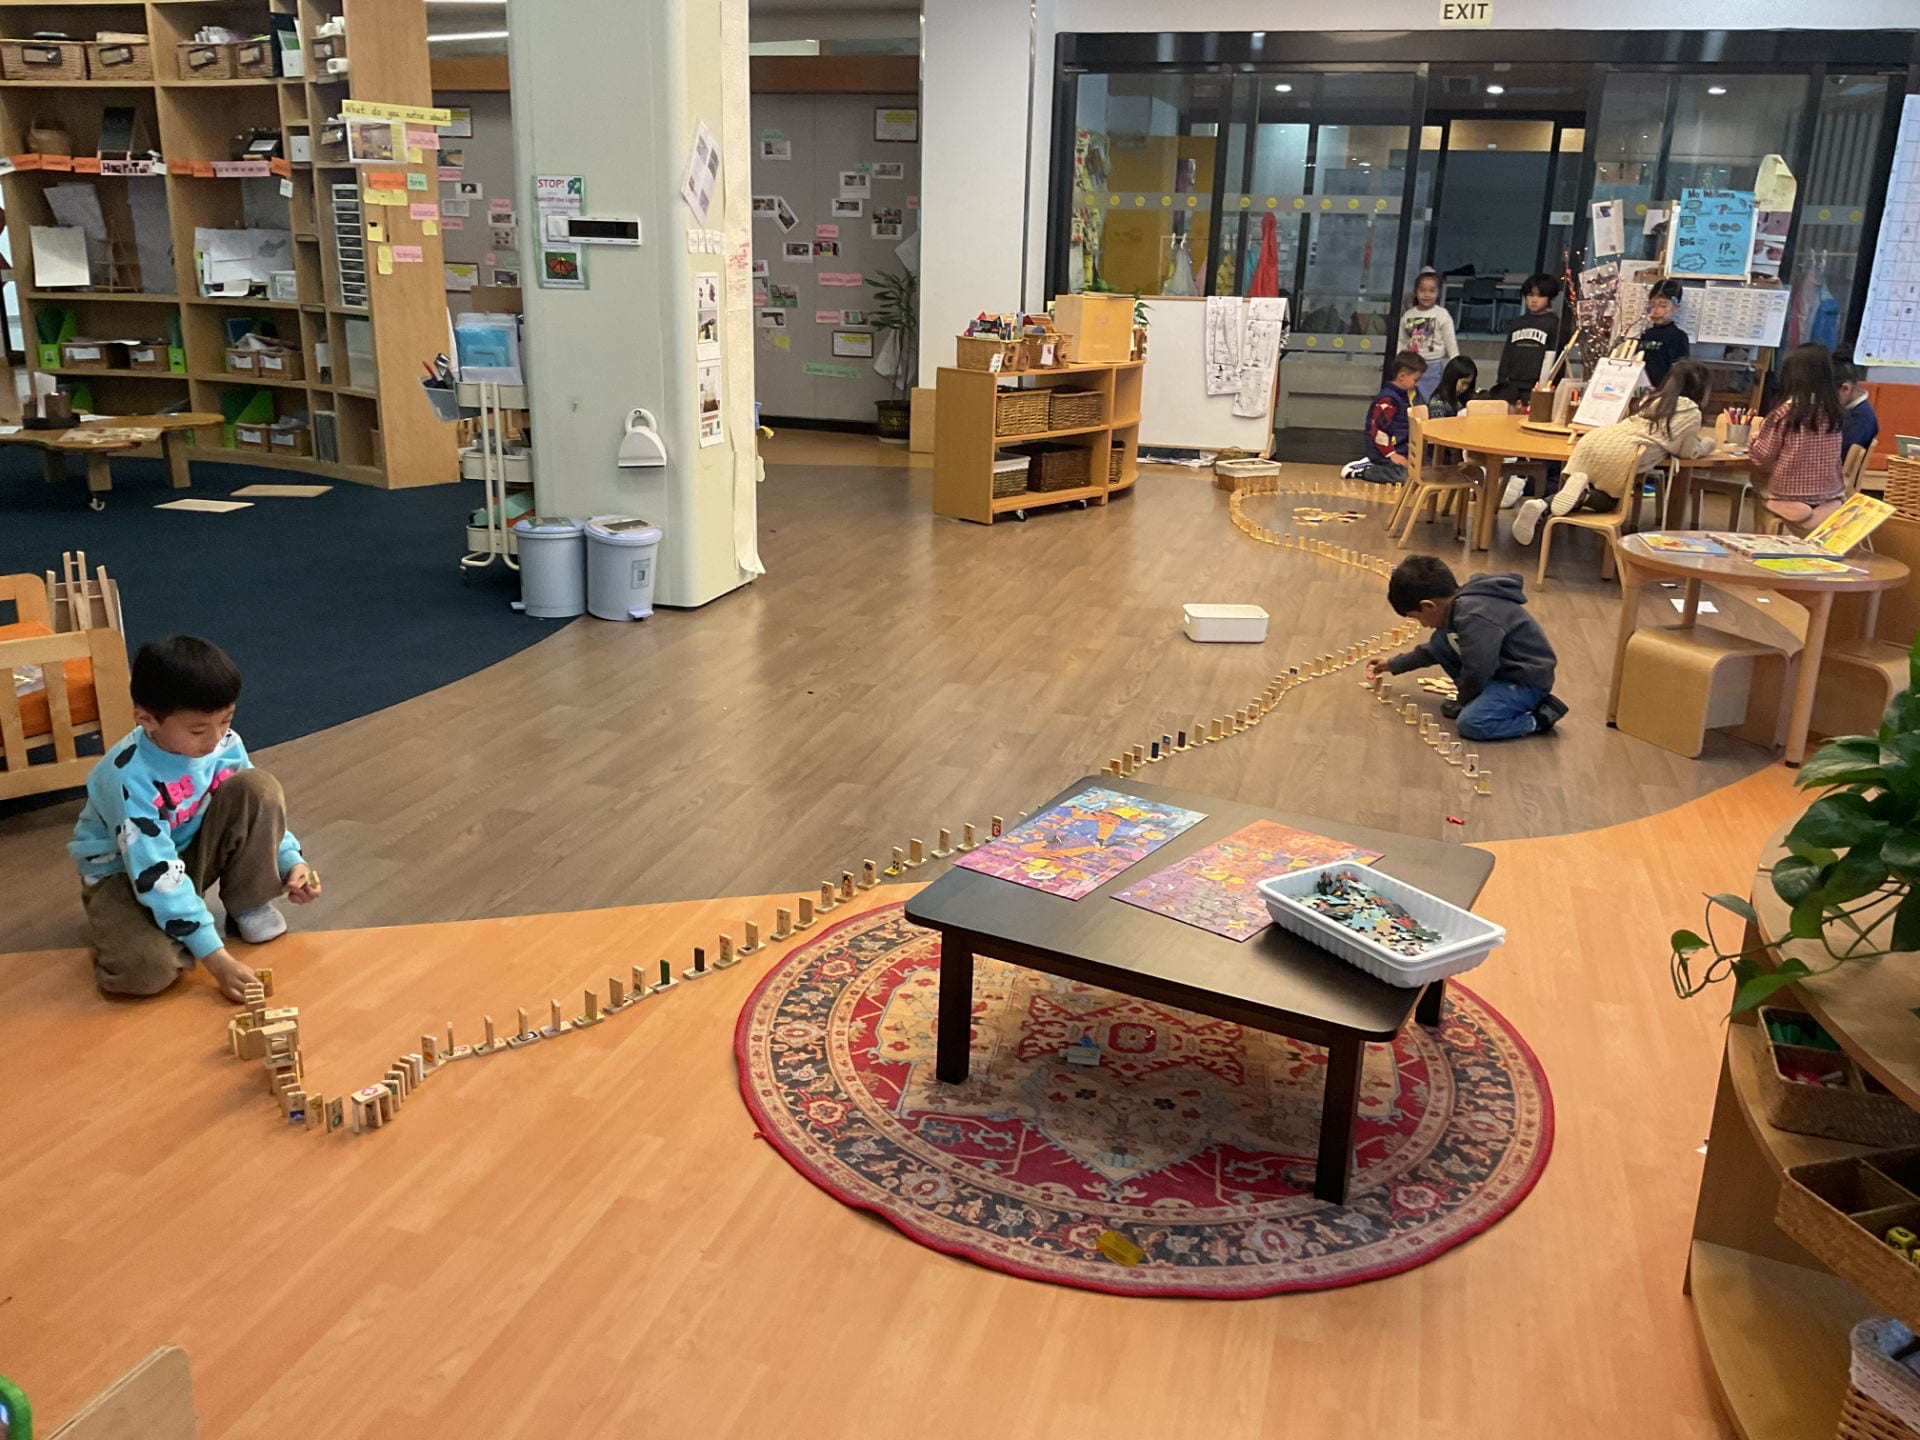 Isabella watched what was happening, she said, “They need to be closer or it won’t work!” Ciel agreed and shared his observation too.
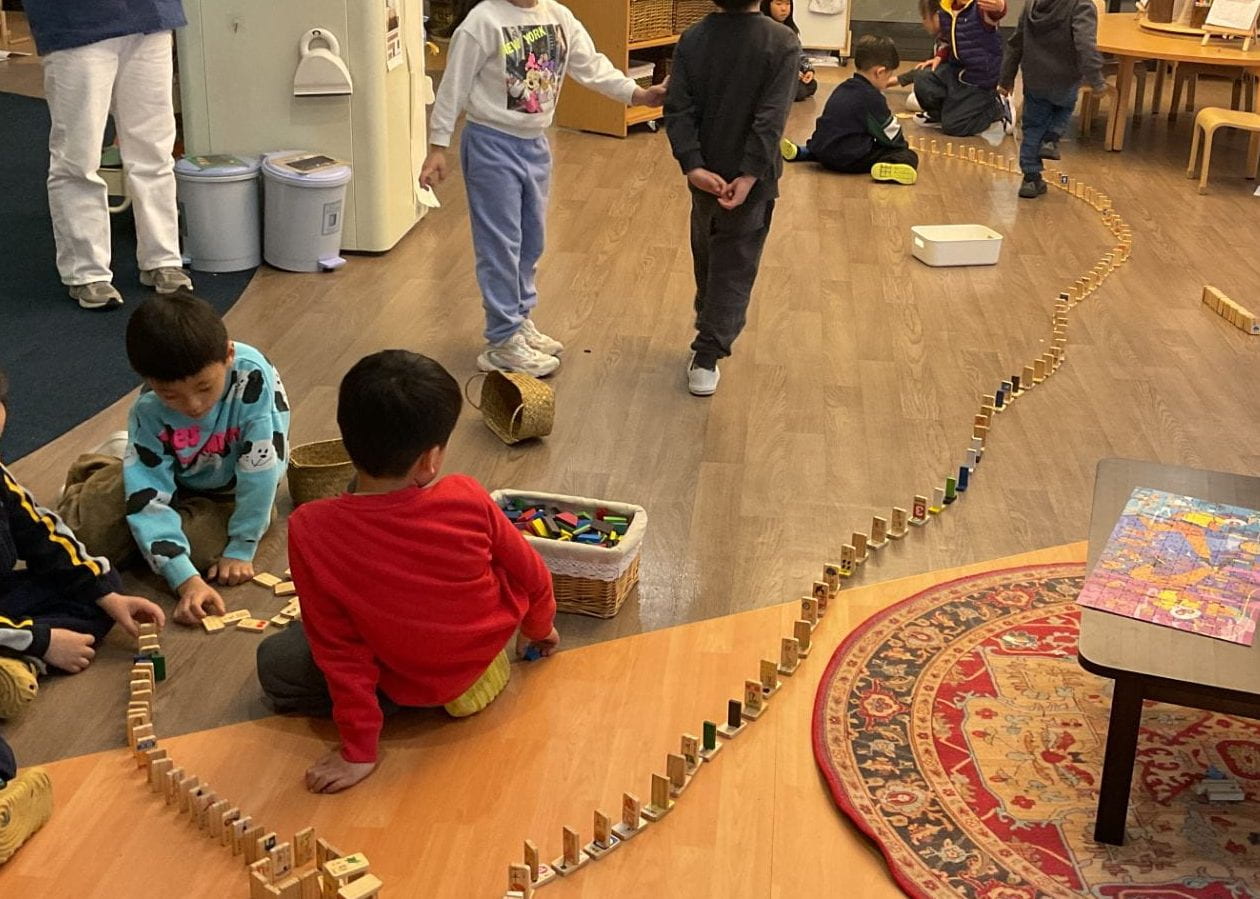
The next day Ciel went back to working with the dominoes. Others gathered around him and wanted to join in. They discussed who would use the different materials.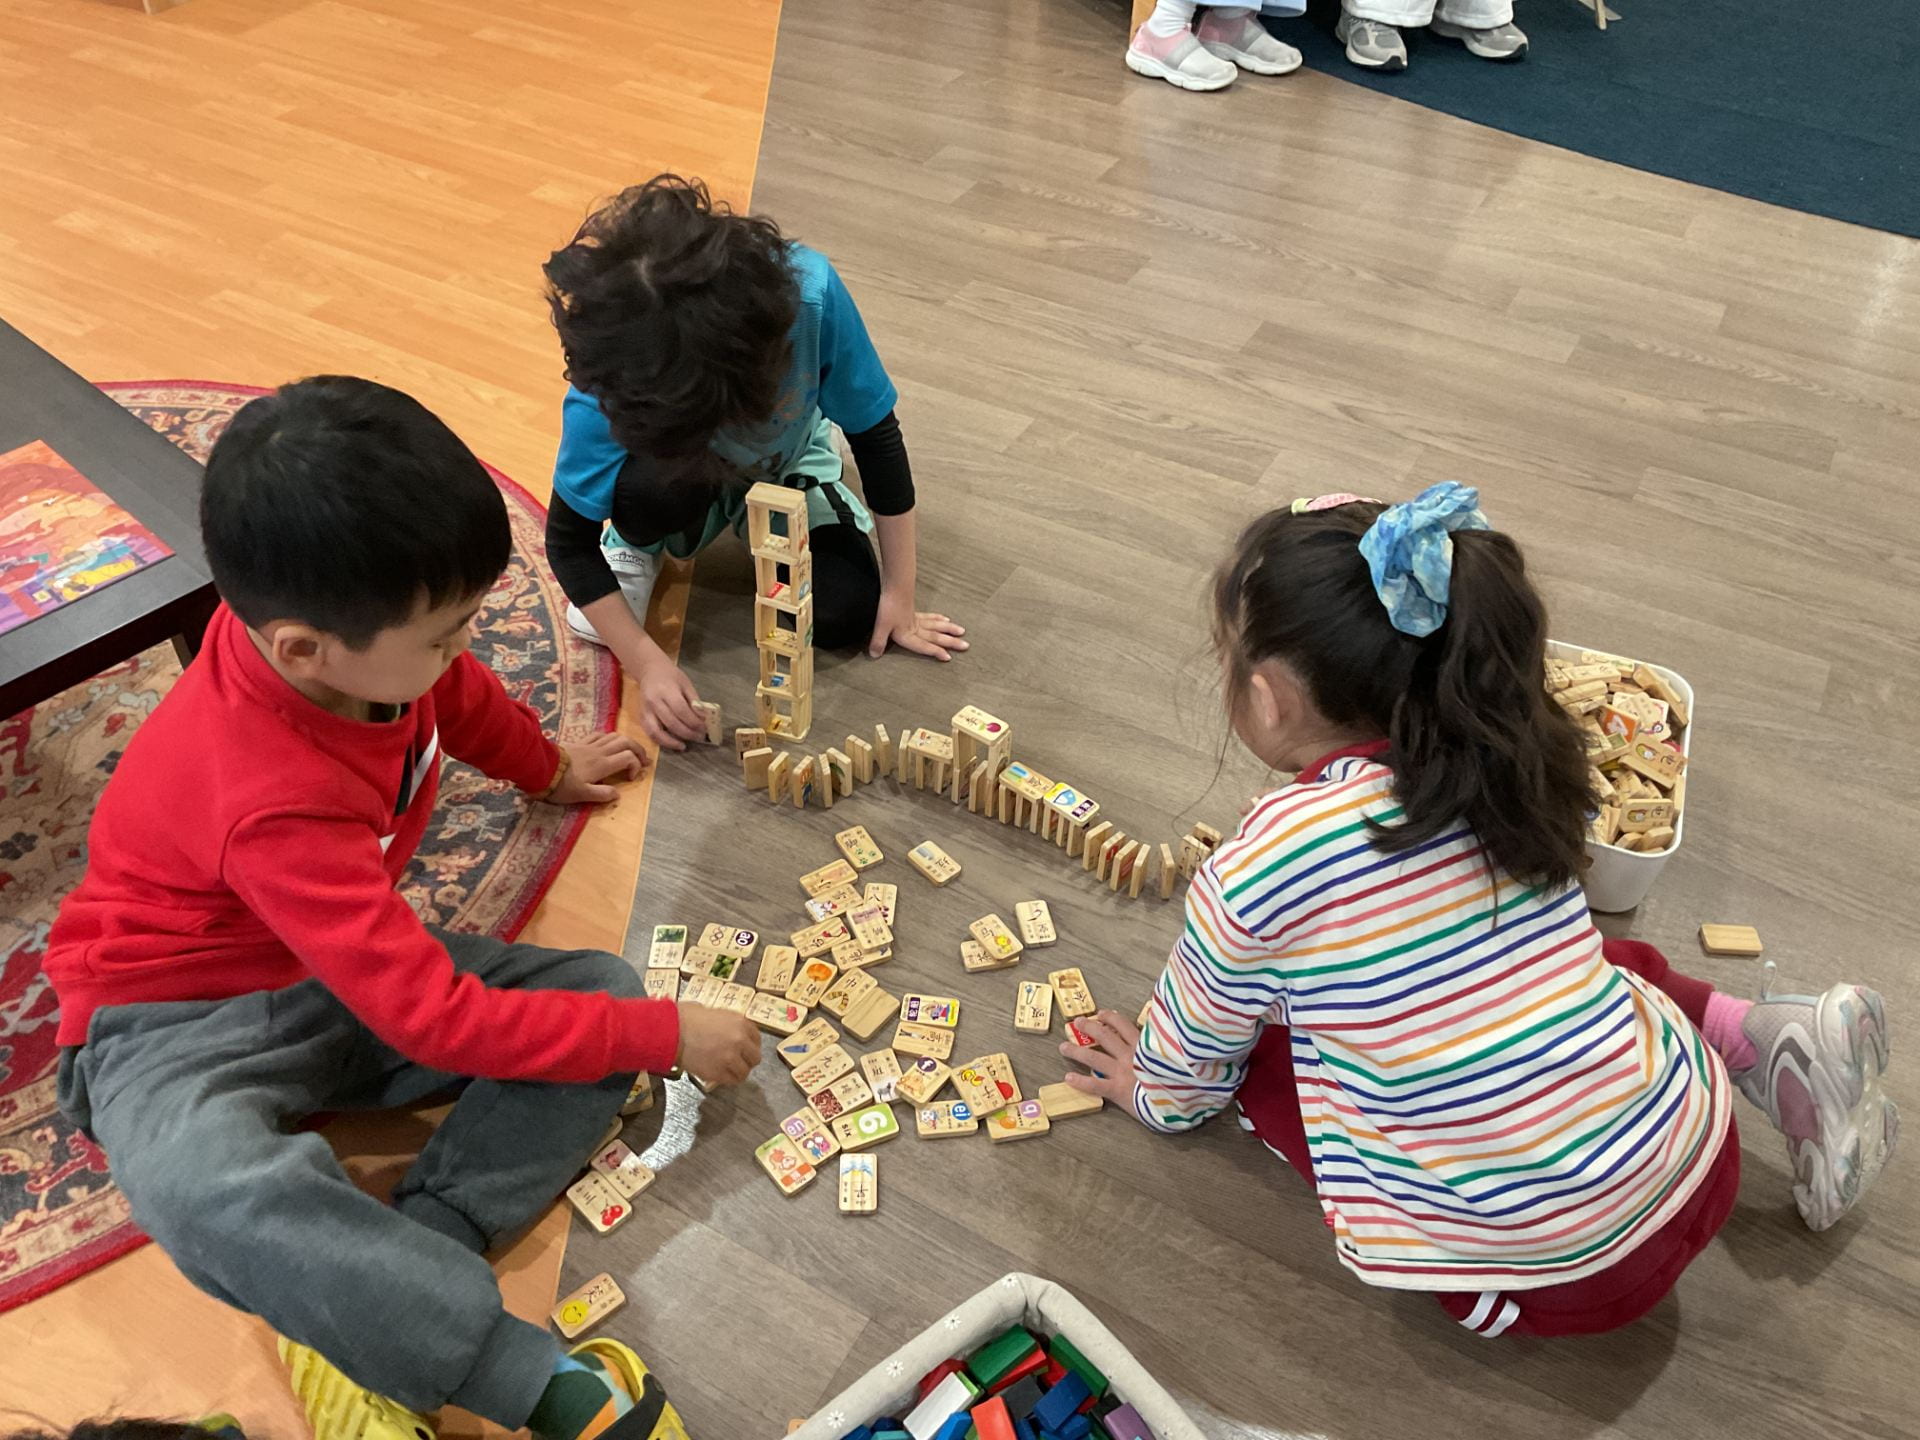
Ciel worked with Isabella. He made a few vertical structures, but they came down. Evan joined Isabella and Ciel.
Ciel “We can make a big circle inside the sofa!”

What information will help us create a successful chain reaction?
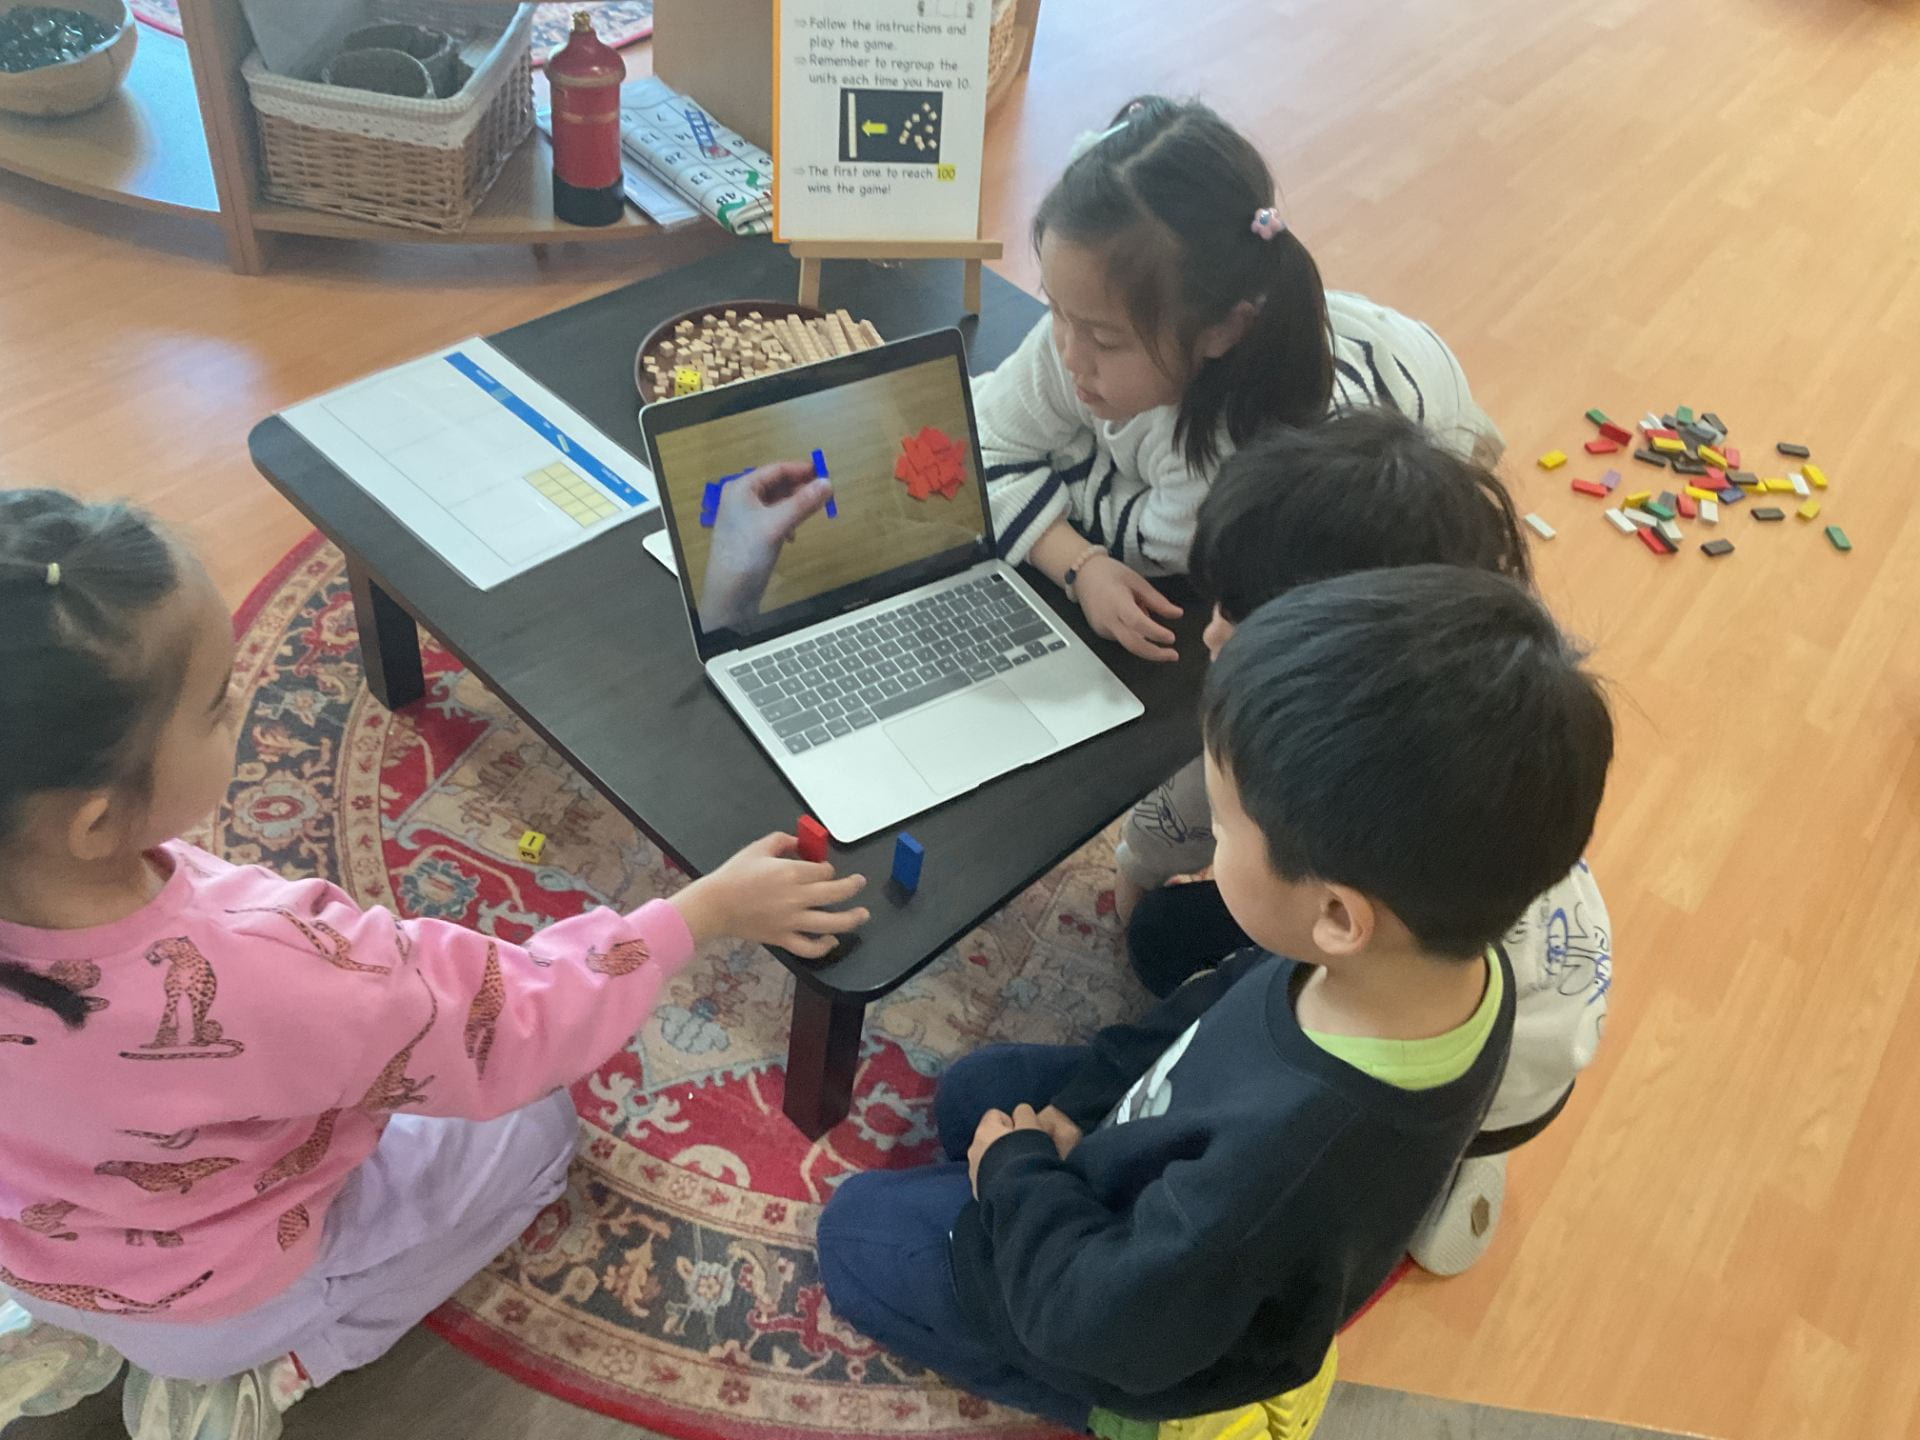
Over the next few days, the researchers continued to show their interest in creating the chain reaction. They wondered how they could create an effective reaction. Ms. Sophia suggested that they seek out more information to learn about the domino reaction. The team watched a video to see what they could learn.
- Isabella “We are watching the video of making the domino video.”
- Evan “Because we want to look at the dominoes because we don’t know what to build.”
- Ciel “I see the dominoes standing straighly.”
- Adalyn “We can look at the iPad we can learn how to build dominoes.”
- Isabella “When you put the dominoes you need to grab the bottom, not the top. If you grab the bottom it won’t fall down, if you grab the top it will fall down.”
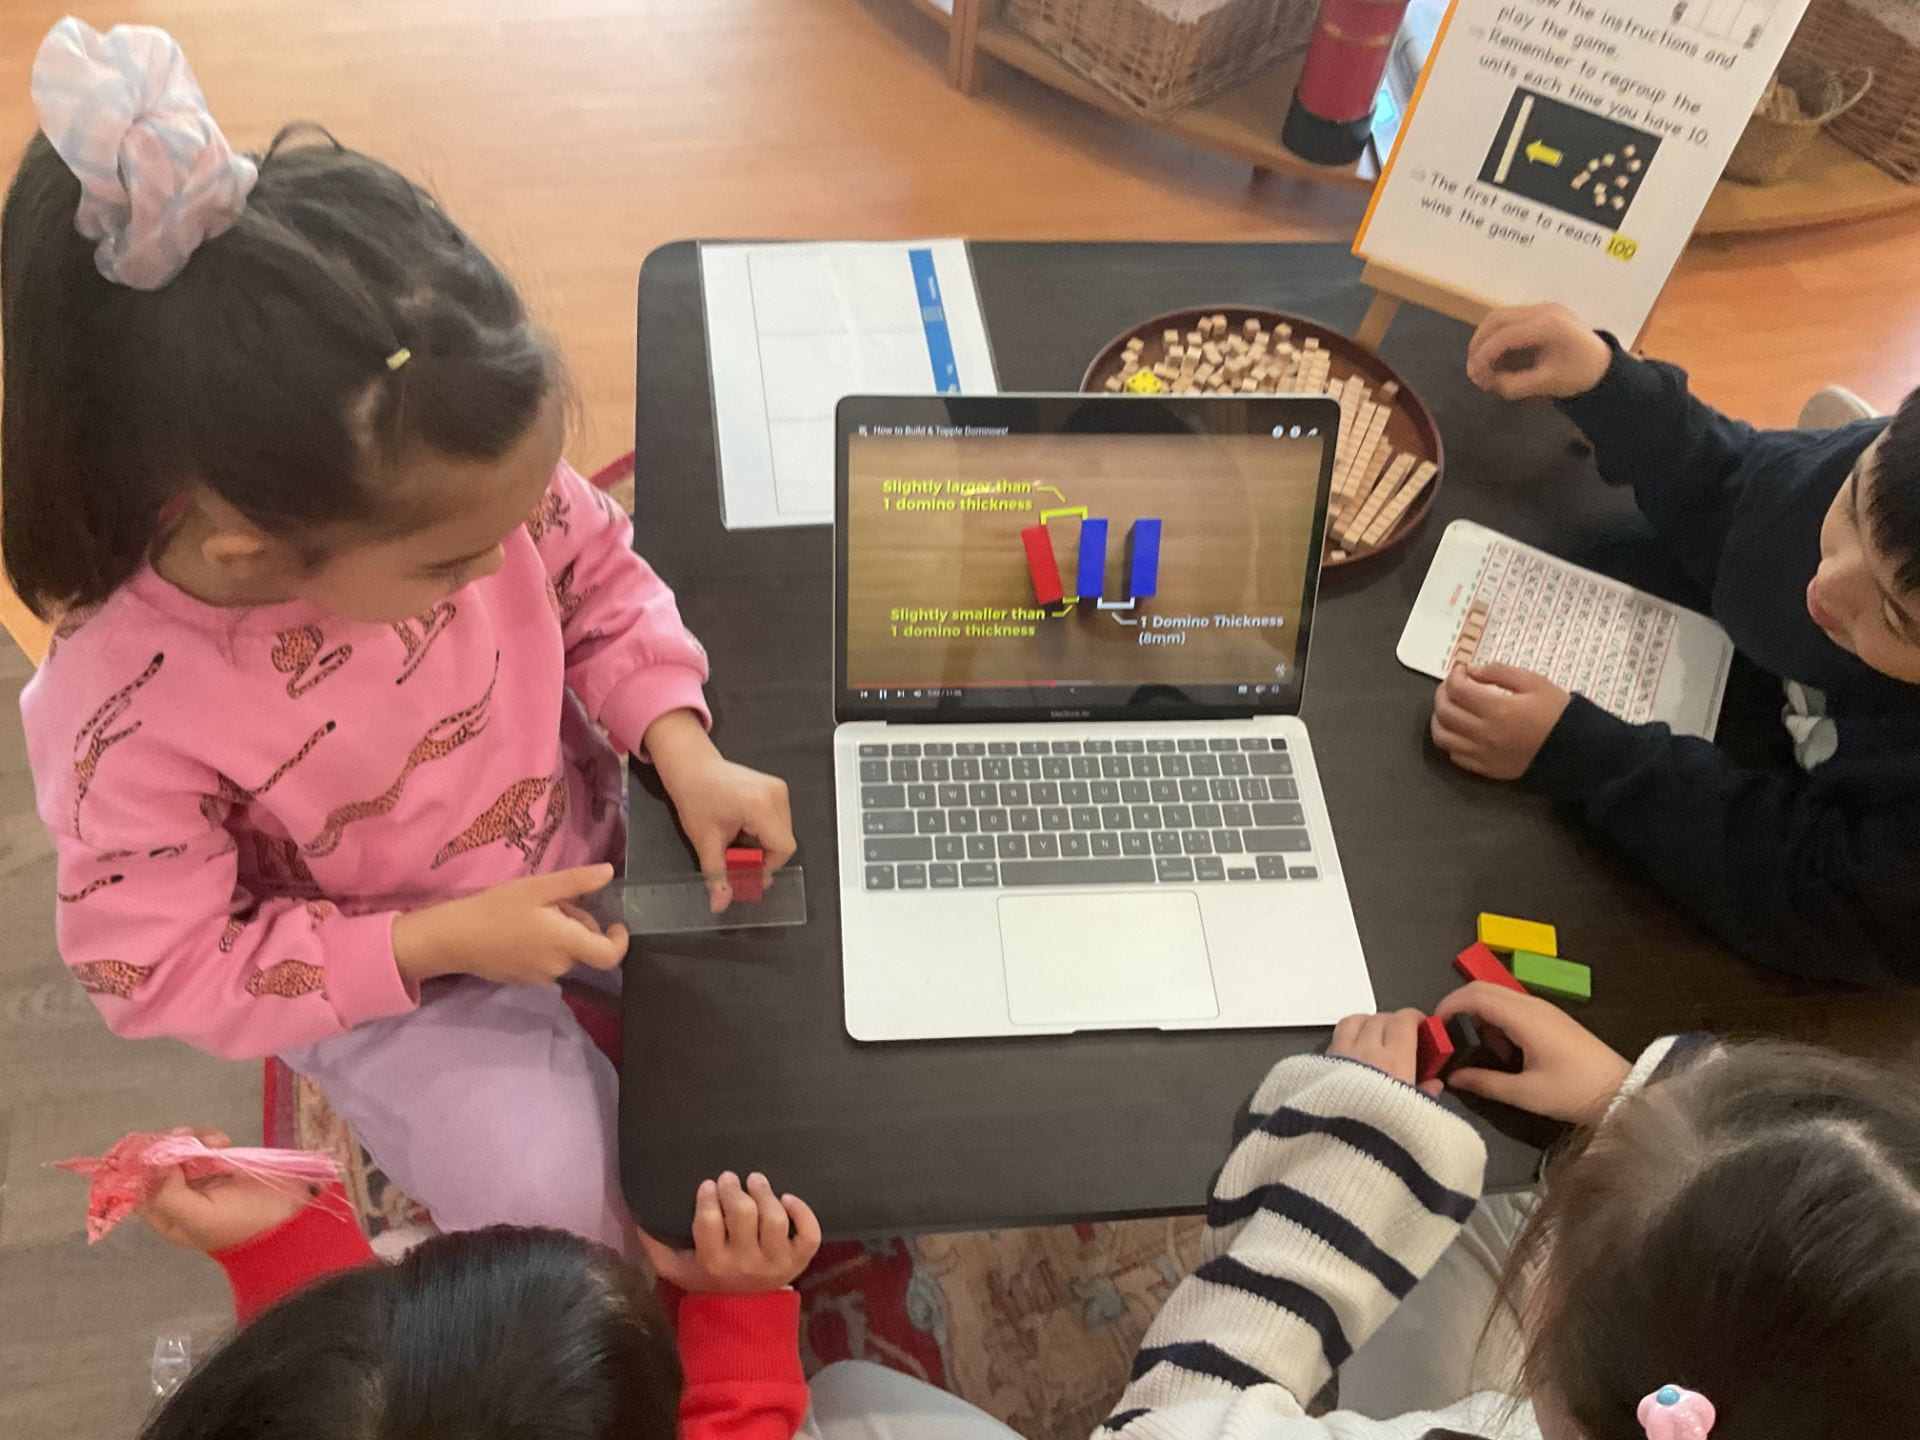
- Evan “When we are building the dominoes we need to put 2cms away from each other because if you do it too far away then only one will fall.”
- Isabella “It’s 0.8cms, the gap so it can fall down. 2cms is too far. It won’t fall down.”
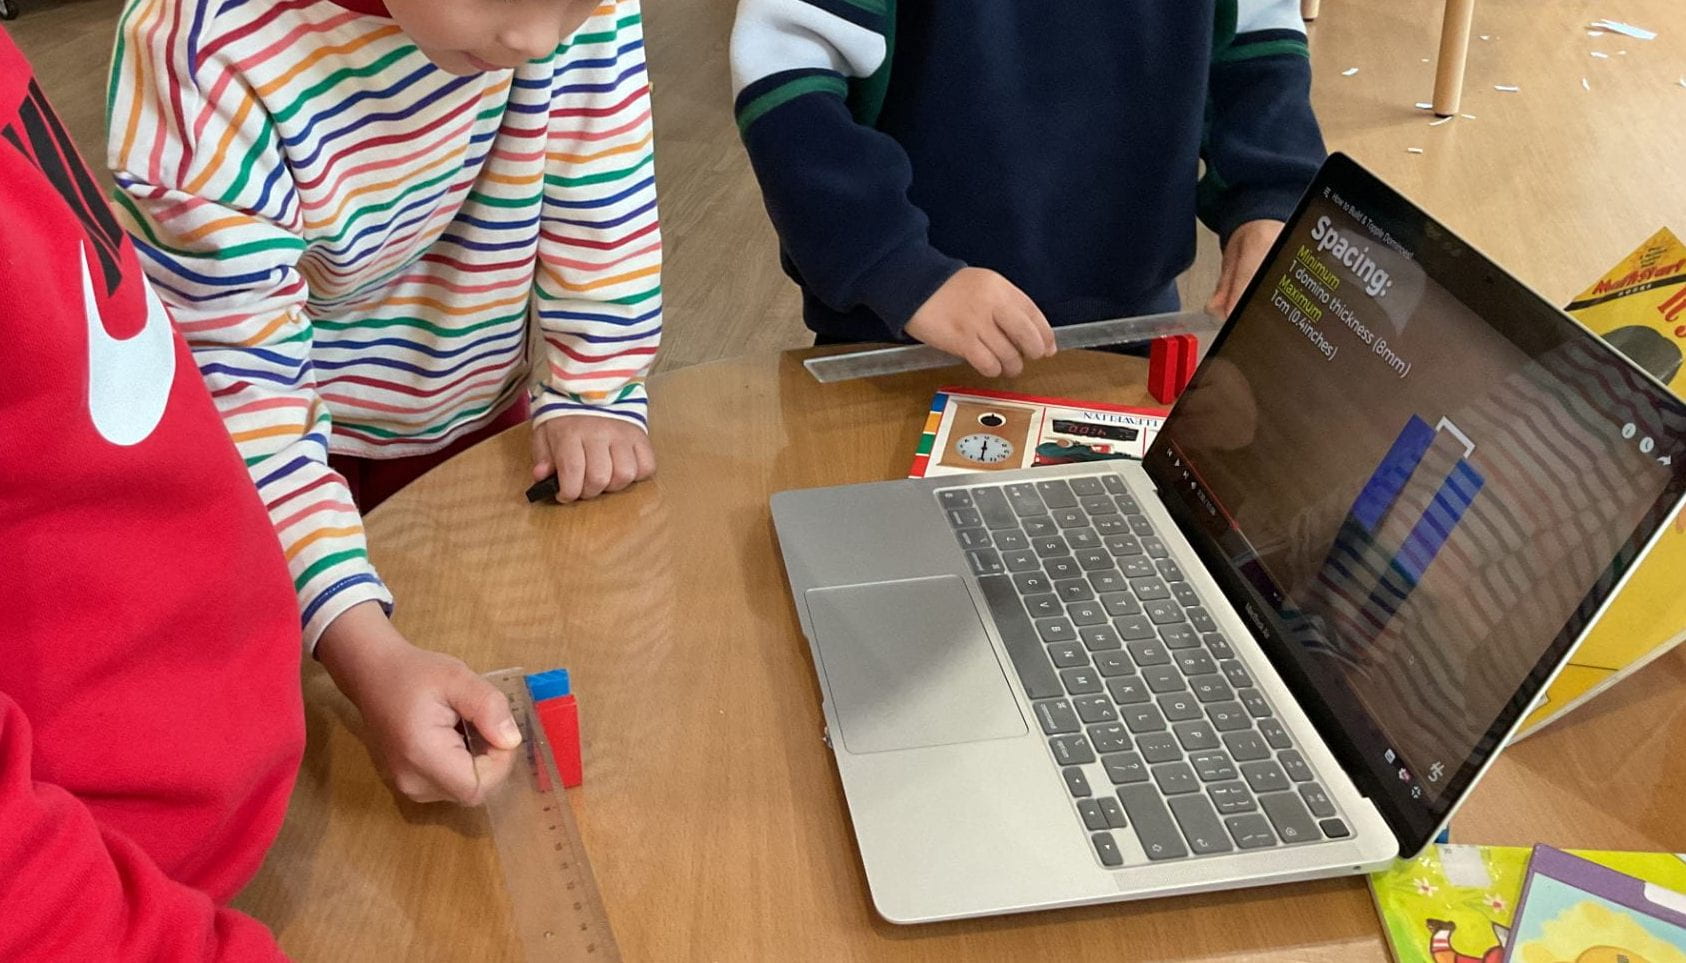
The team used rulers to measure the distance that was suggested in the video. Then, they tested some of their ideas to see if they would work. They carefully curved the edges of the ‘test’ chain, being mindful of the distance they needed to maintain between 2 Dominoes.
- Isabella “We are trying to see if it can fall down. It fell down together.”
- Ciel “We are going to build it to PreK-K1.”
As Ciel missed out on watching the video the first time, he asked to watch it with the others.
Ciel “The dominoes need to have a 1cm space between them because if we don’t do that it will not fall. I learned how to make interesting dominoes. I can make it interesting by making some cool dominoes.”
Considering that the team have now learned more about creating the domino effect we wonder…
- …what new information the team will need to be more successful.
- …what strategies the children will use to change the outcome of the domino challenge.
- …how they will collaborate, sharing their ideas and suggestions to work as a team.


 Online Leaning


 We were curious.


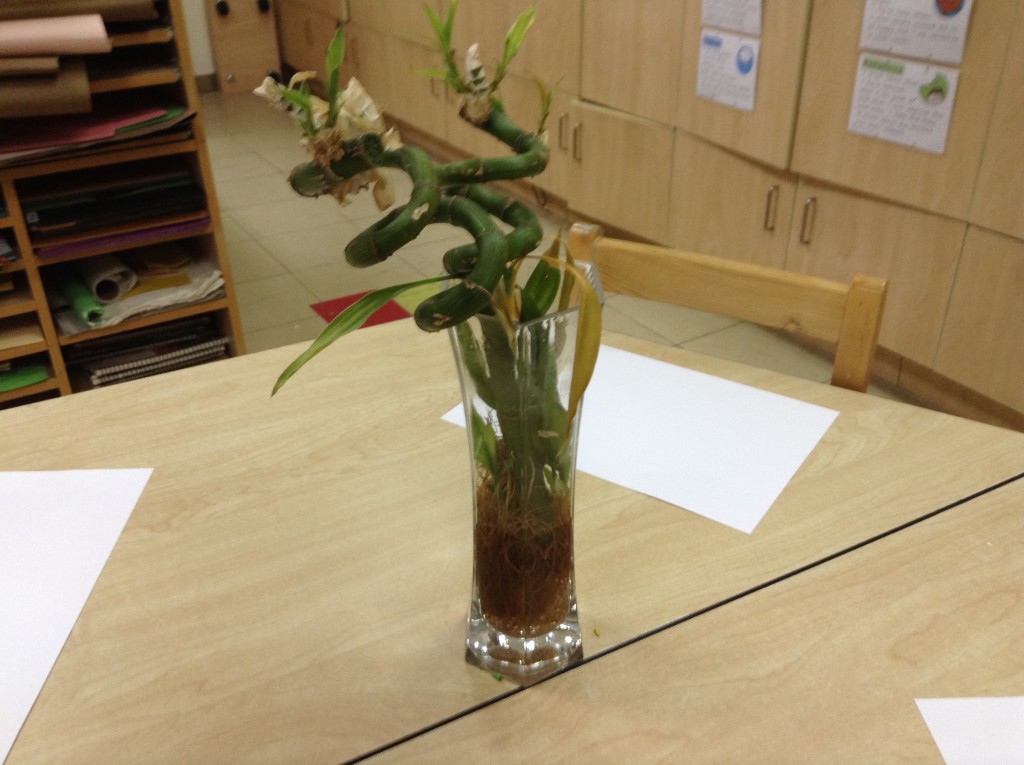
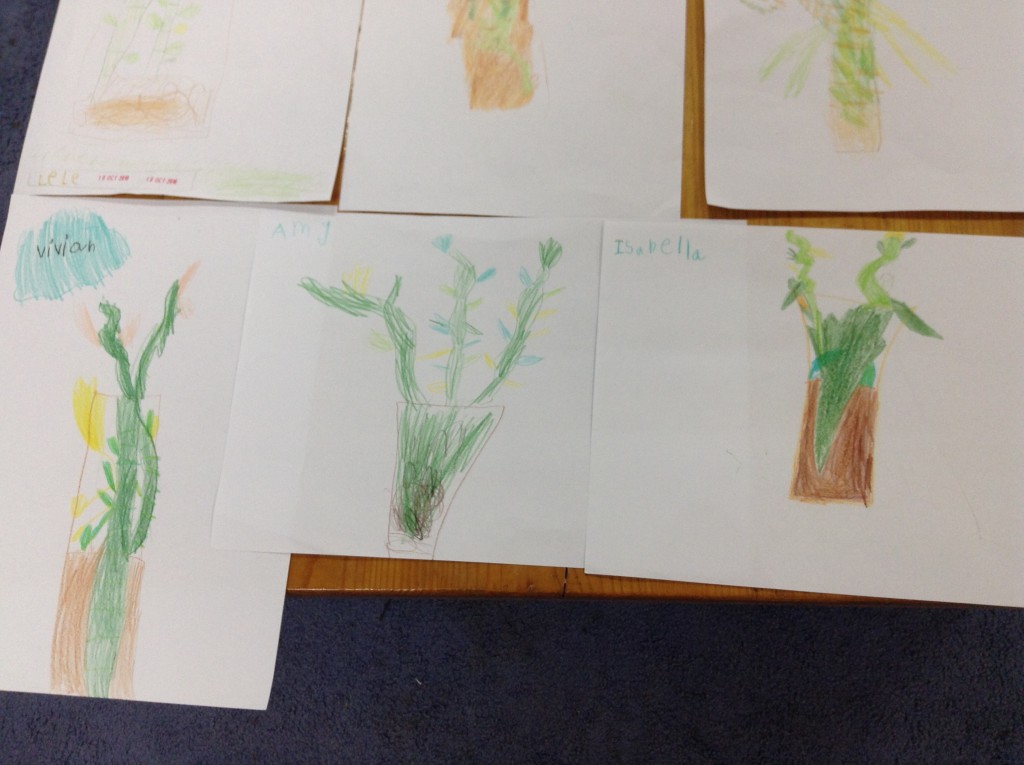
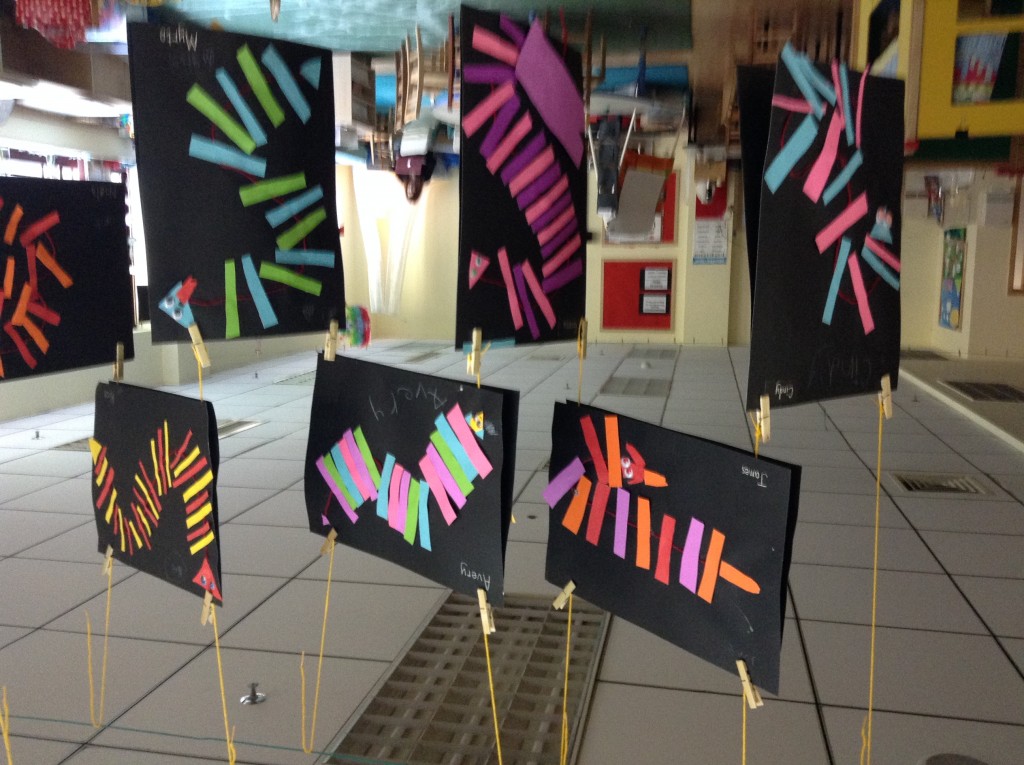
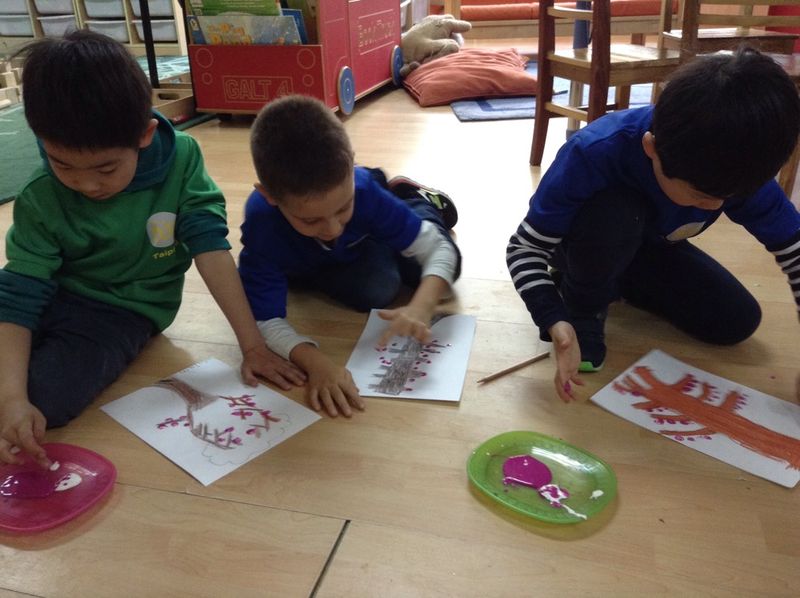
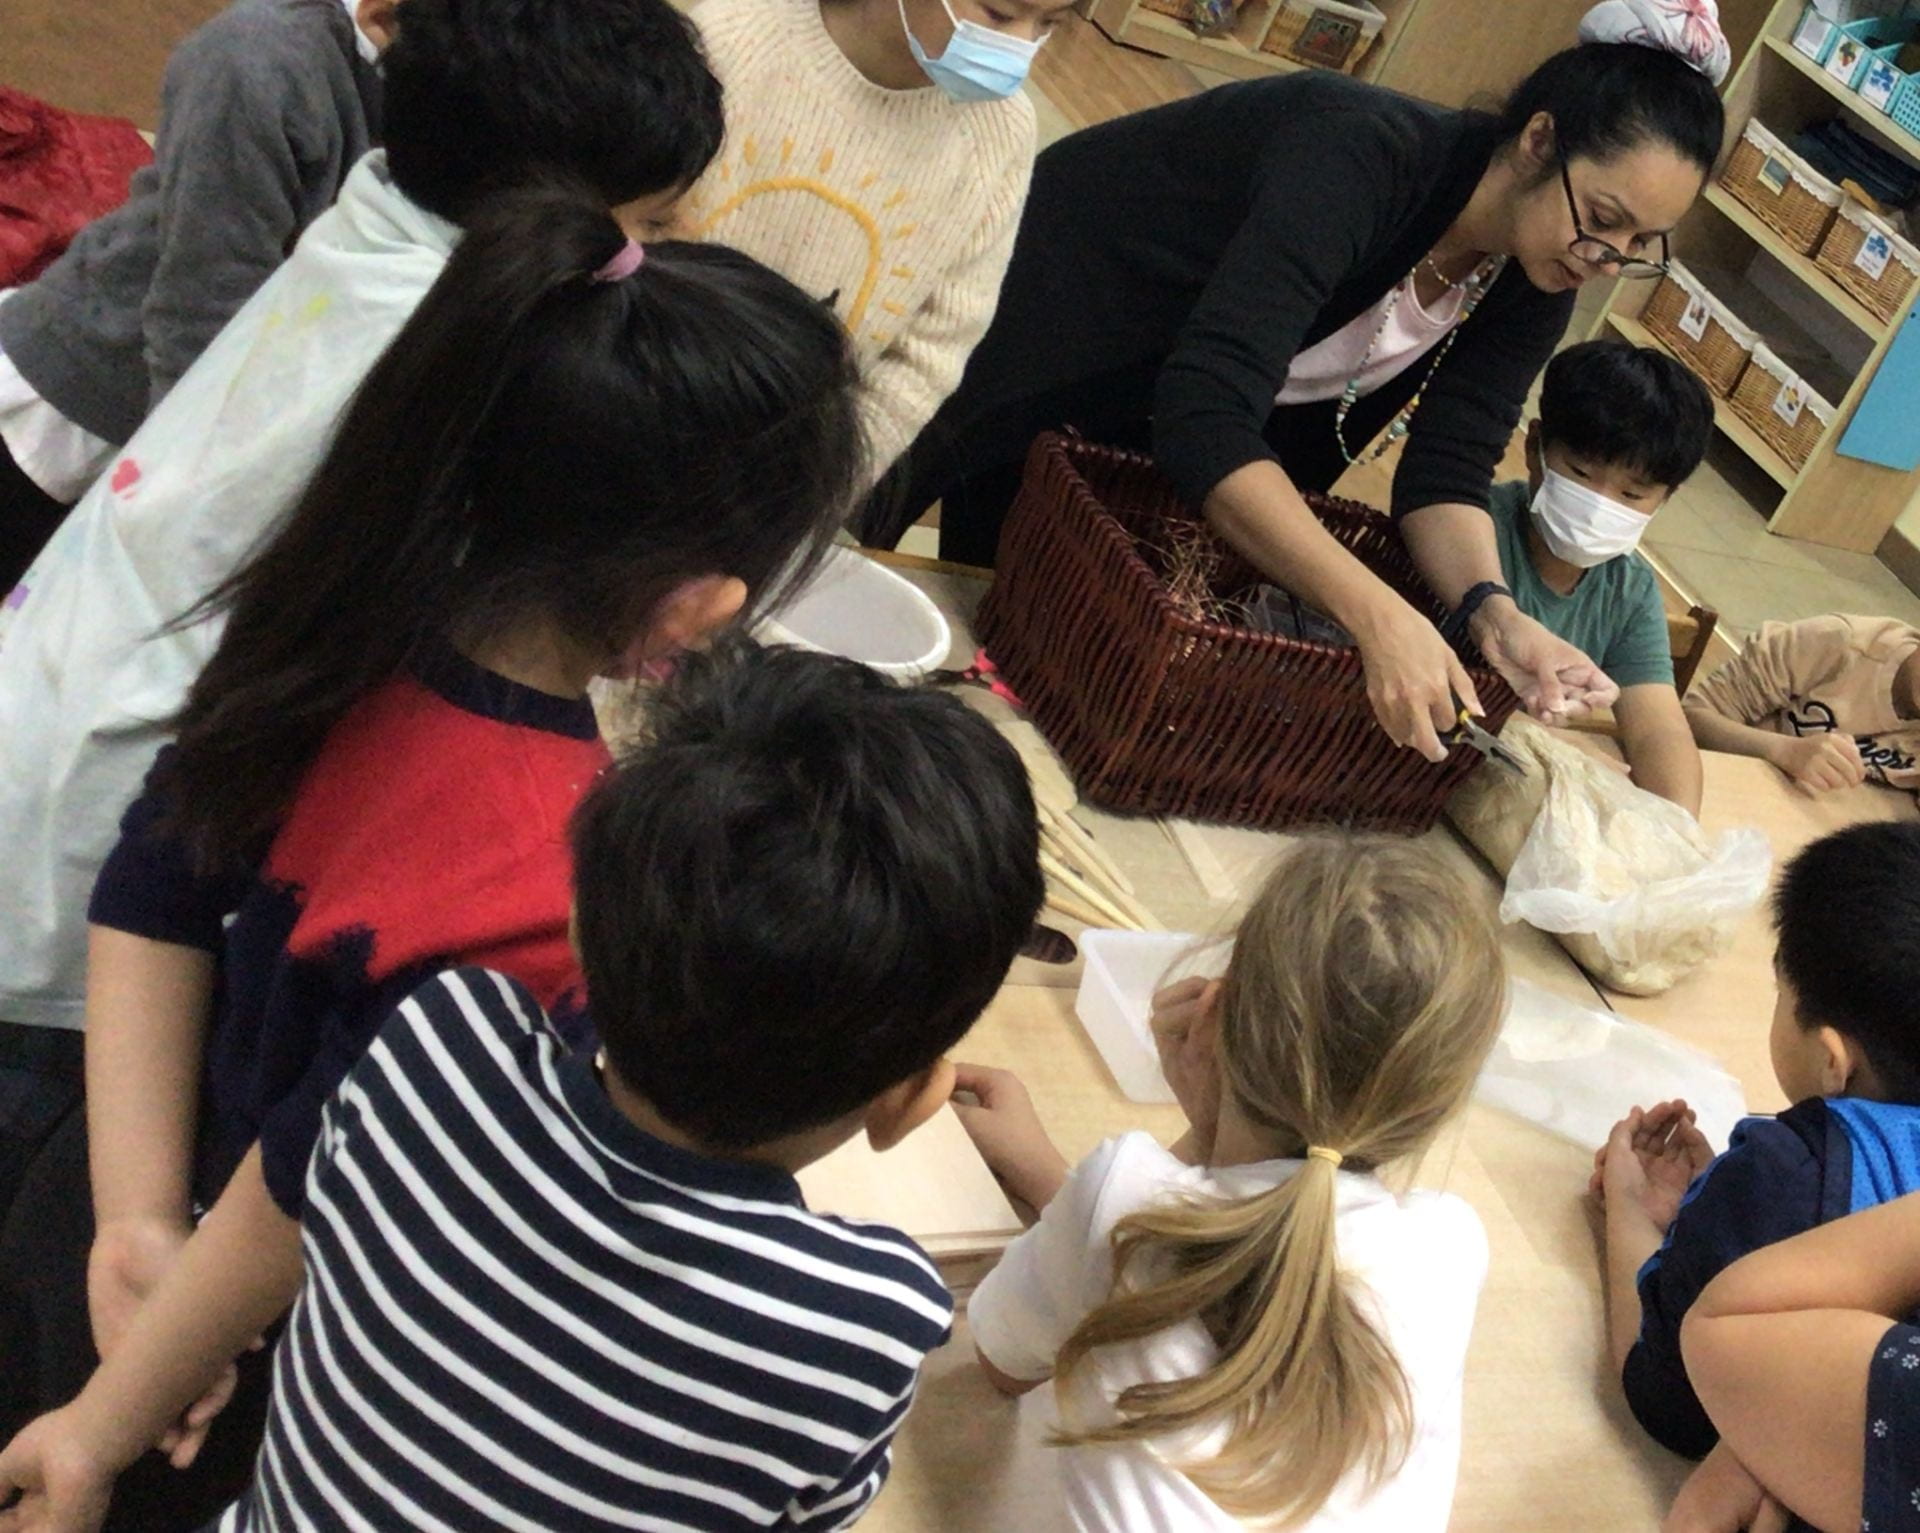
 The students were then invited to create their own pots, leaves and decorations. They were encouraged to think about what we learned about