How are dinosaurs different from one another?
How are dinosaurs different from one another?
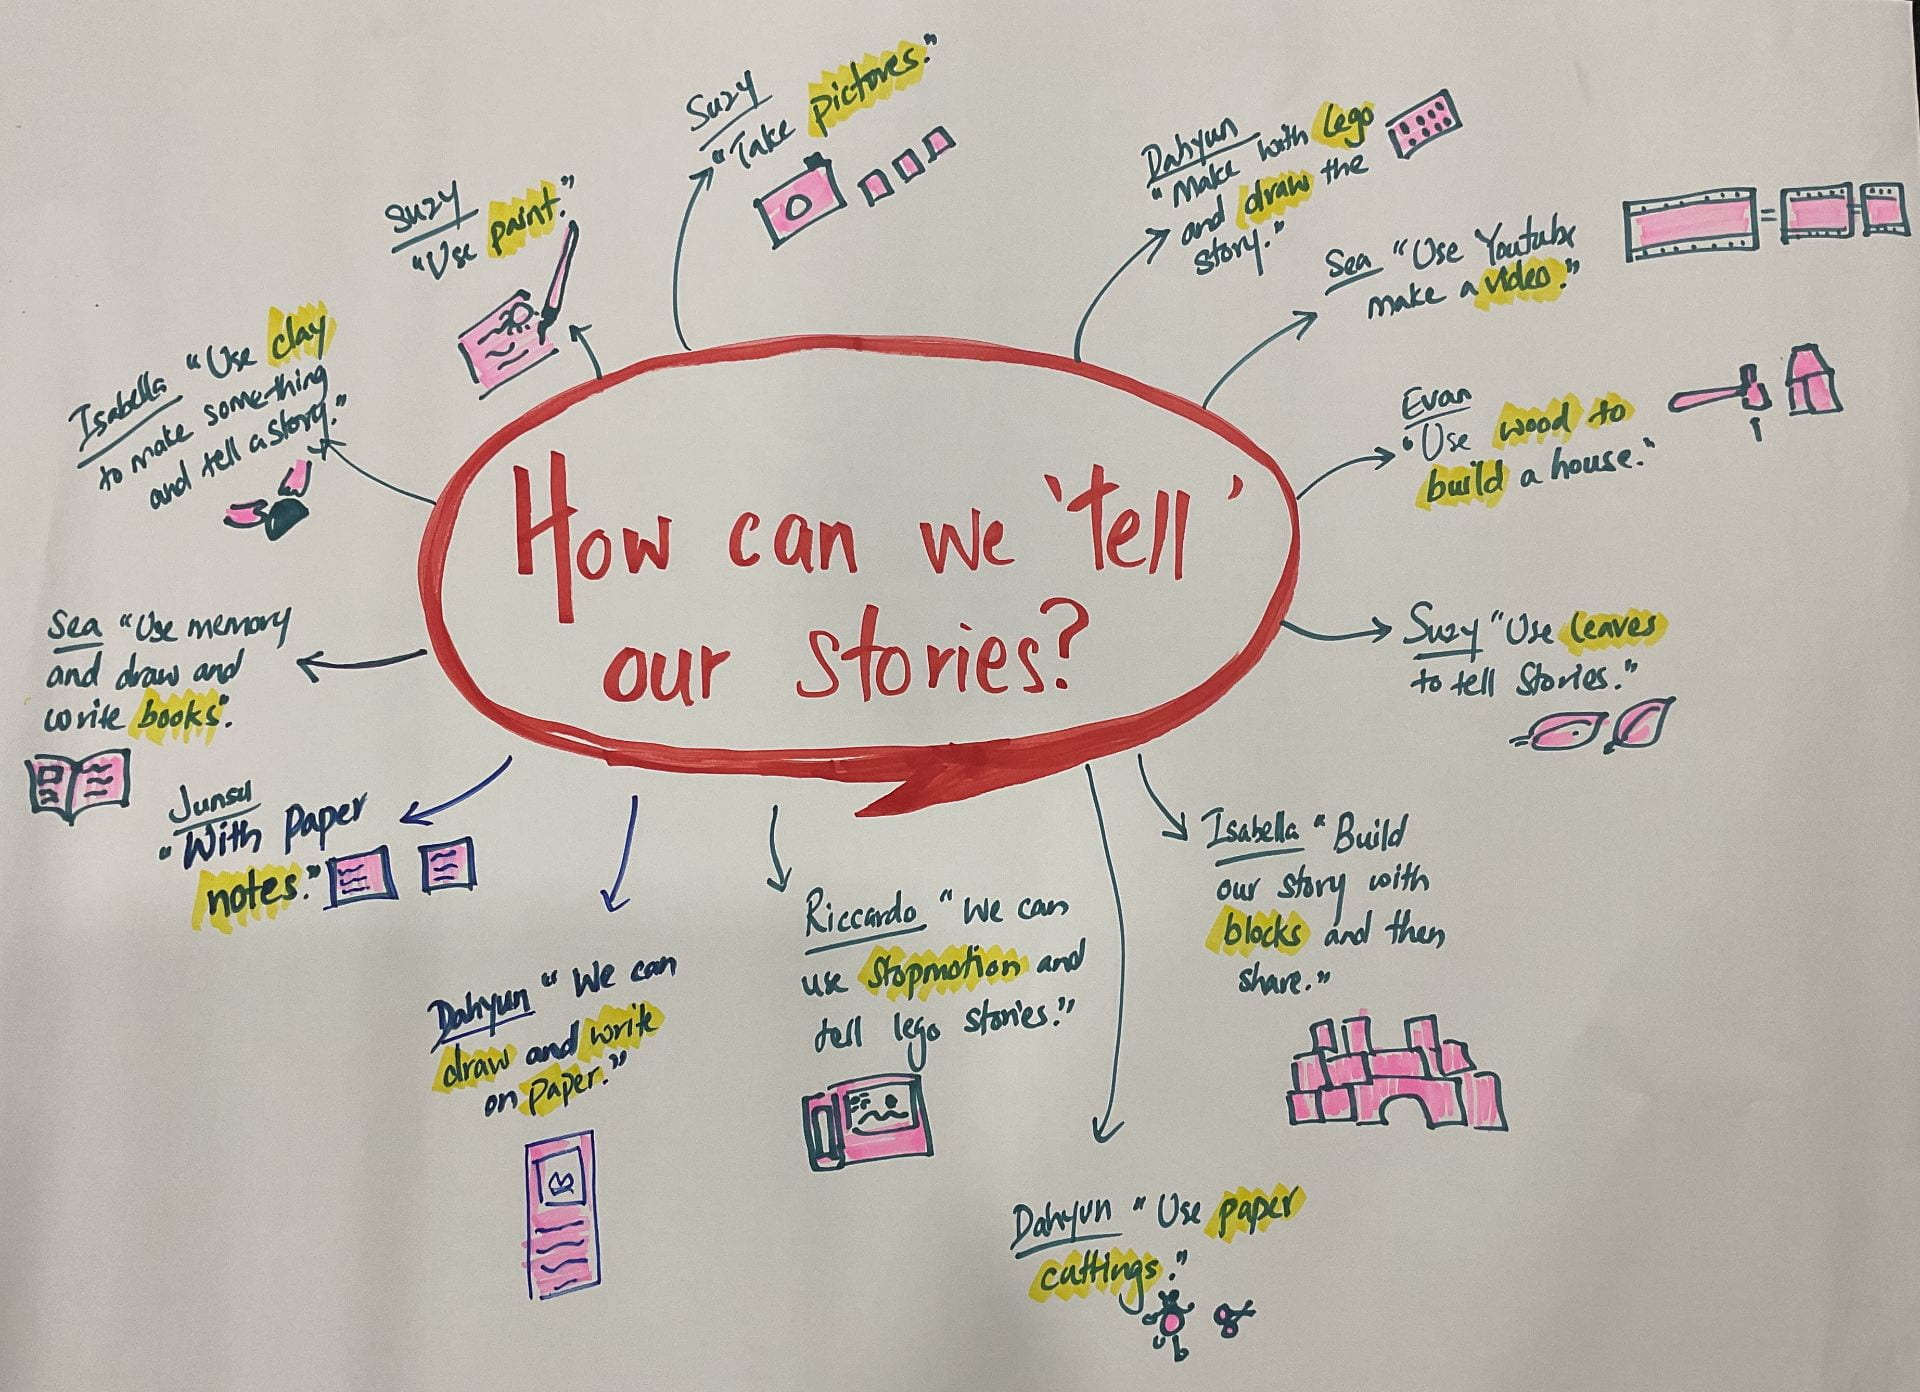
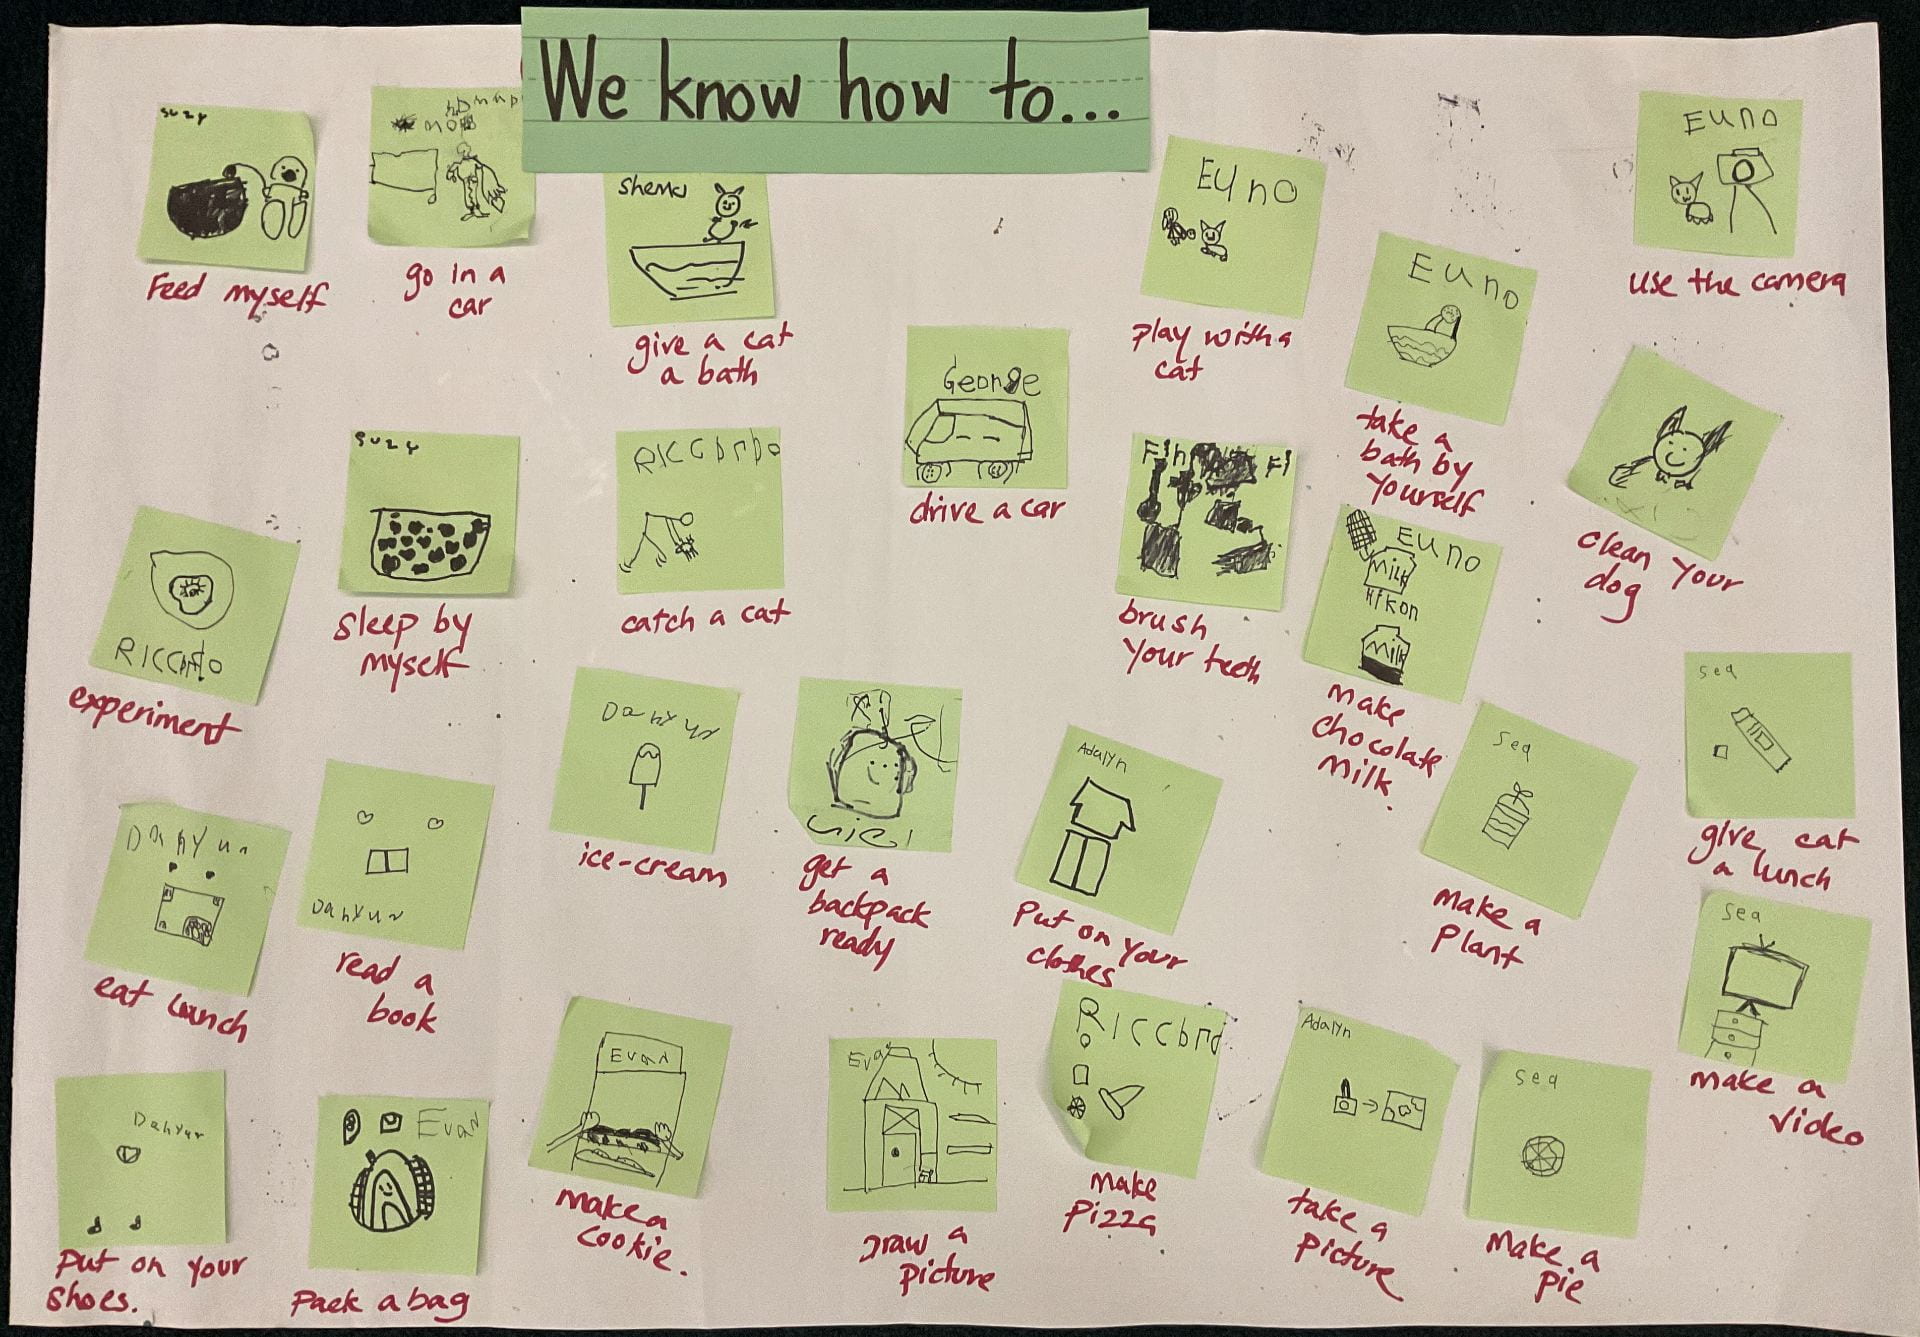
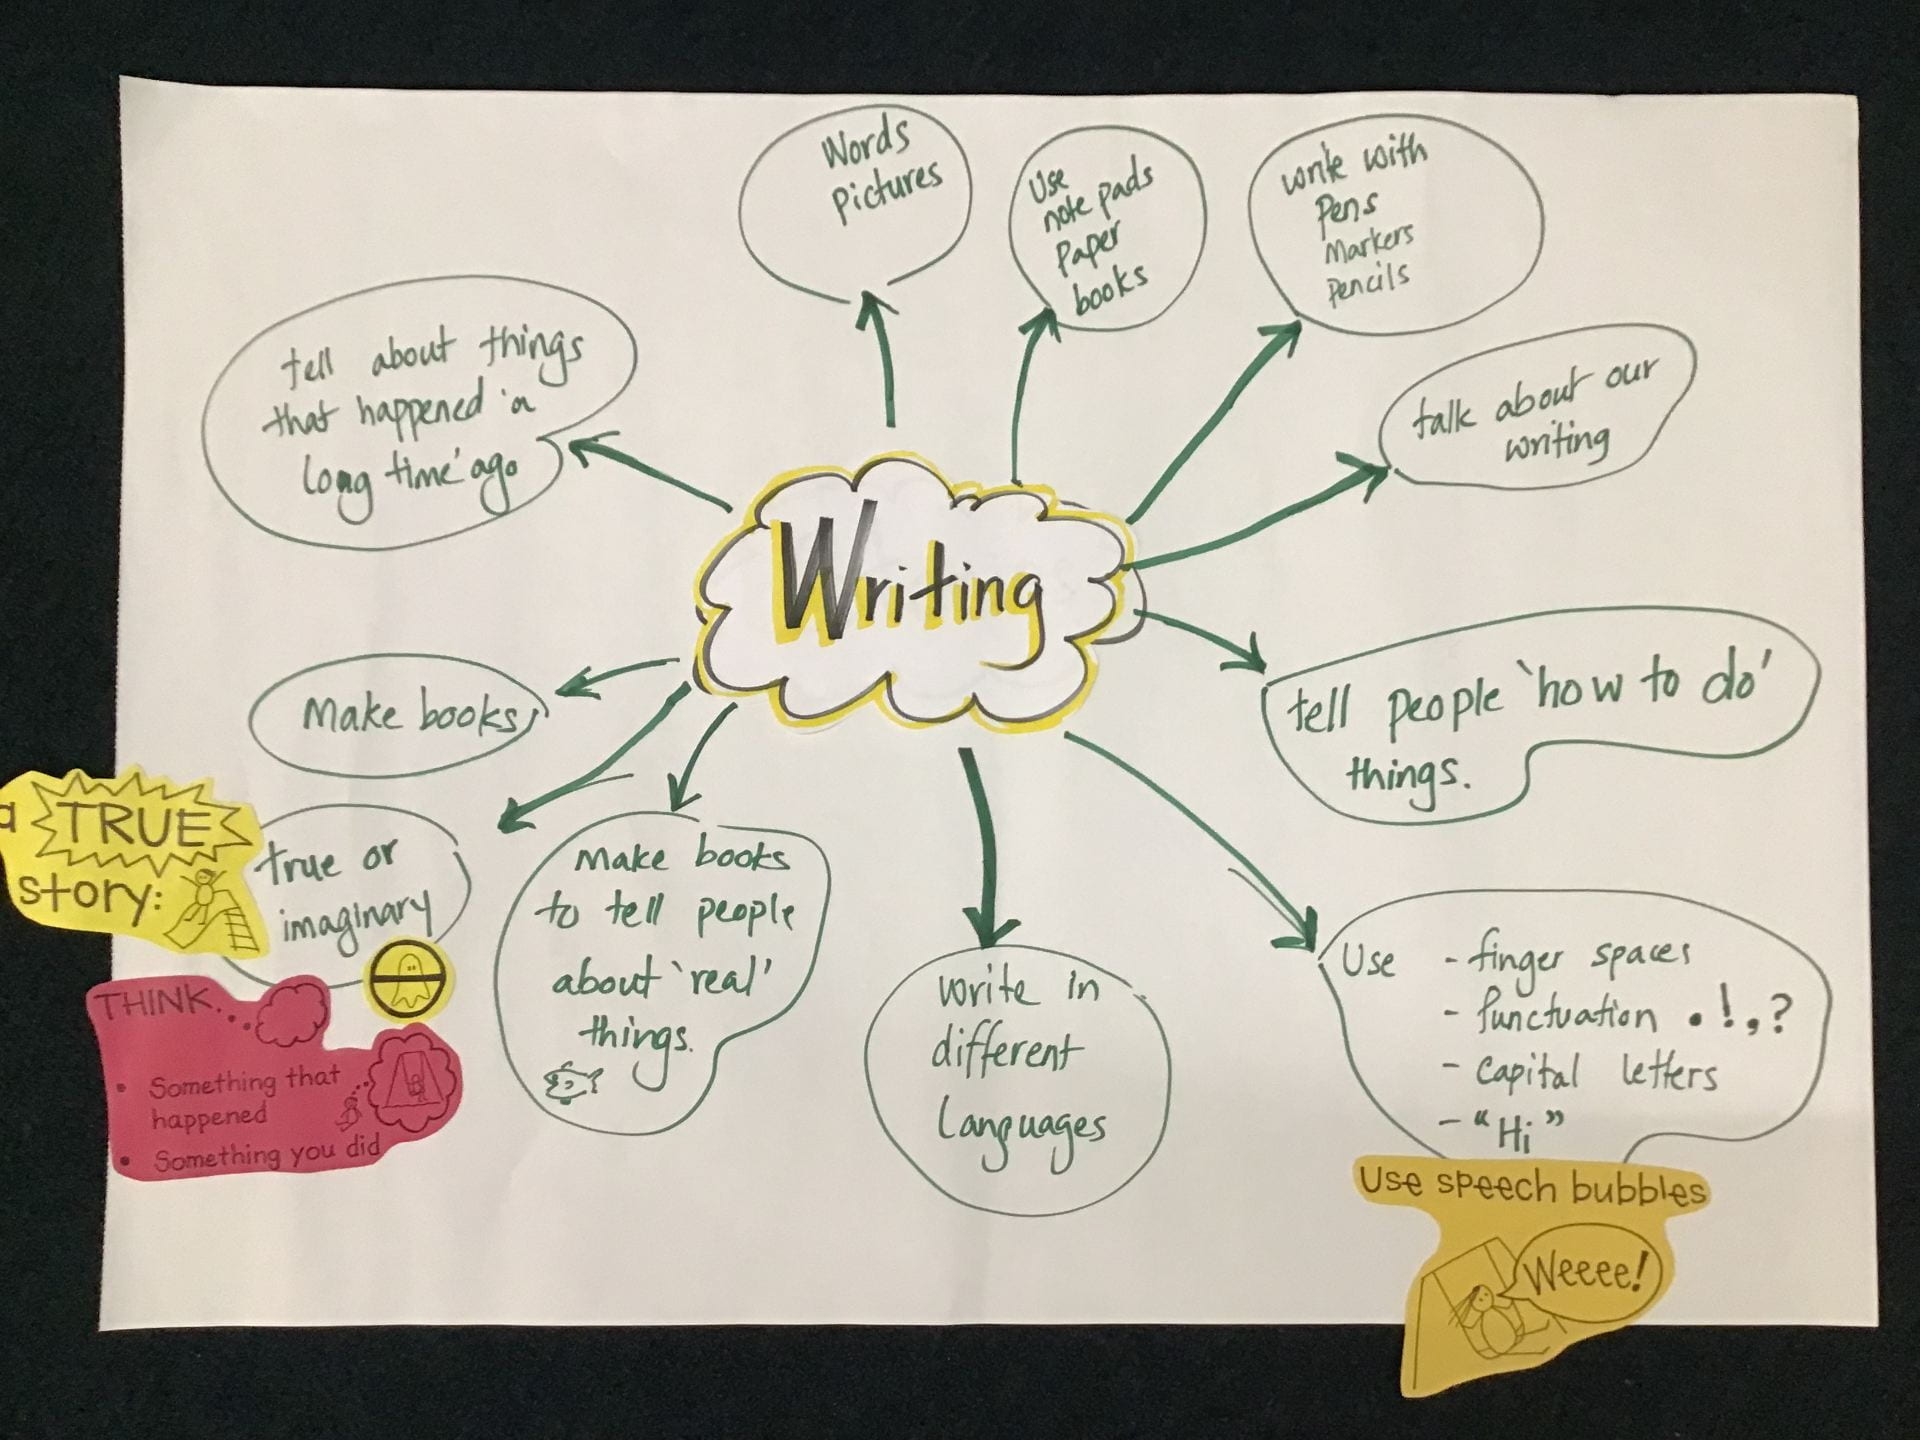
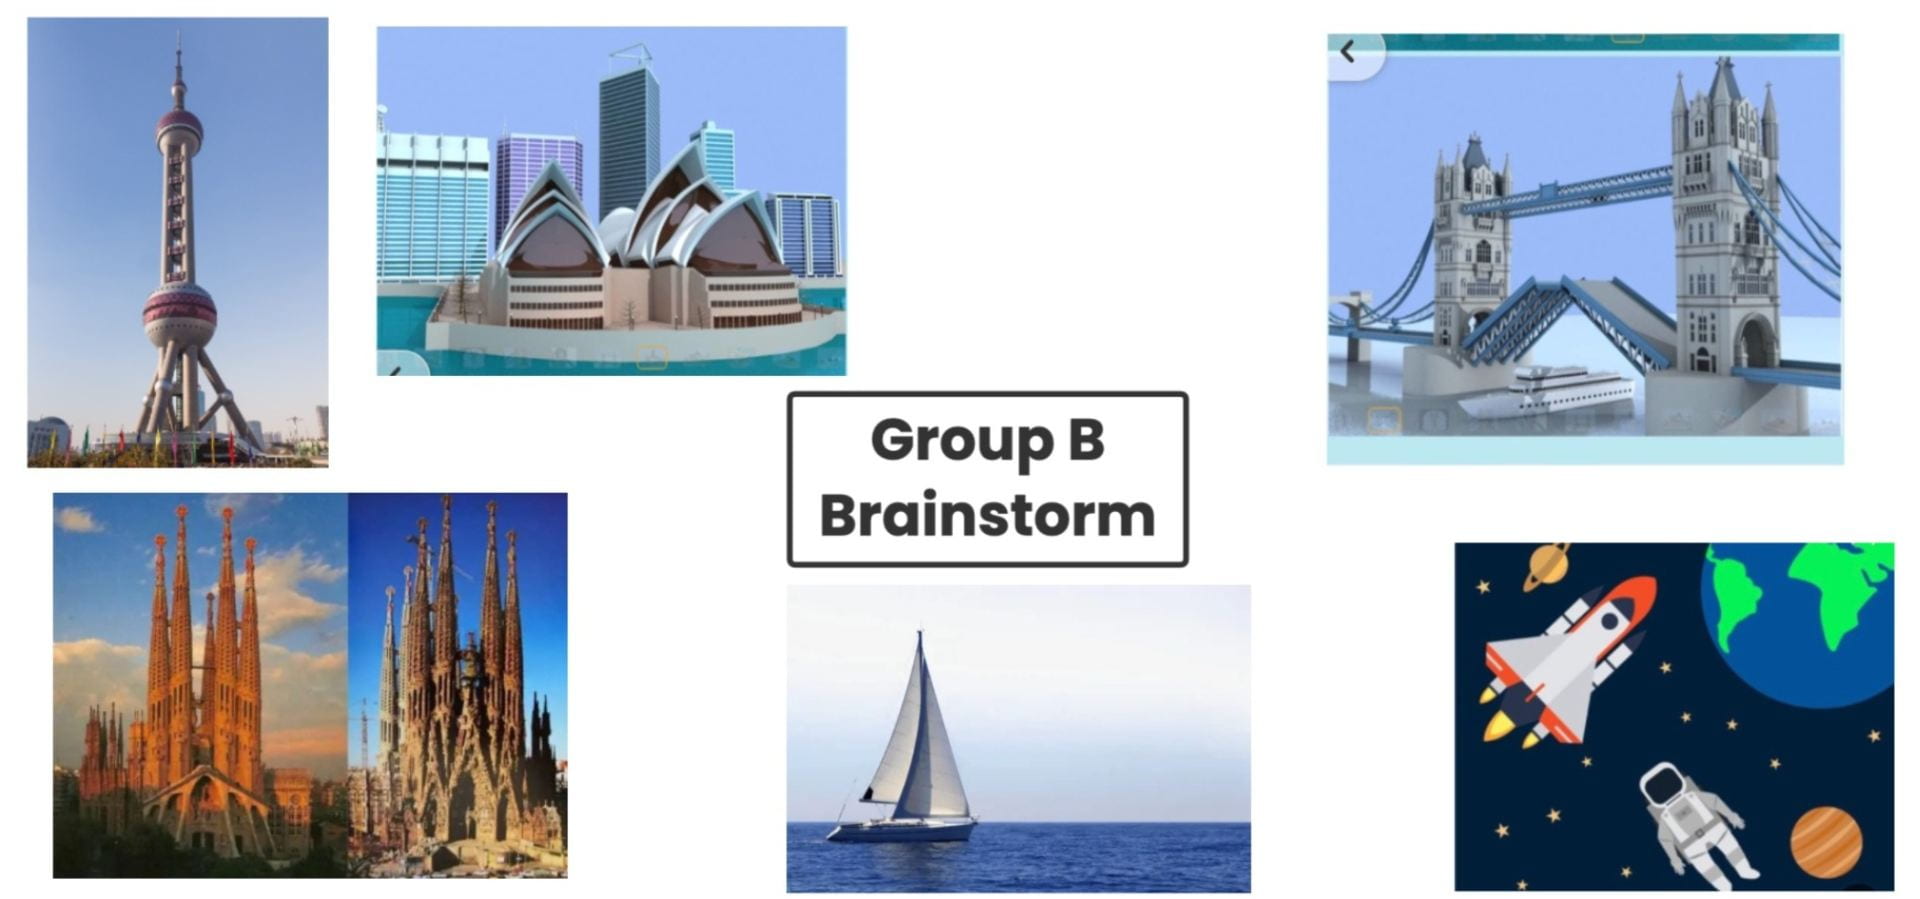
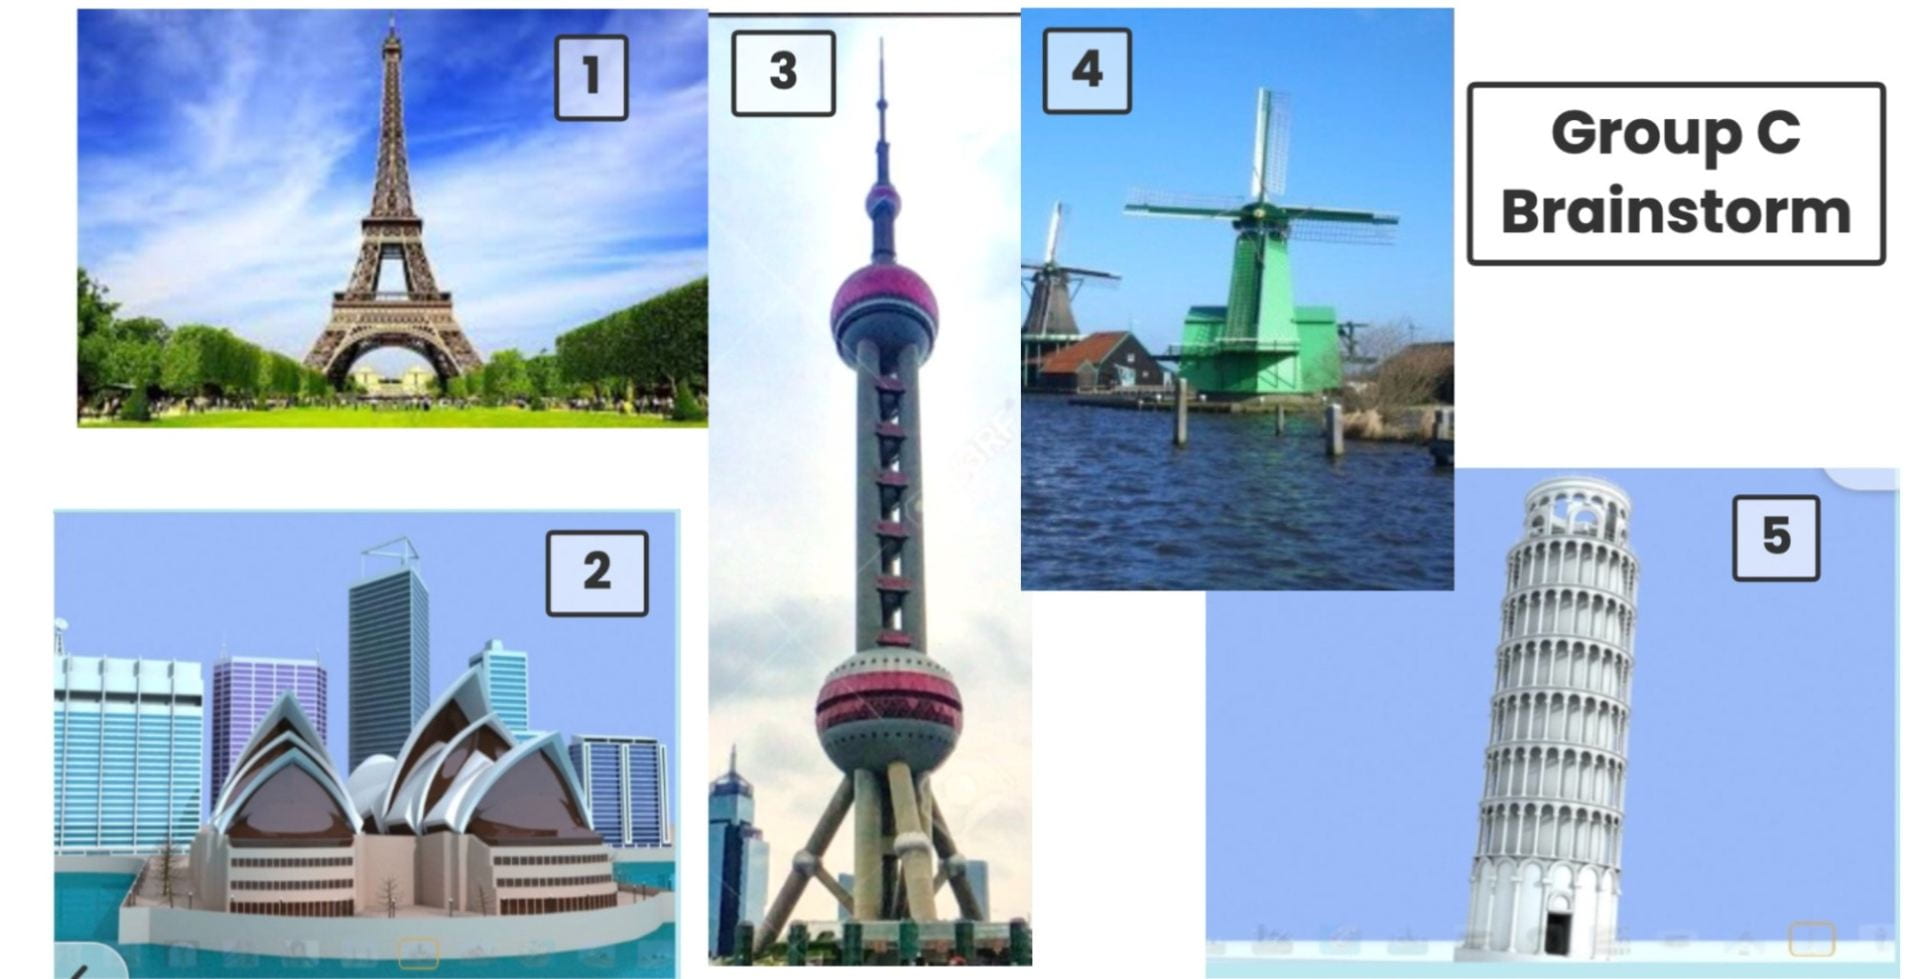
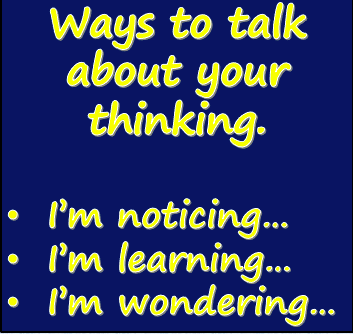
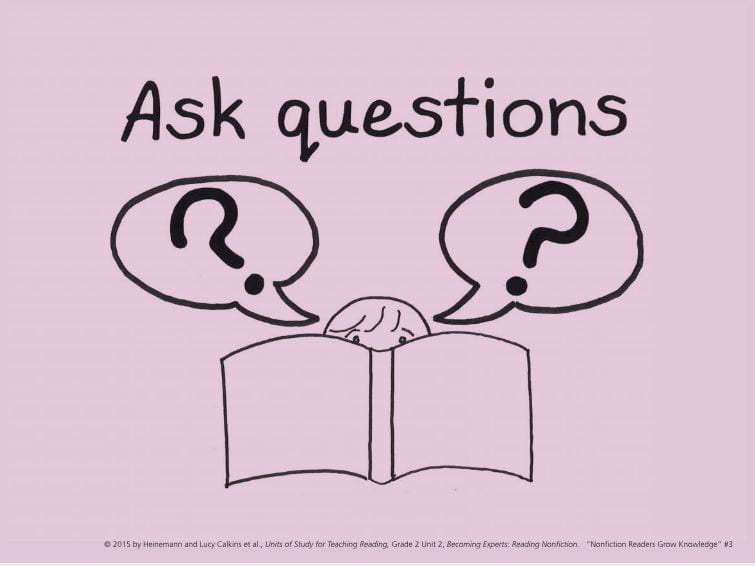
Our journey began with a shared curiosity about the ancient world. Before opening any books, we mapped out our existing knowledge with our own words and imagination. We exchanged initial theories, listening closely to one another’s ideas and posing questions to guide our exploration.
Our initial brainstorming session erupted into a vivid exploration of the prehistoric world.
 The researcher shared their foundational theories, mapping out their current understanding of what a dinosaur is, how they lived, and how they relate to the world we know today.
- Reptilian Connections: “They are like crocodiles.” / “They are like dragons.”
- Biological Needs: “They are animals.” / “They drink water.”
- Habitats and Movement: “They live in the jungle.” / “They walk on 4 legs.”
“They are big because they eat people.”
A pivotal moment emerged as the child began to grapple with the timeline of coexistence, asking whether people existed when dinosaurs roamed the Earth. Then, the dialogue shifted from abstract concepts to lived, personal memory as the young researcher shared a personal connection to bridge the past with their present reality:
“I saw big dinosaurs in Malaysia!”
In the Reggio tradition, we view this not as a factual error, but as a profound moment of prior knowledge activation. The child is actively filtering the concept of “dinosaur” through a real-world visual memory—a museum exhibit, a theme park, or a large-scale statue. This memory serves as their personal proof that these magnificent creatures are tangible, real, and accessible.

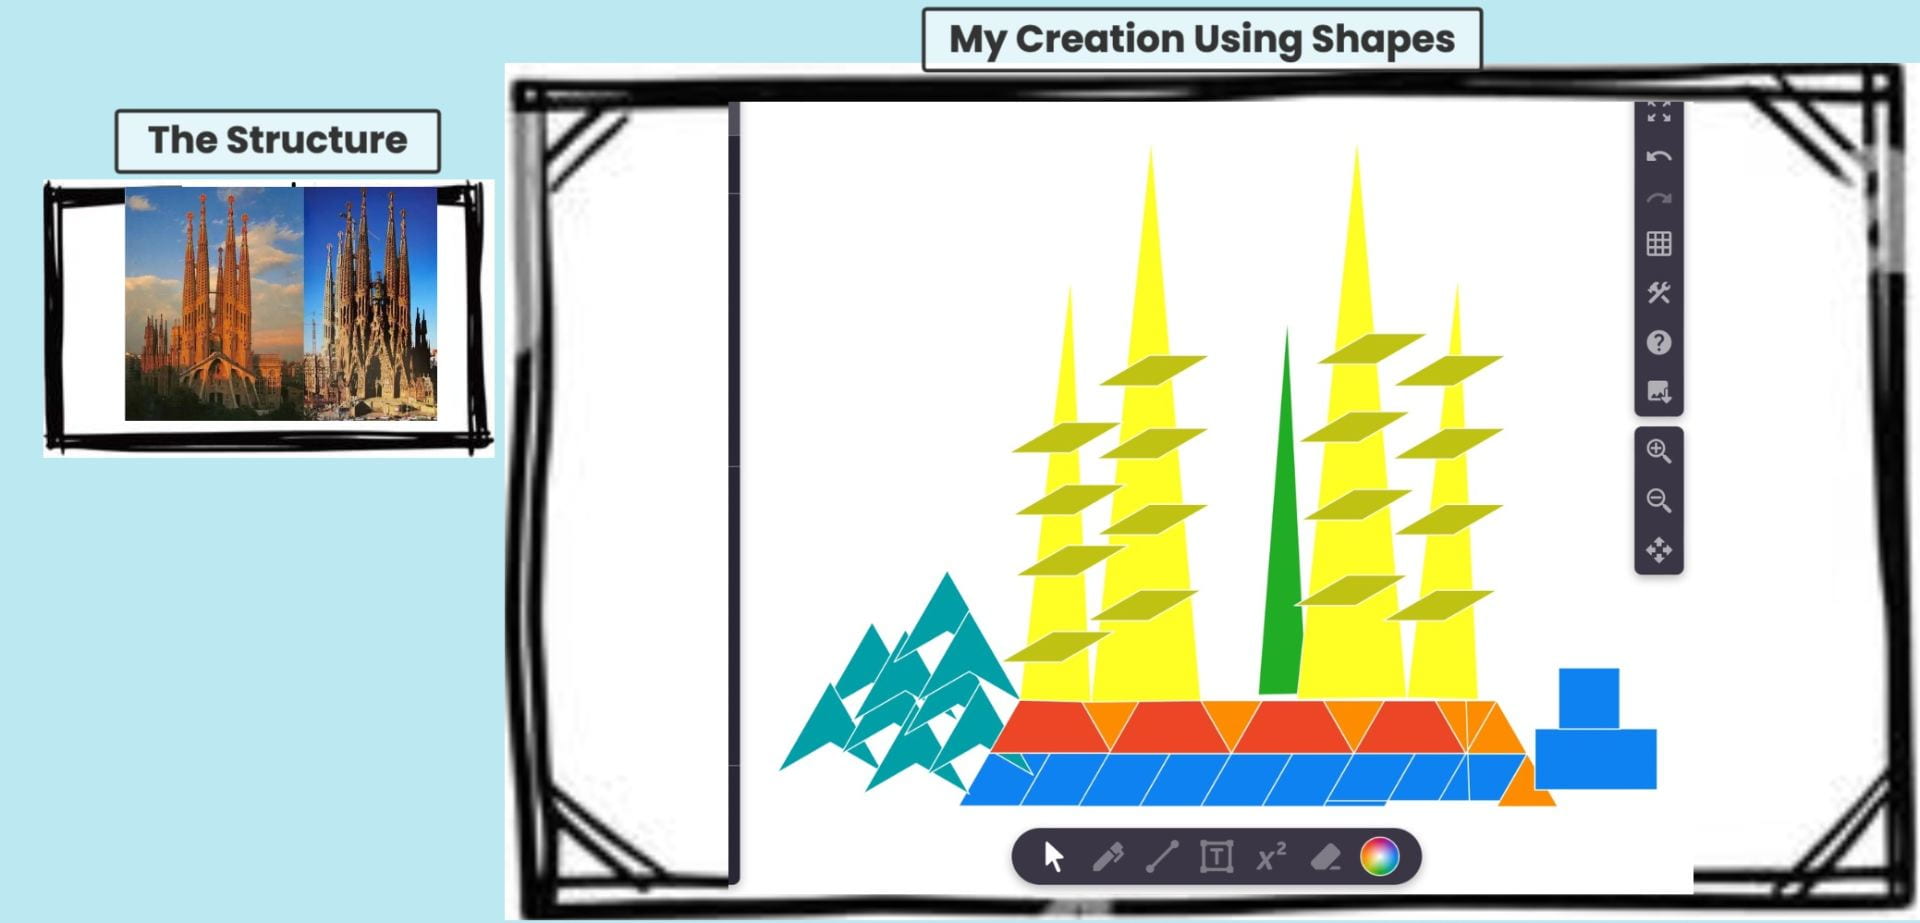
Visualising and Meaning-Making
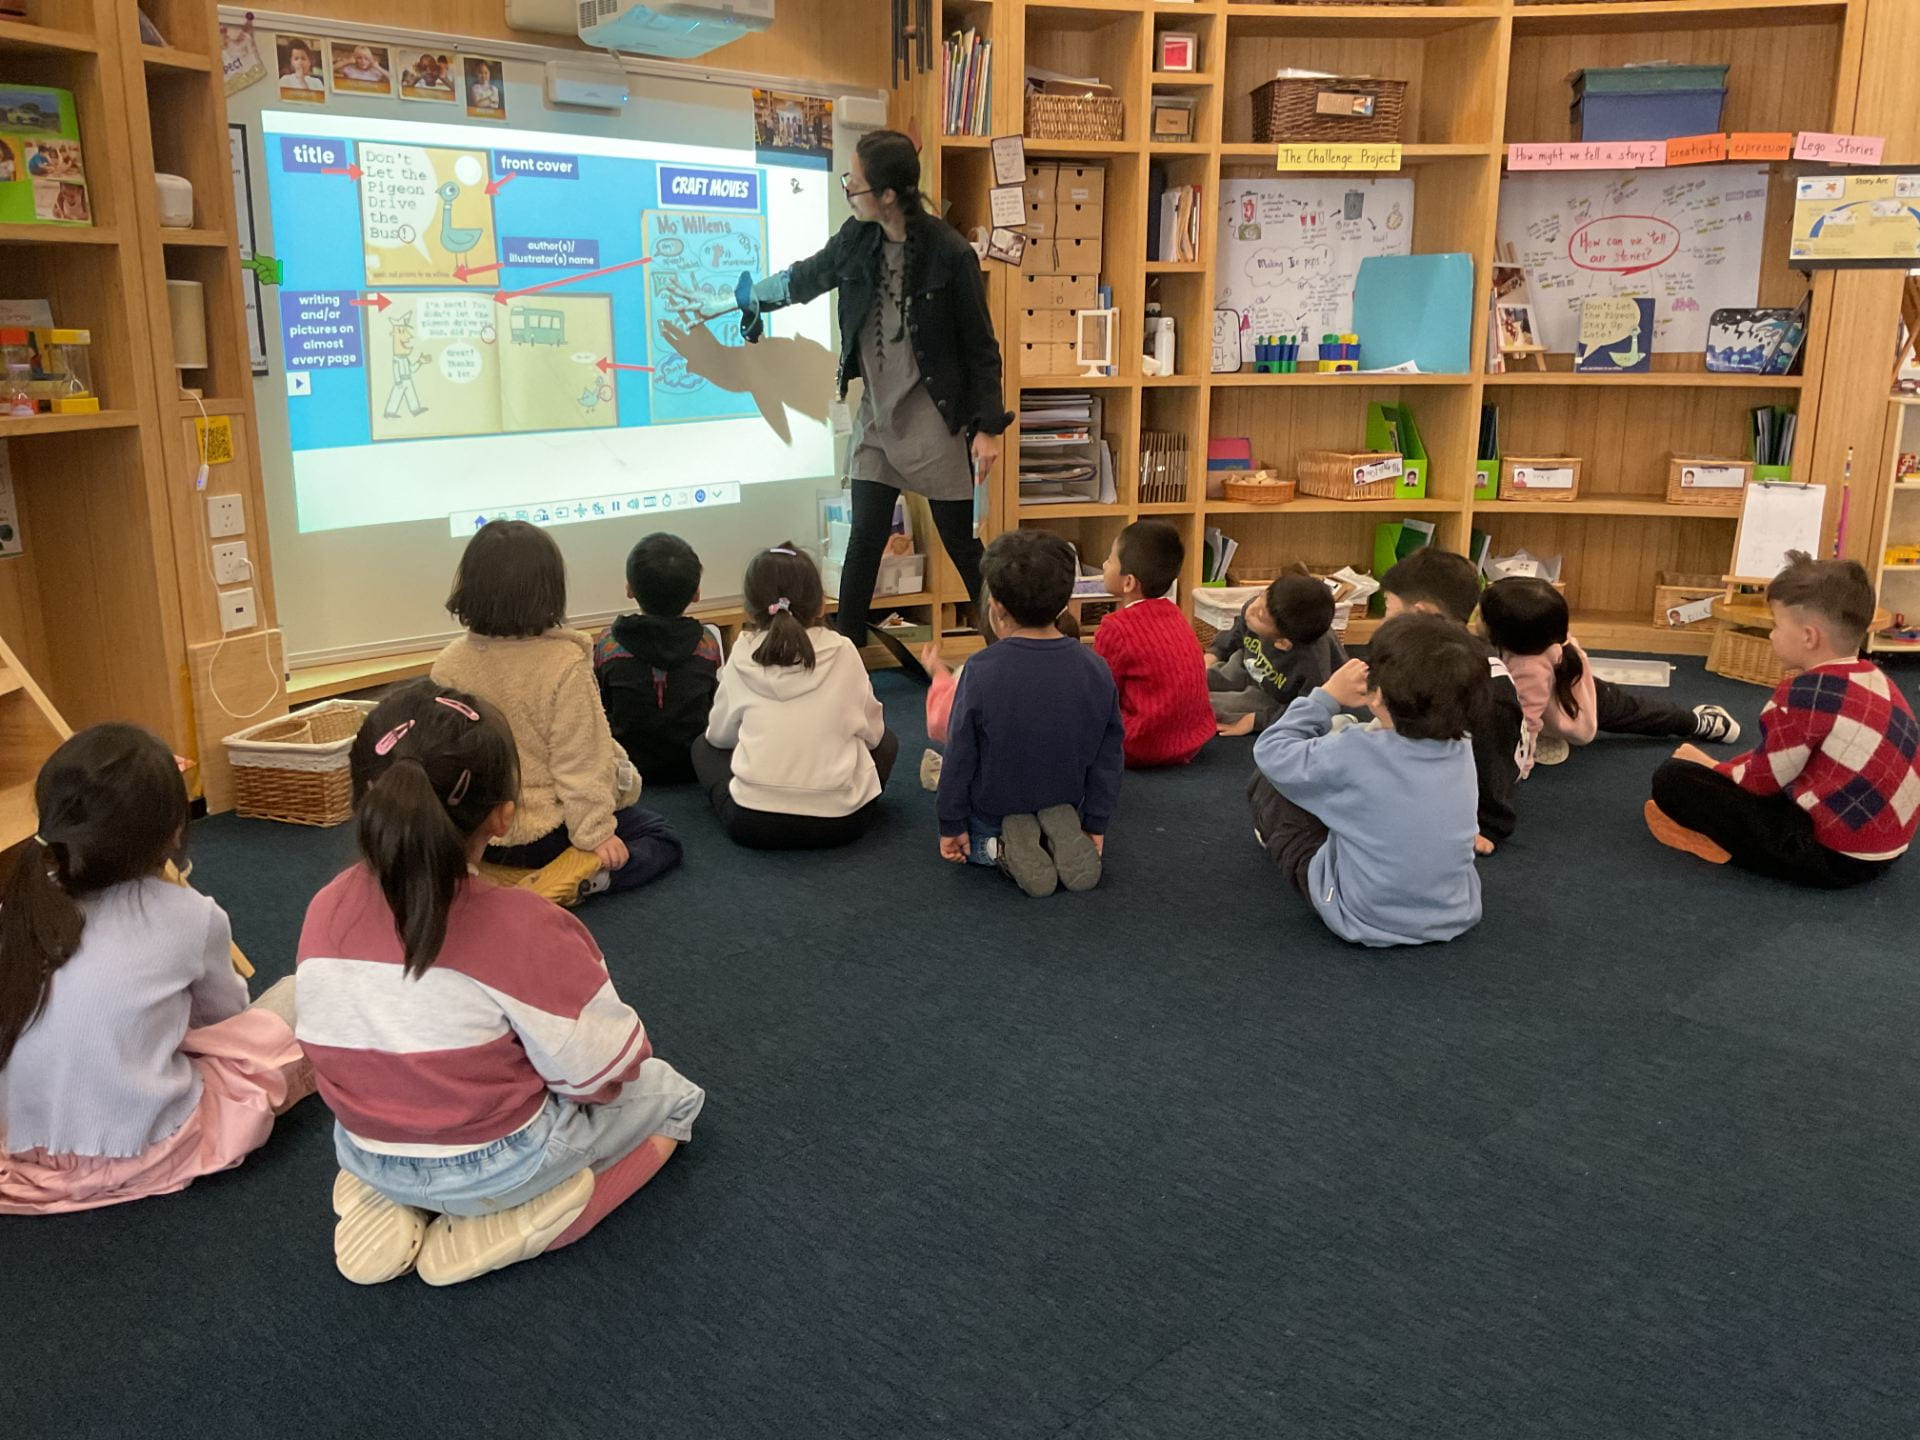
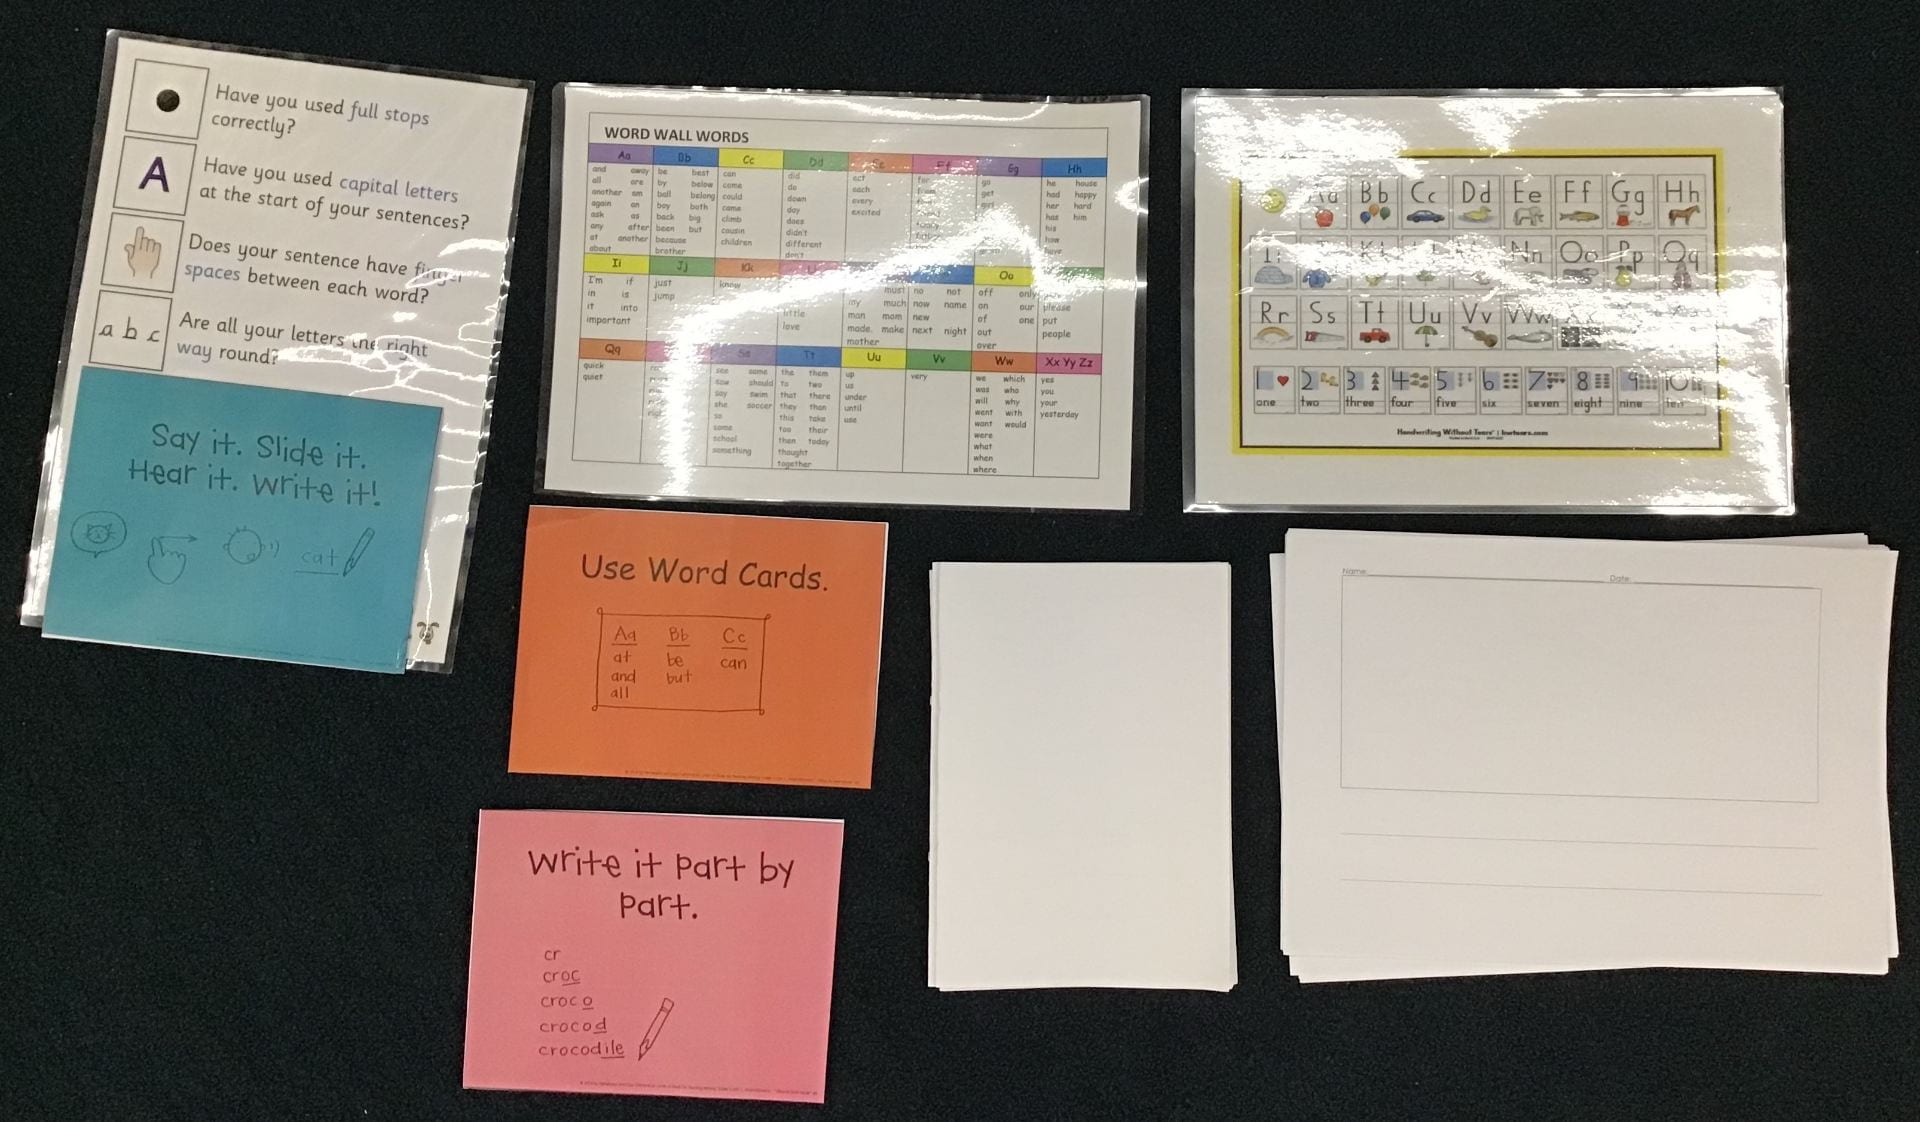
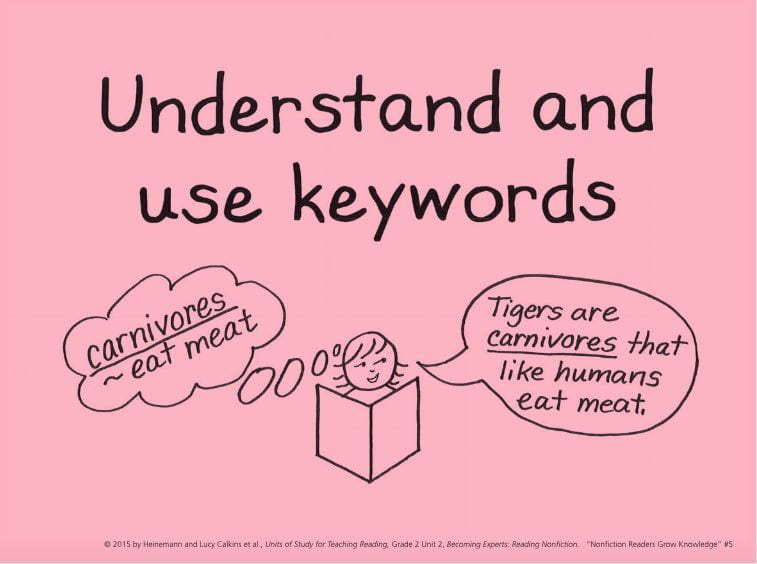
To deepen our investigation, we introduced the text ‘Many Kinds of Dinosaurs‘. The book served as a collaborative tool, where detailed illustrations and clear language acted as a springboard for deeper research. As the reader engaged with the pages, we constructed vivid mental pictures—translating words into inner visual landscapes. This process of visualisation allows us to not just read, but truly feel and see the scale, textures, and diversity of the dinosaur world. As the inquiry deepened, the child’s focus shifted from passive observation to the active mechanics of prehistoric life. We began to wonder about how “dinosaurs lived, moved, or roared, [and what] they used” to interact with their environment.
Co-Constructing Relationships: Alike and Different
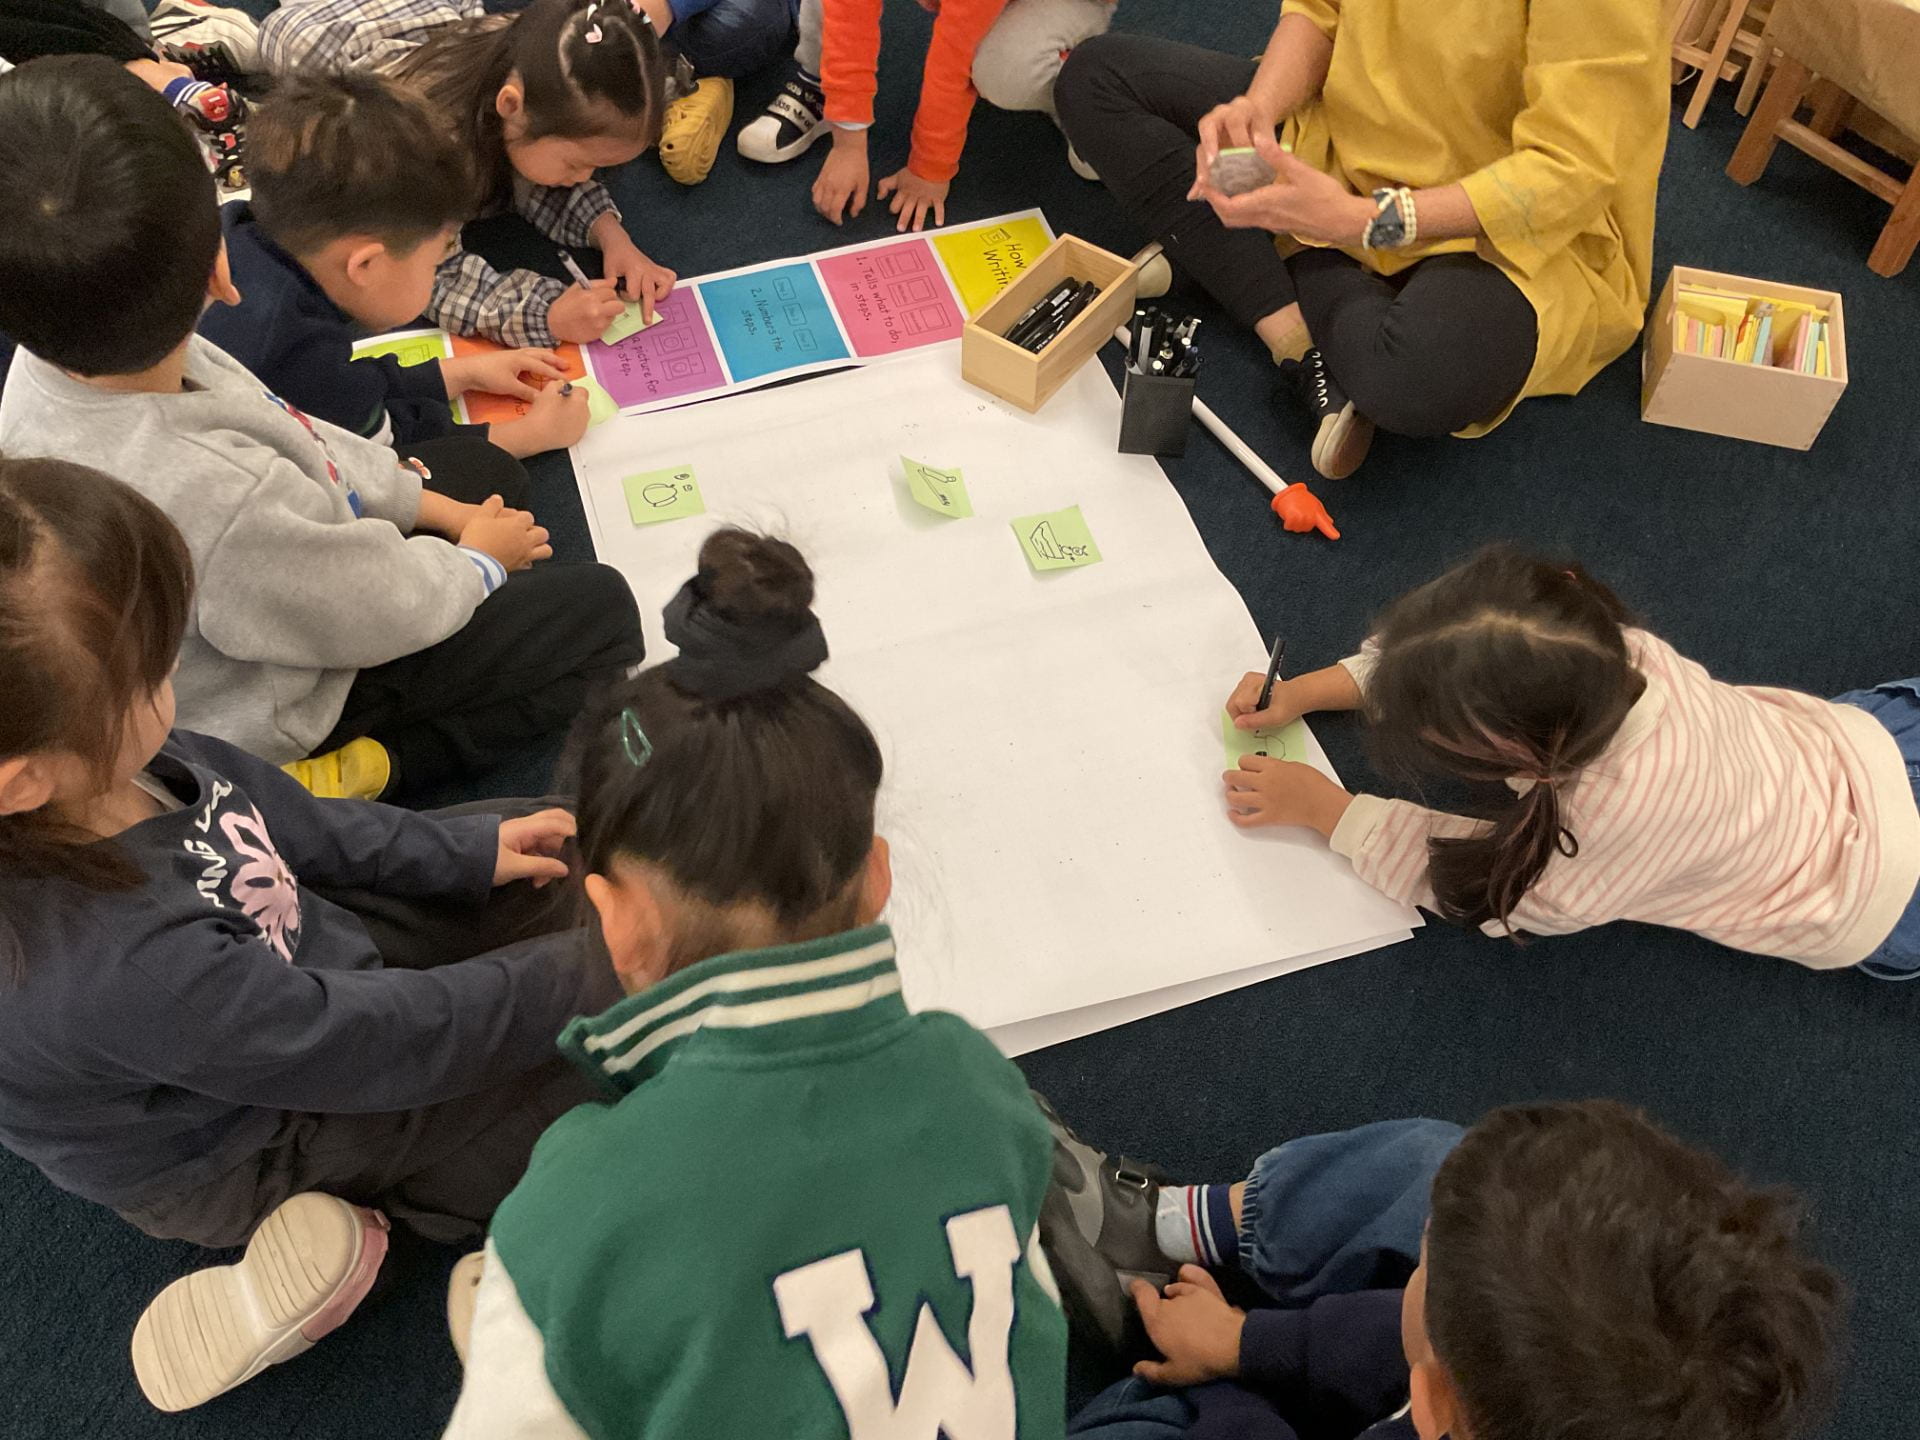
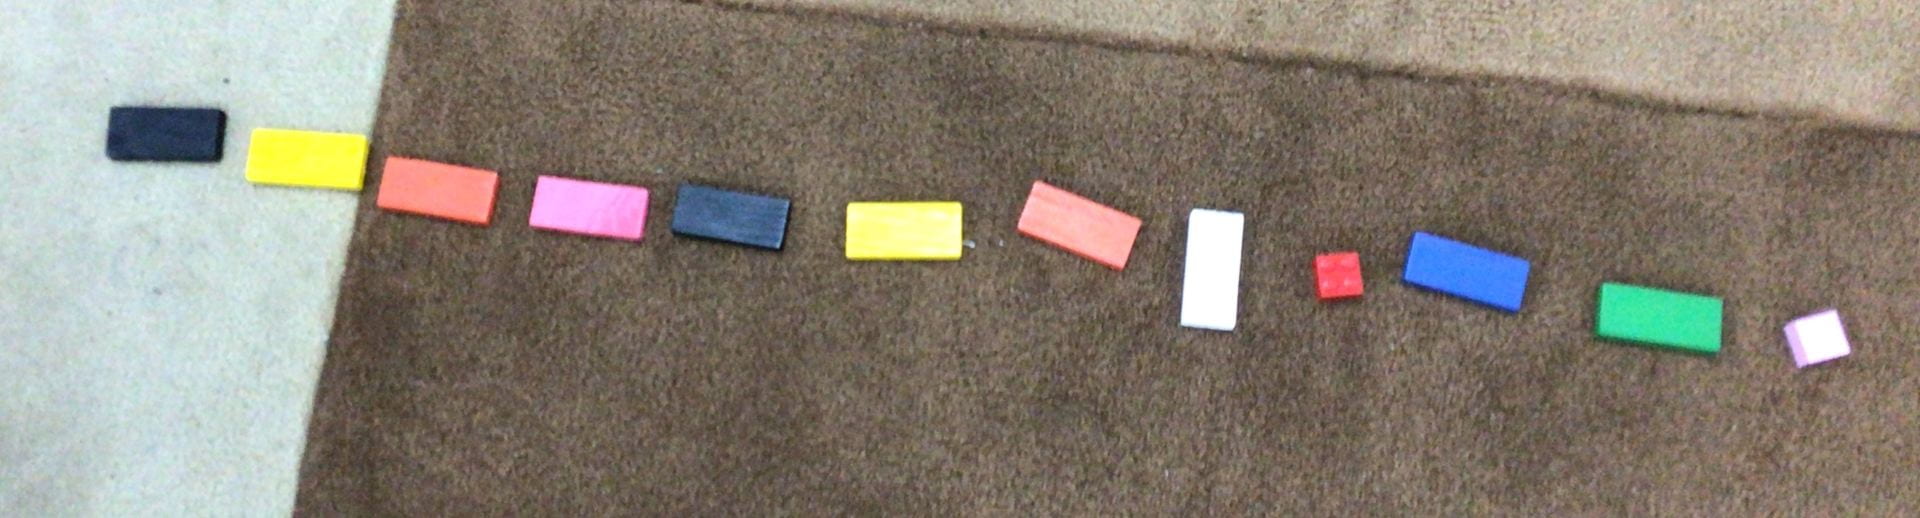
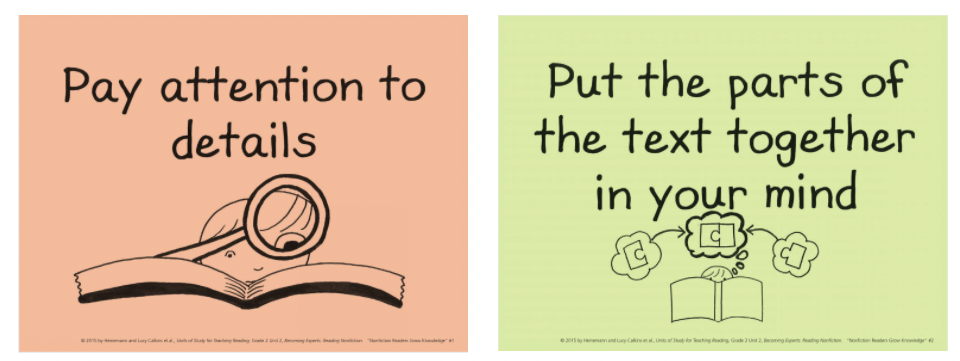
Driven by our discoveries, we sought ways to make sense of the vast information. We chose to organise our findings by exploring connections, finding patterns of similarity, and celebrating stark differences.

Through this active process of comparing and contrasting, we were learning to categorise the world around us, transforming isolated facts into a deeply understood web of relationships.


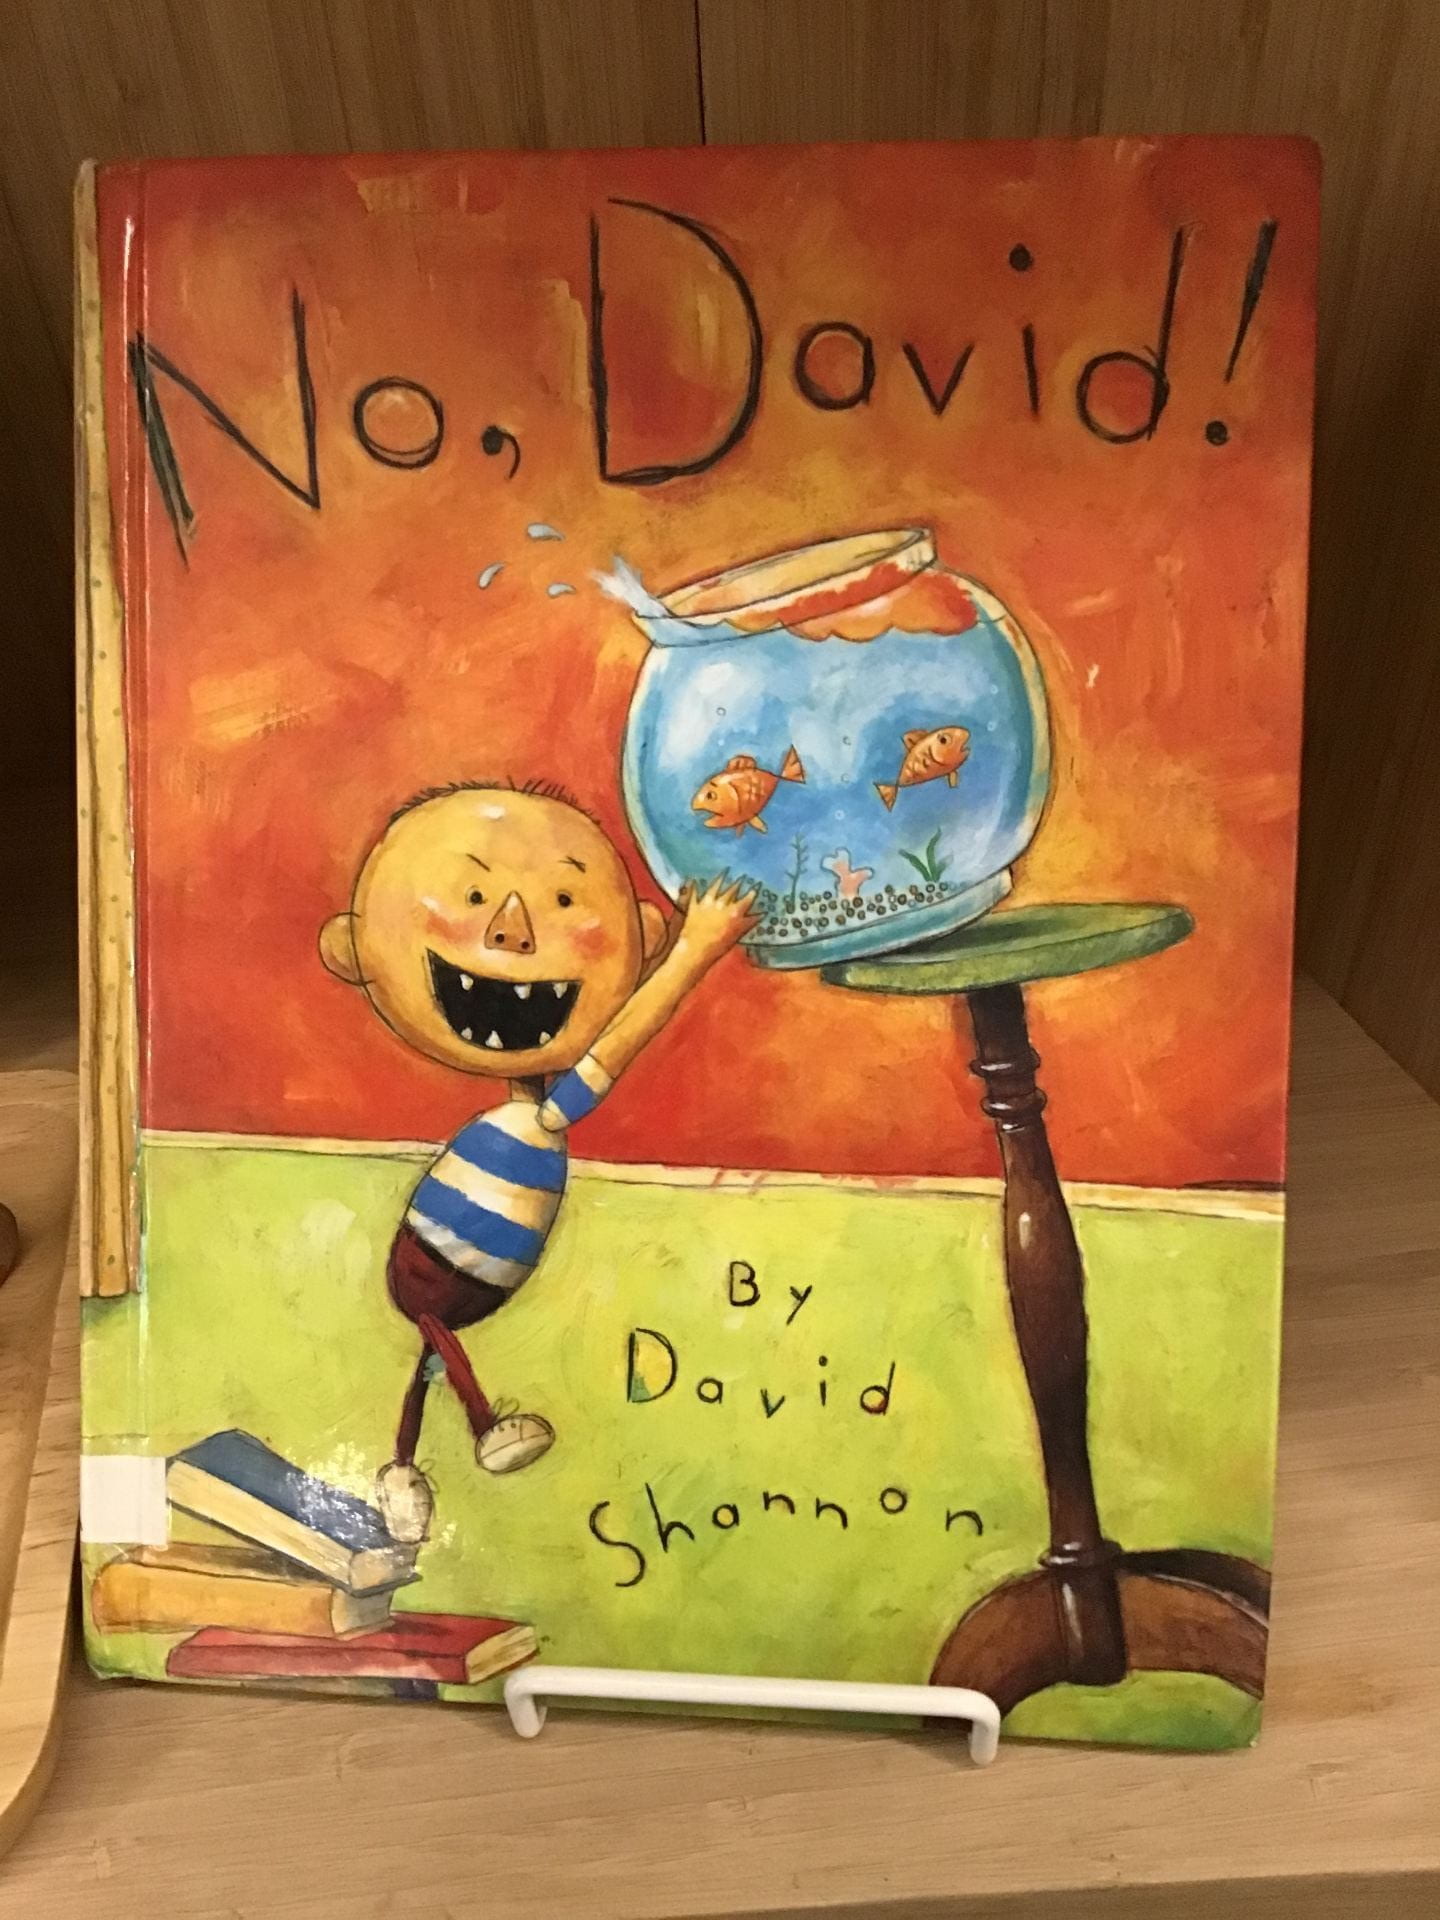
 We read the story ‘


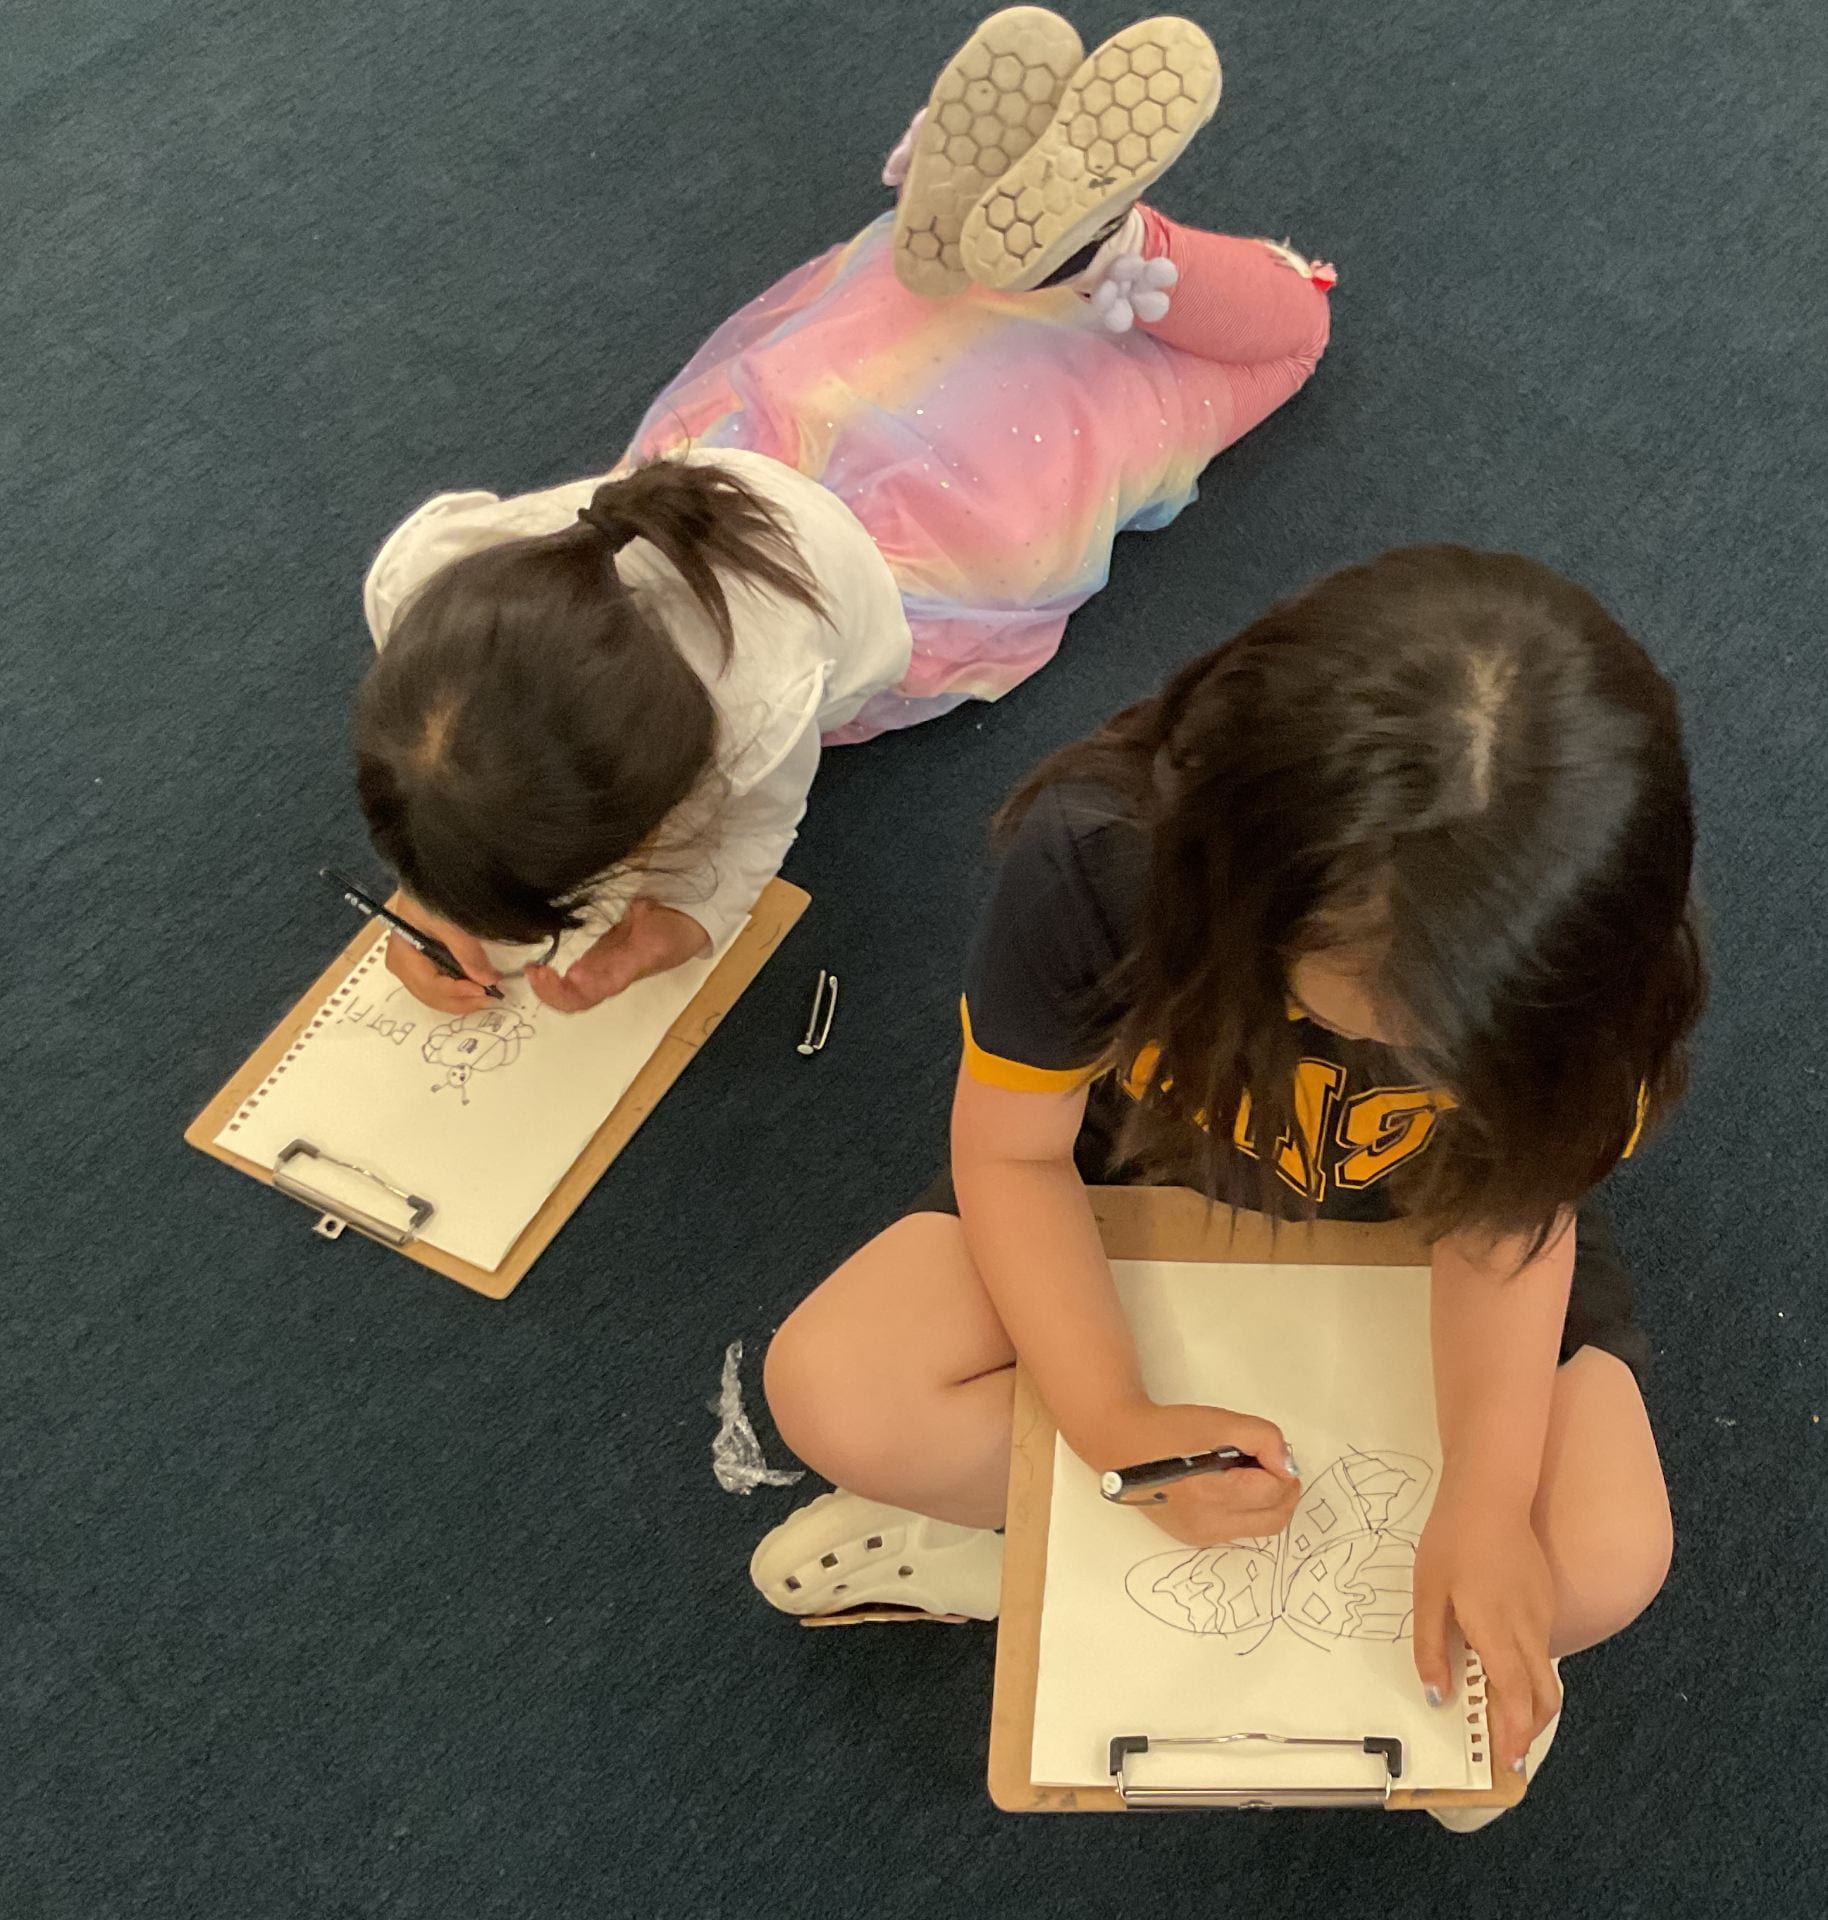
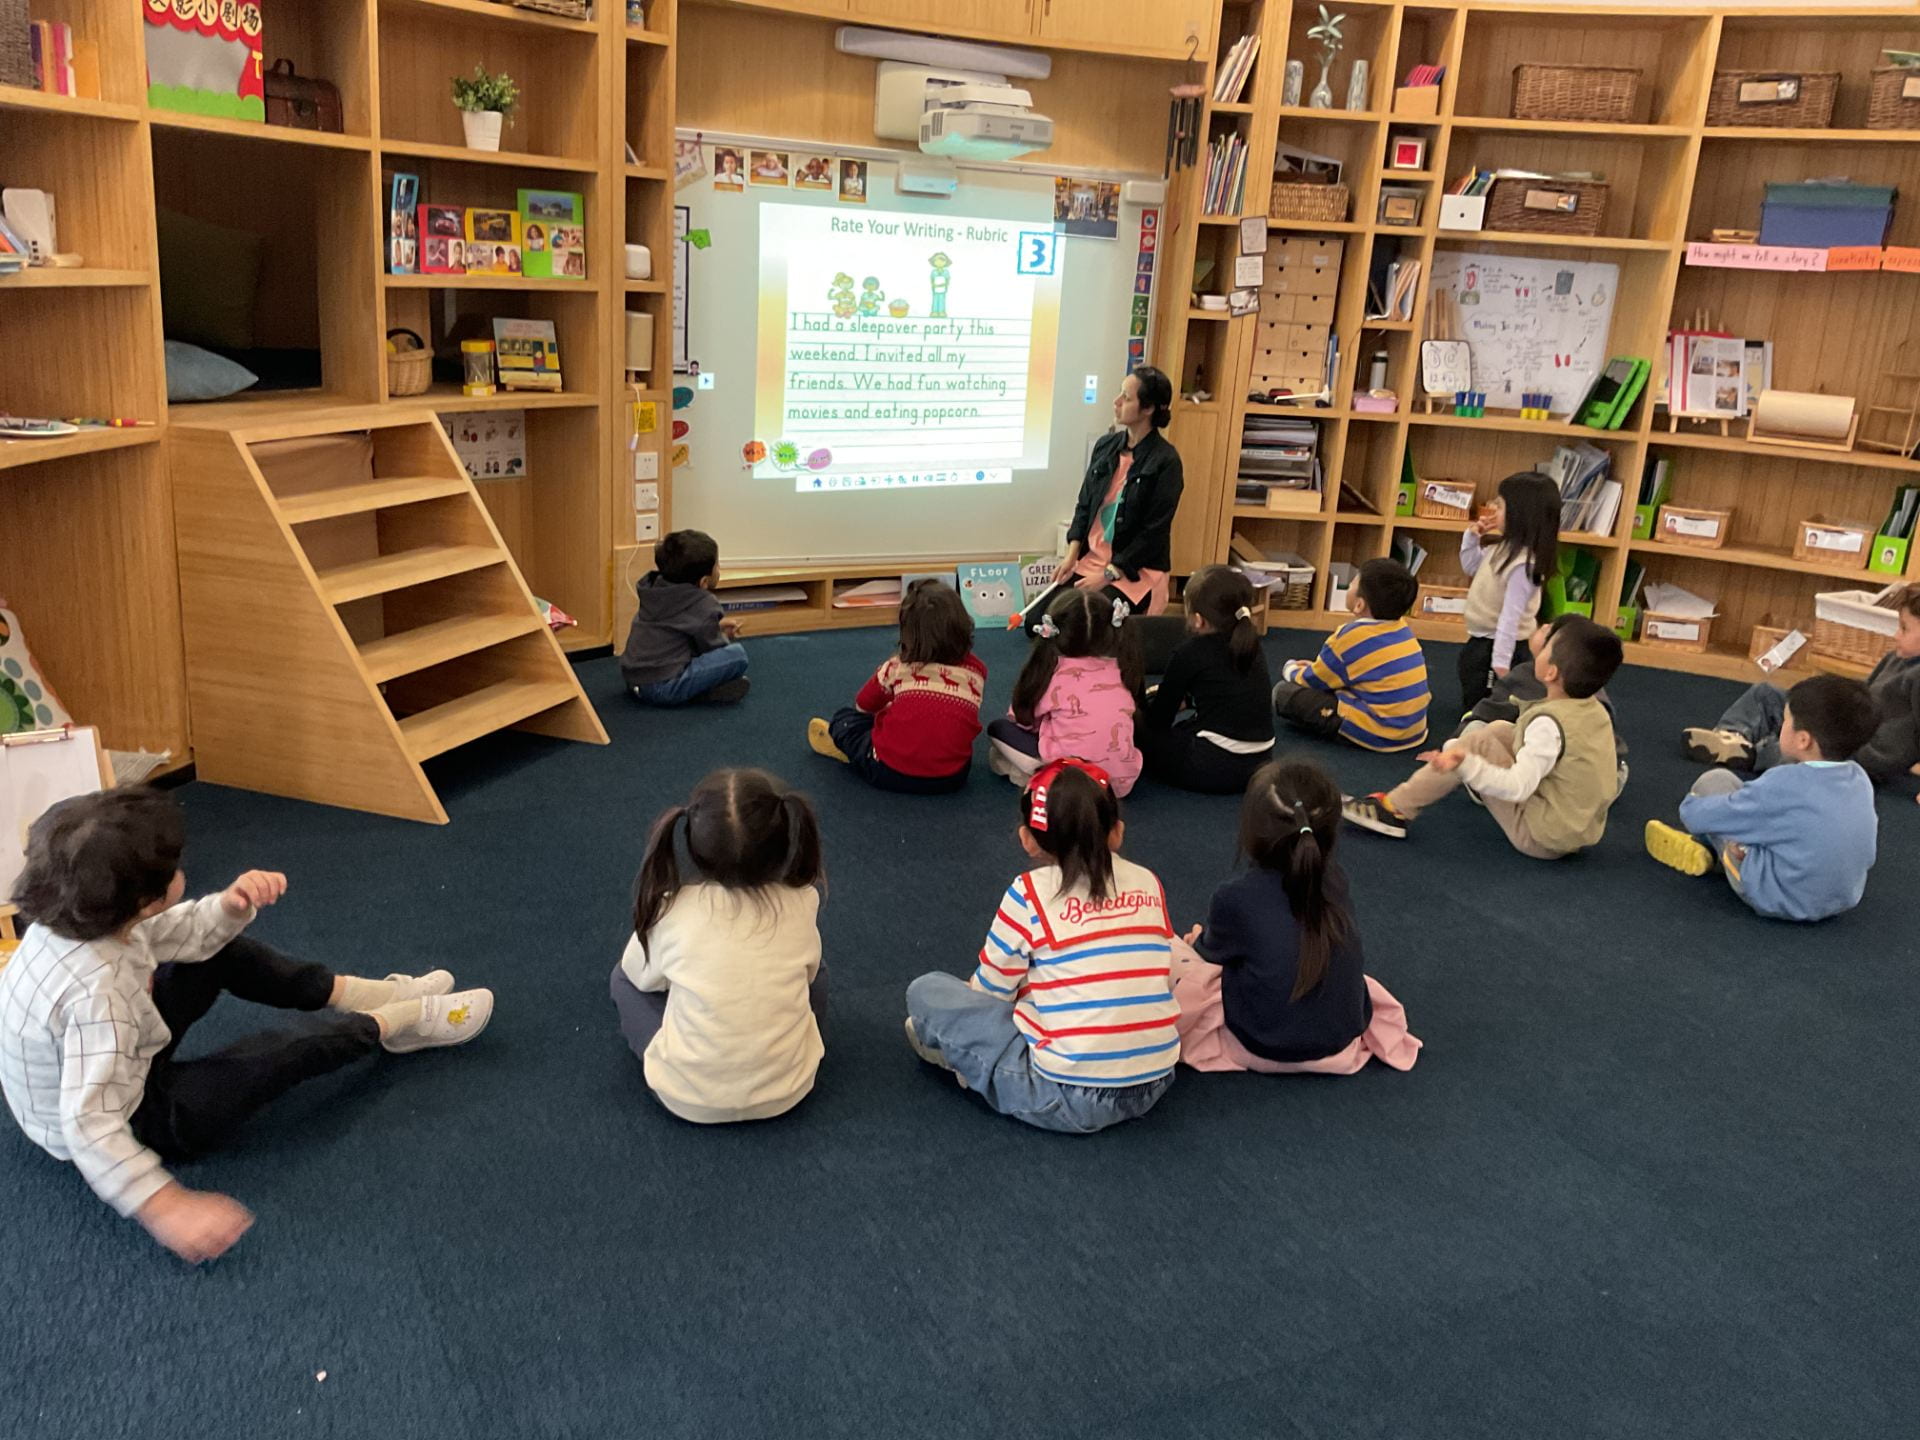
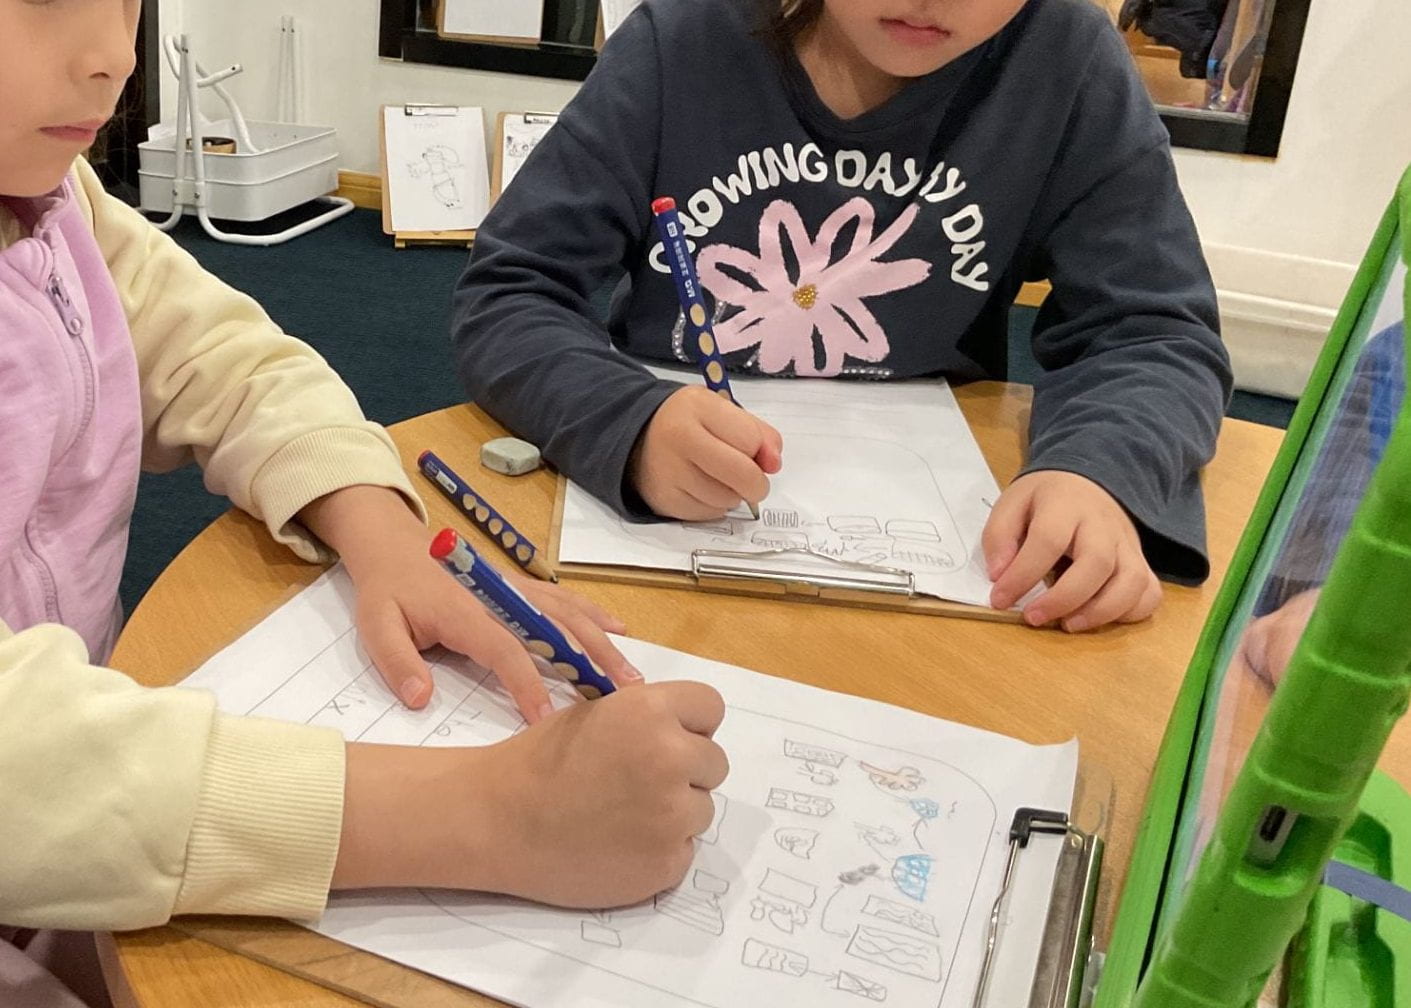
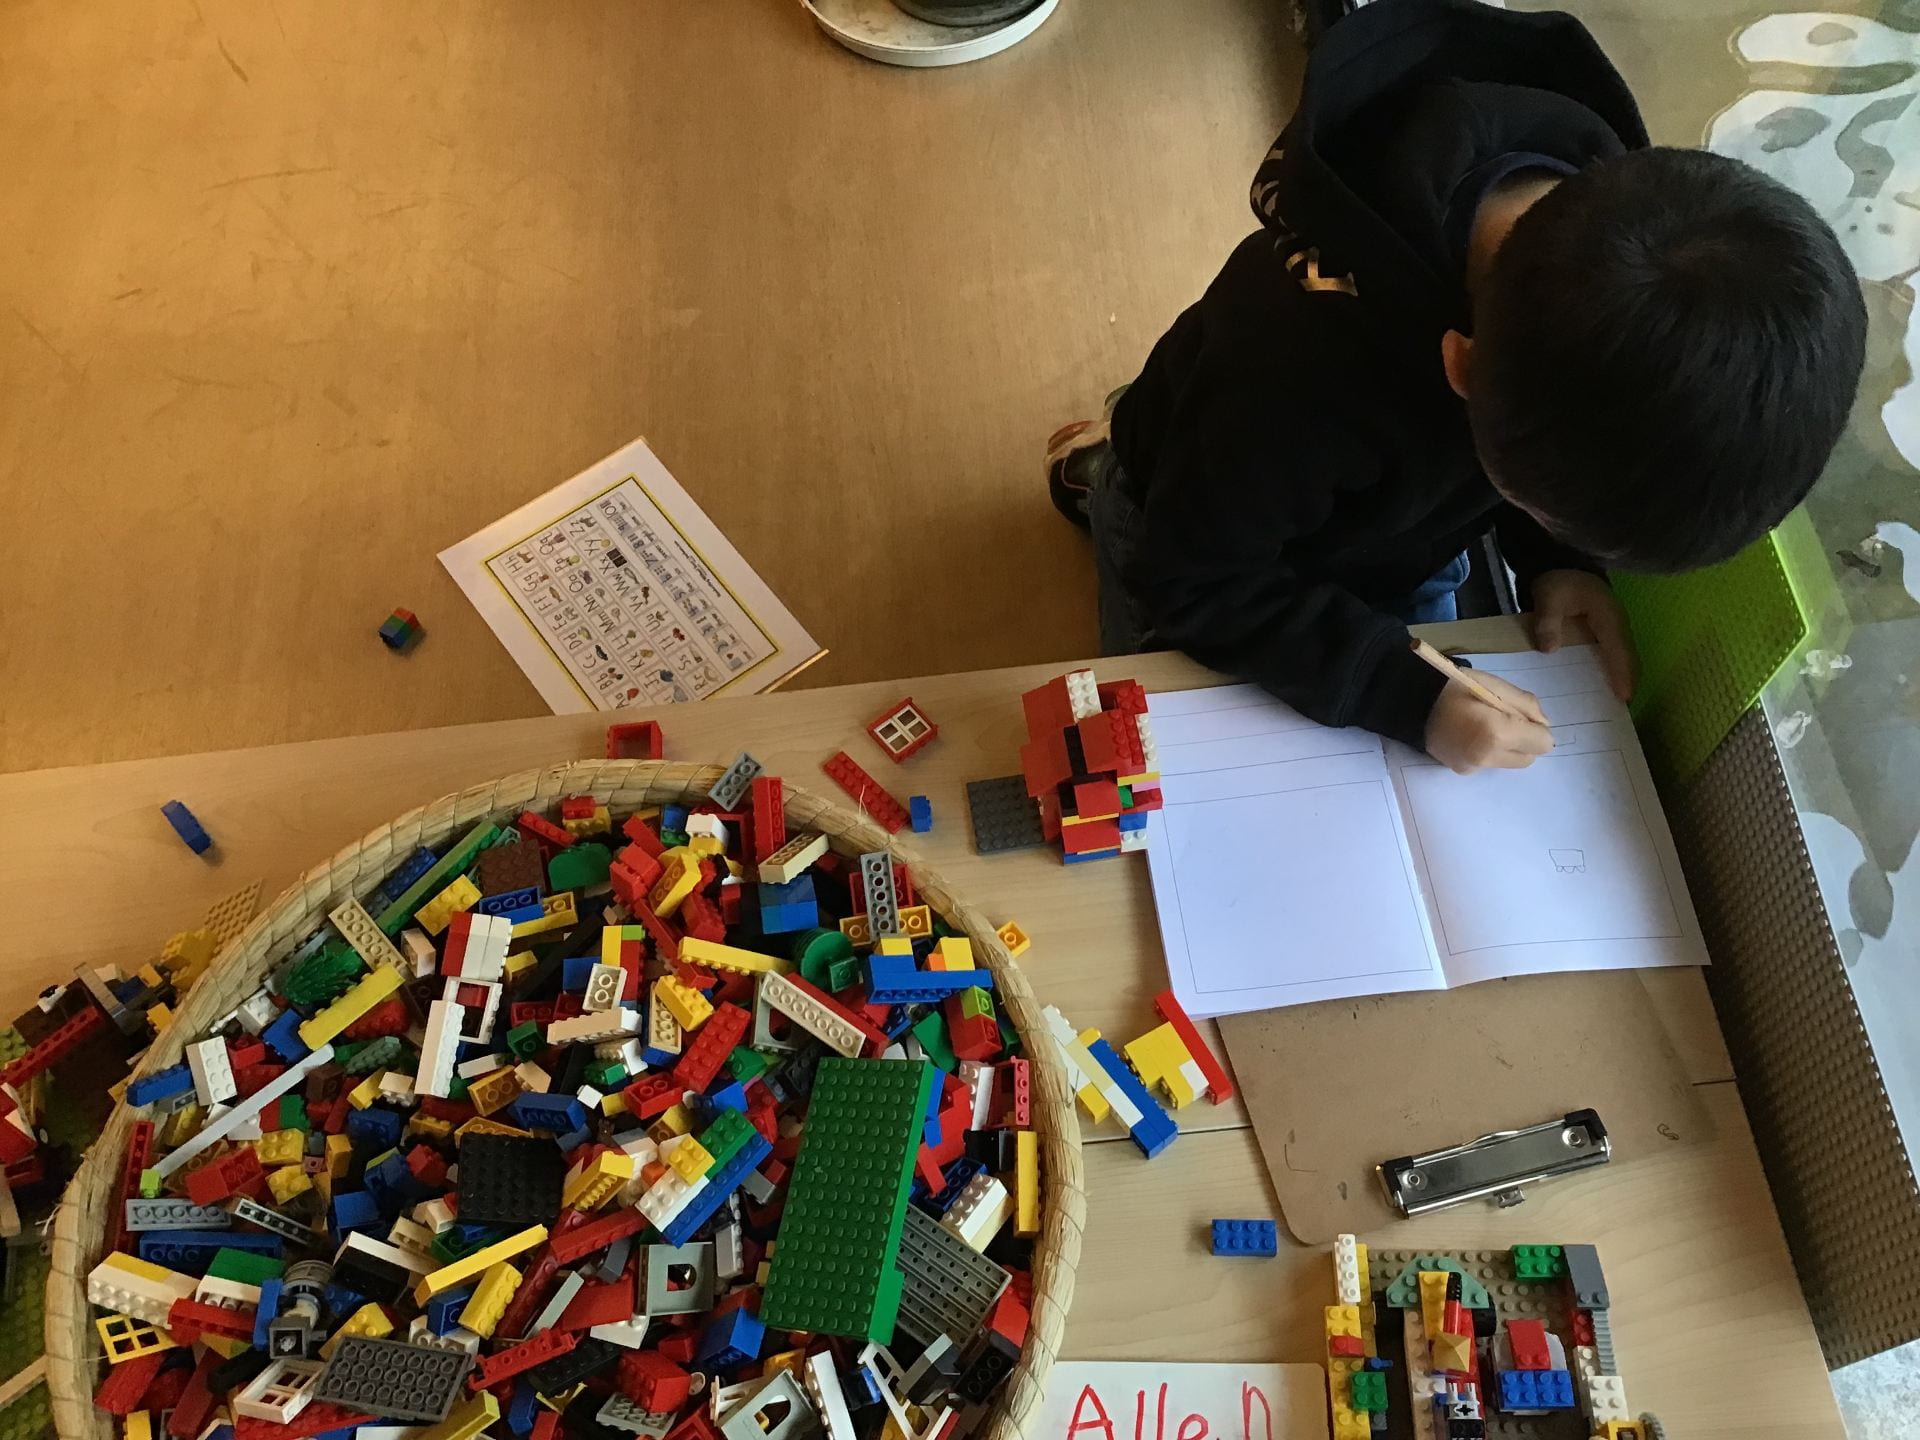
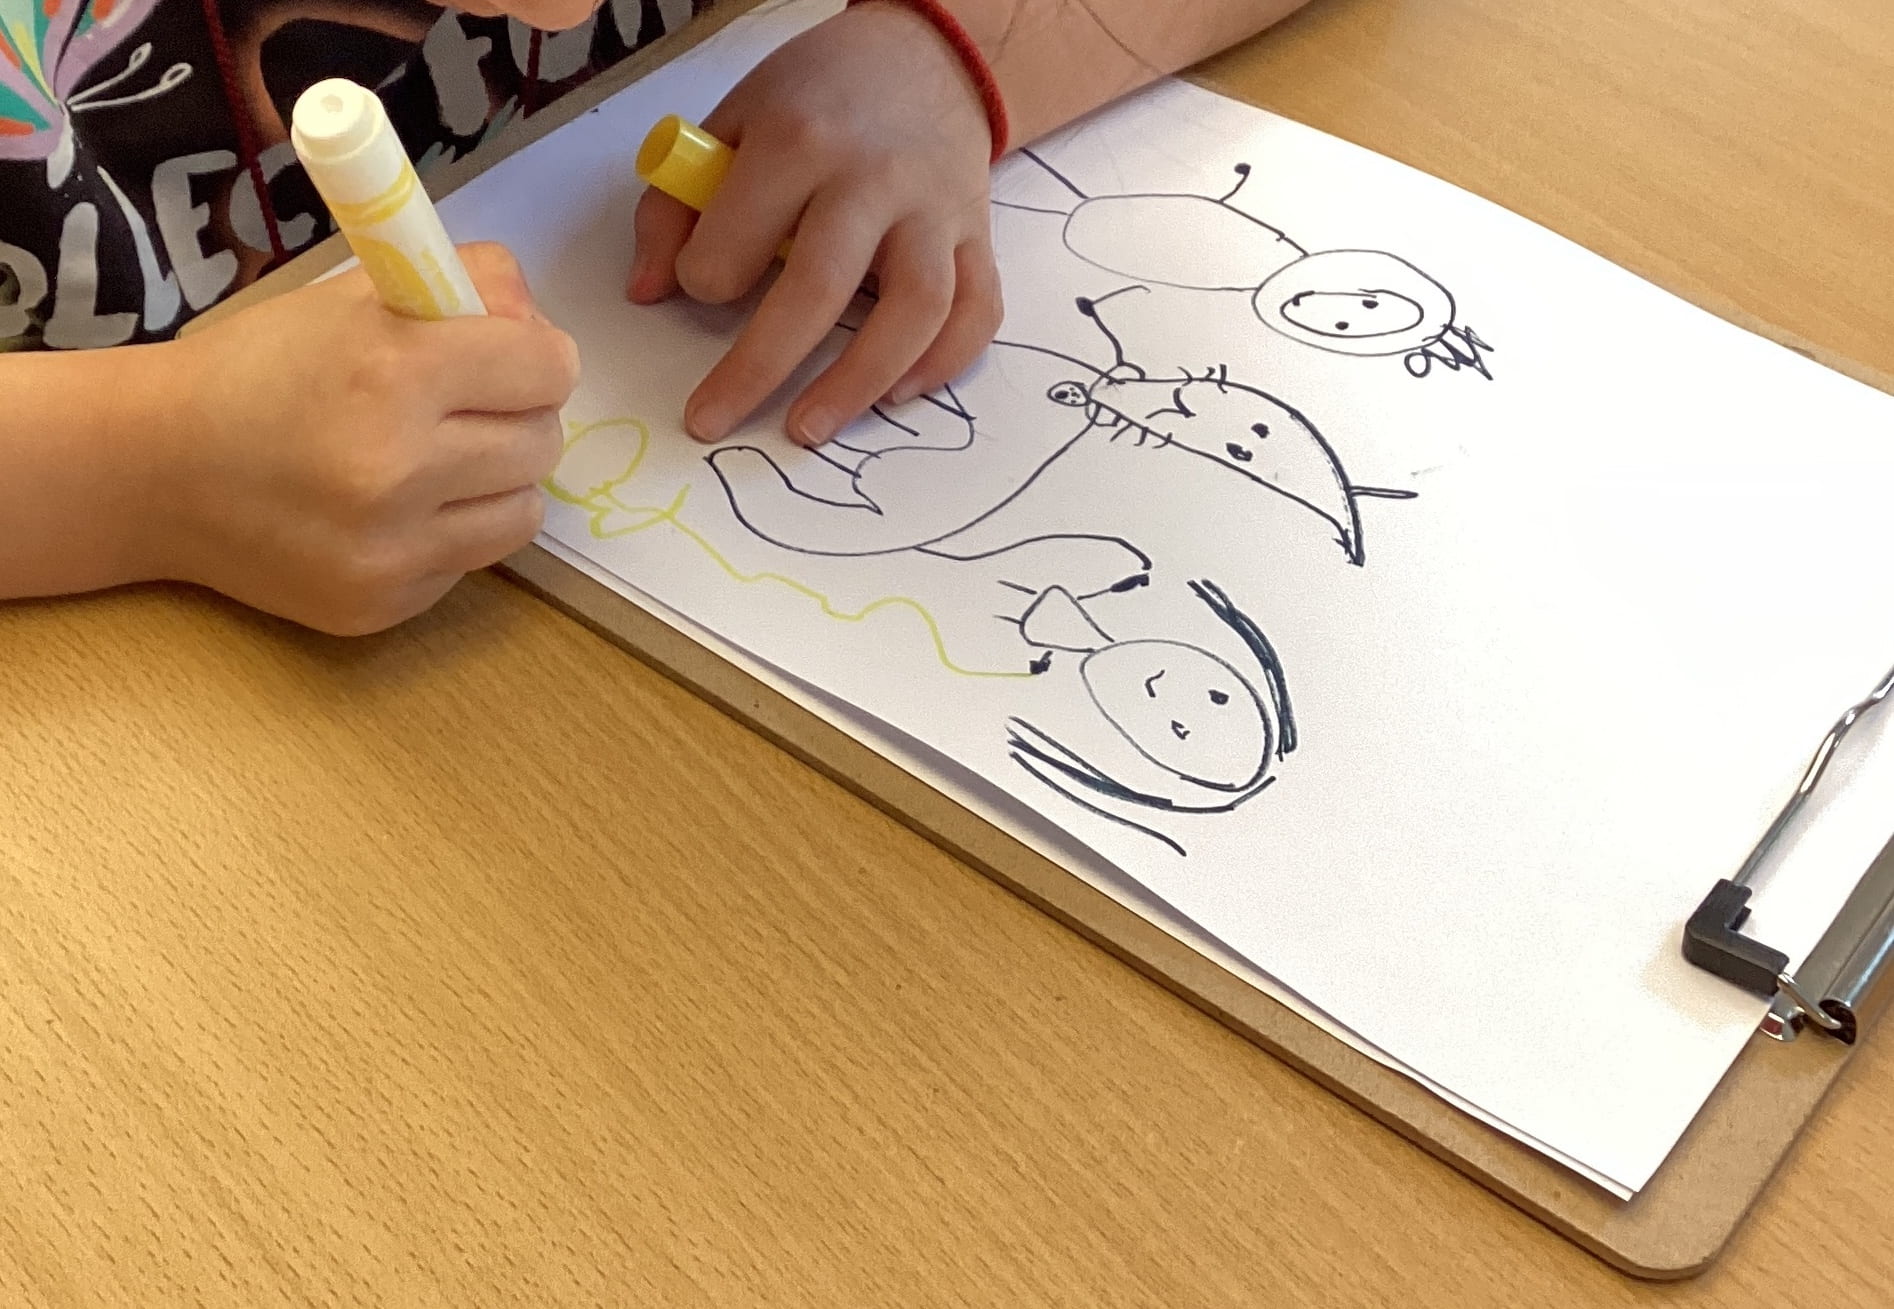
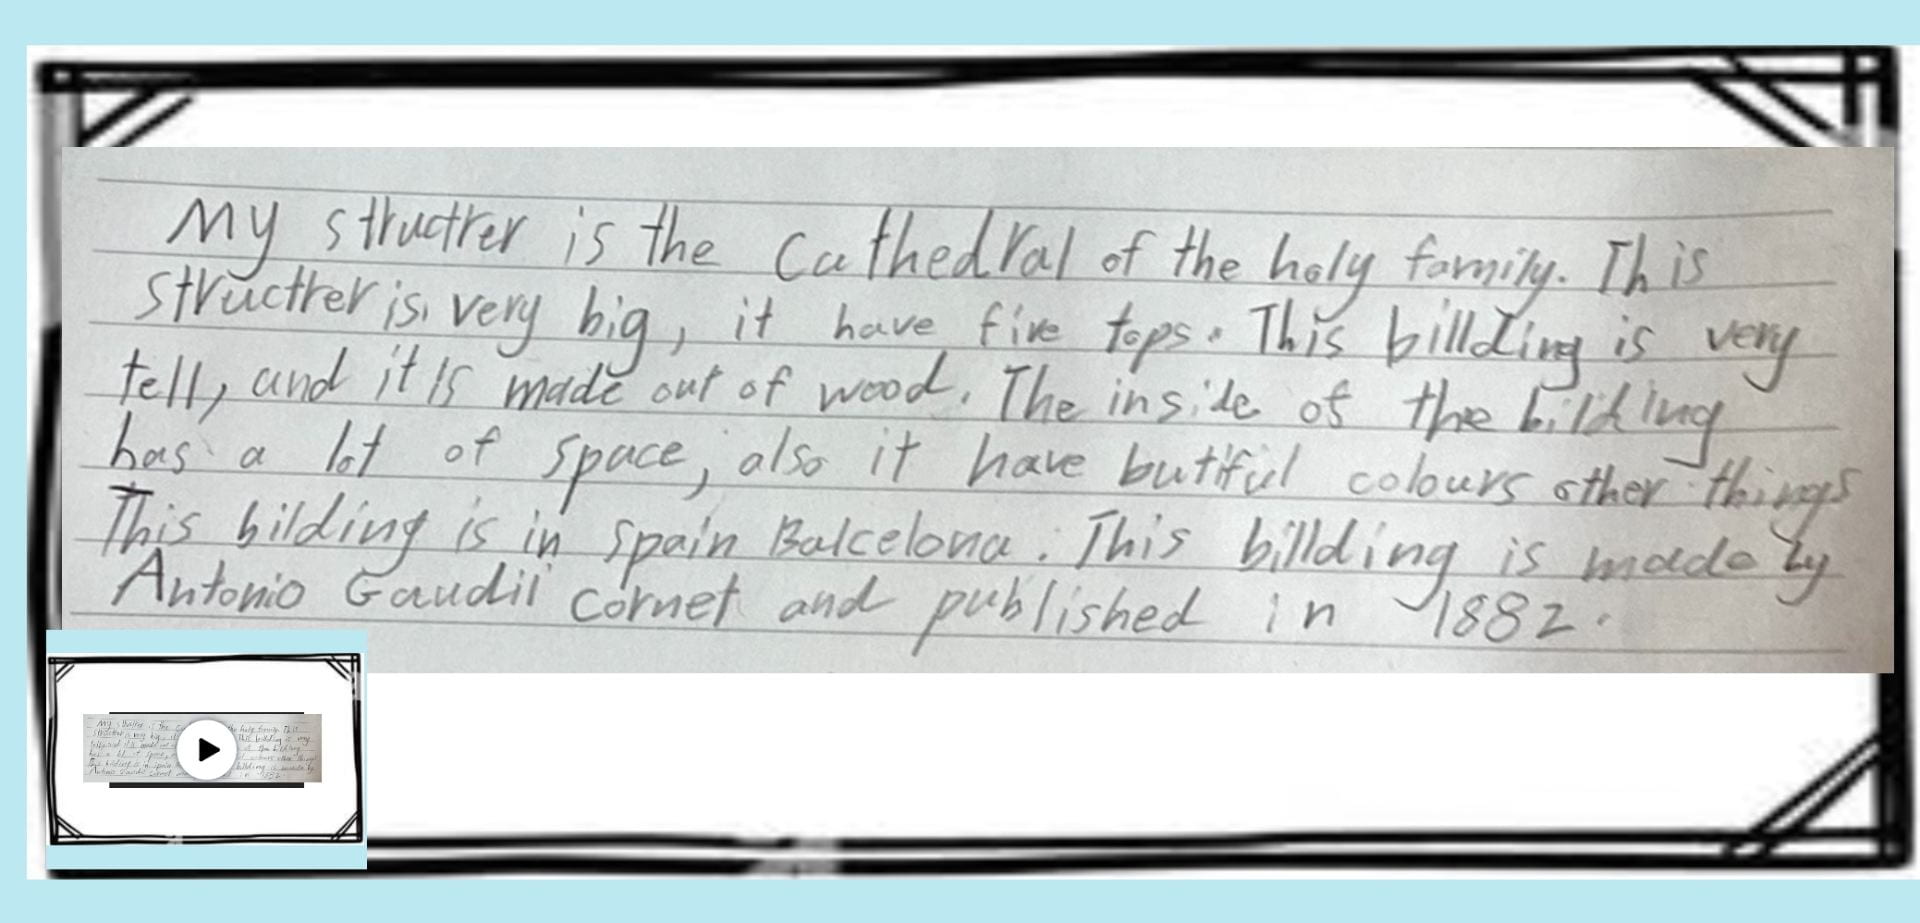
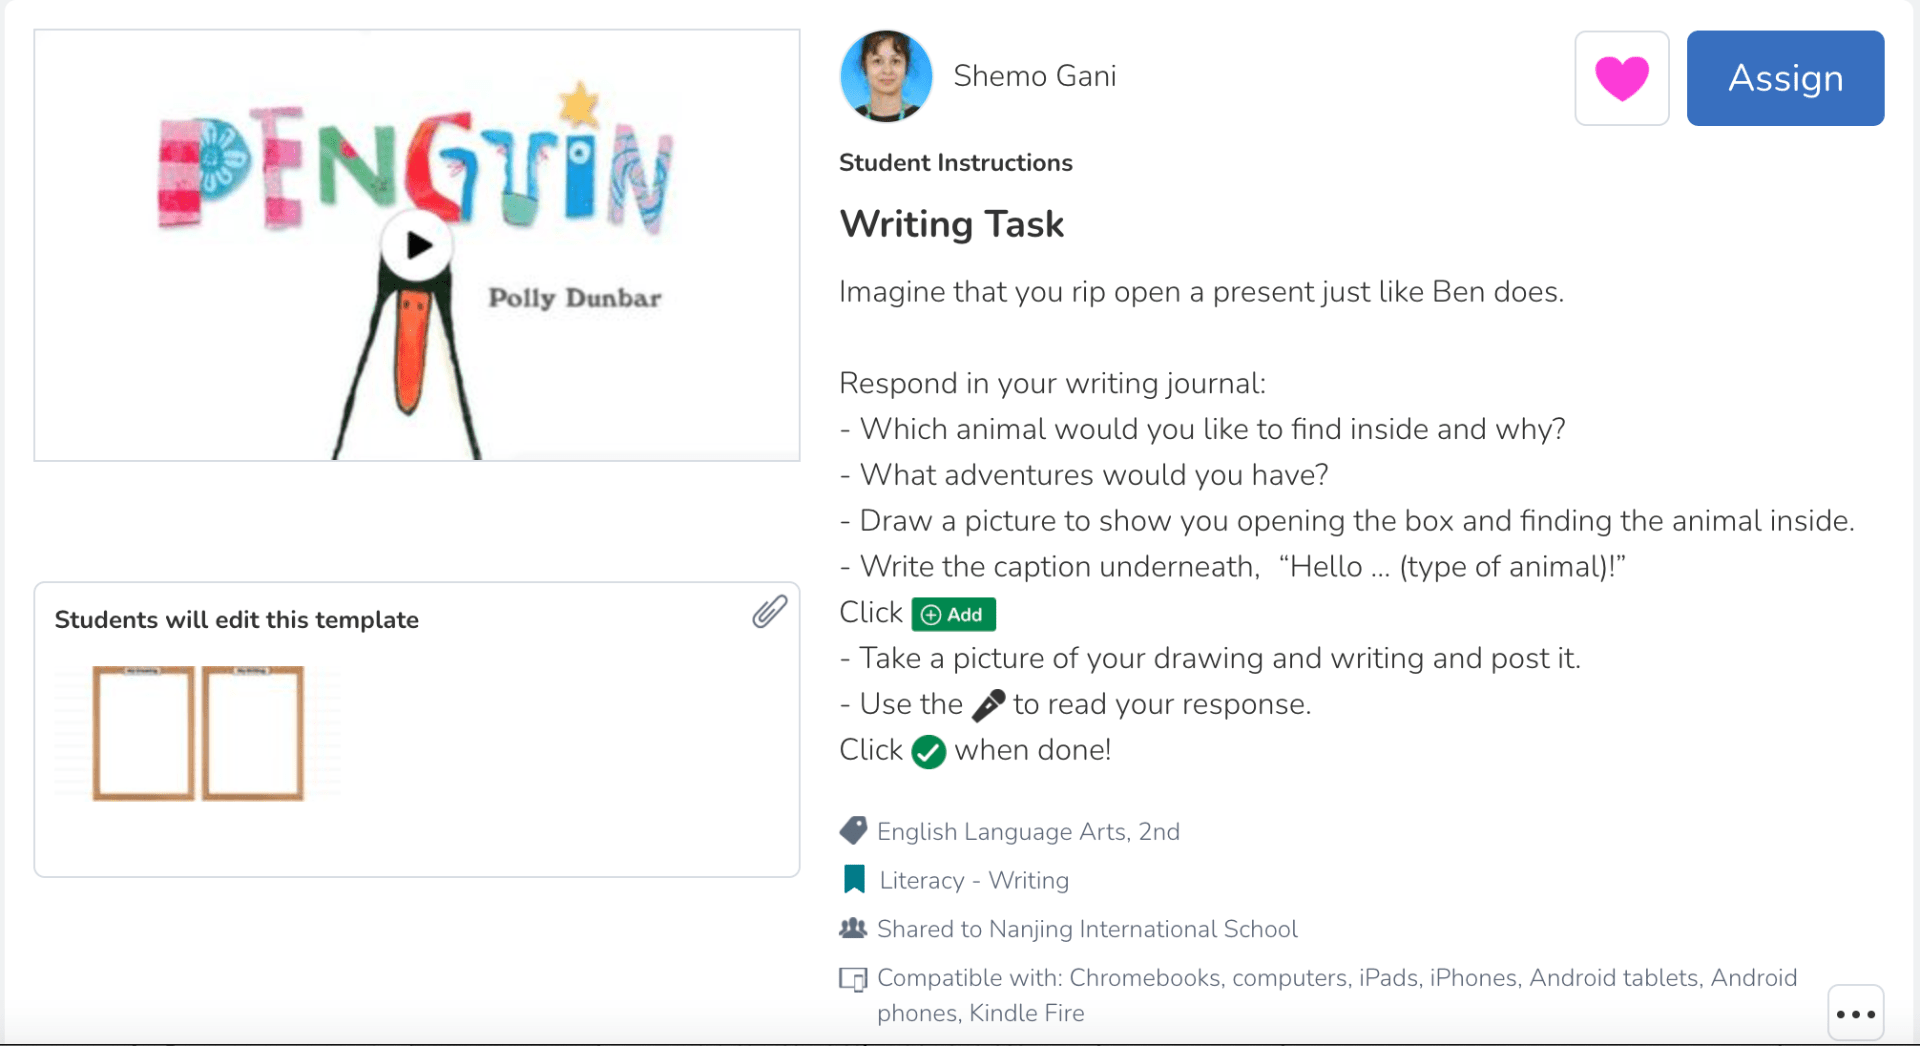
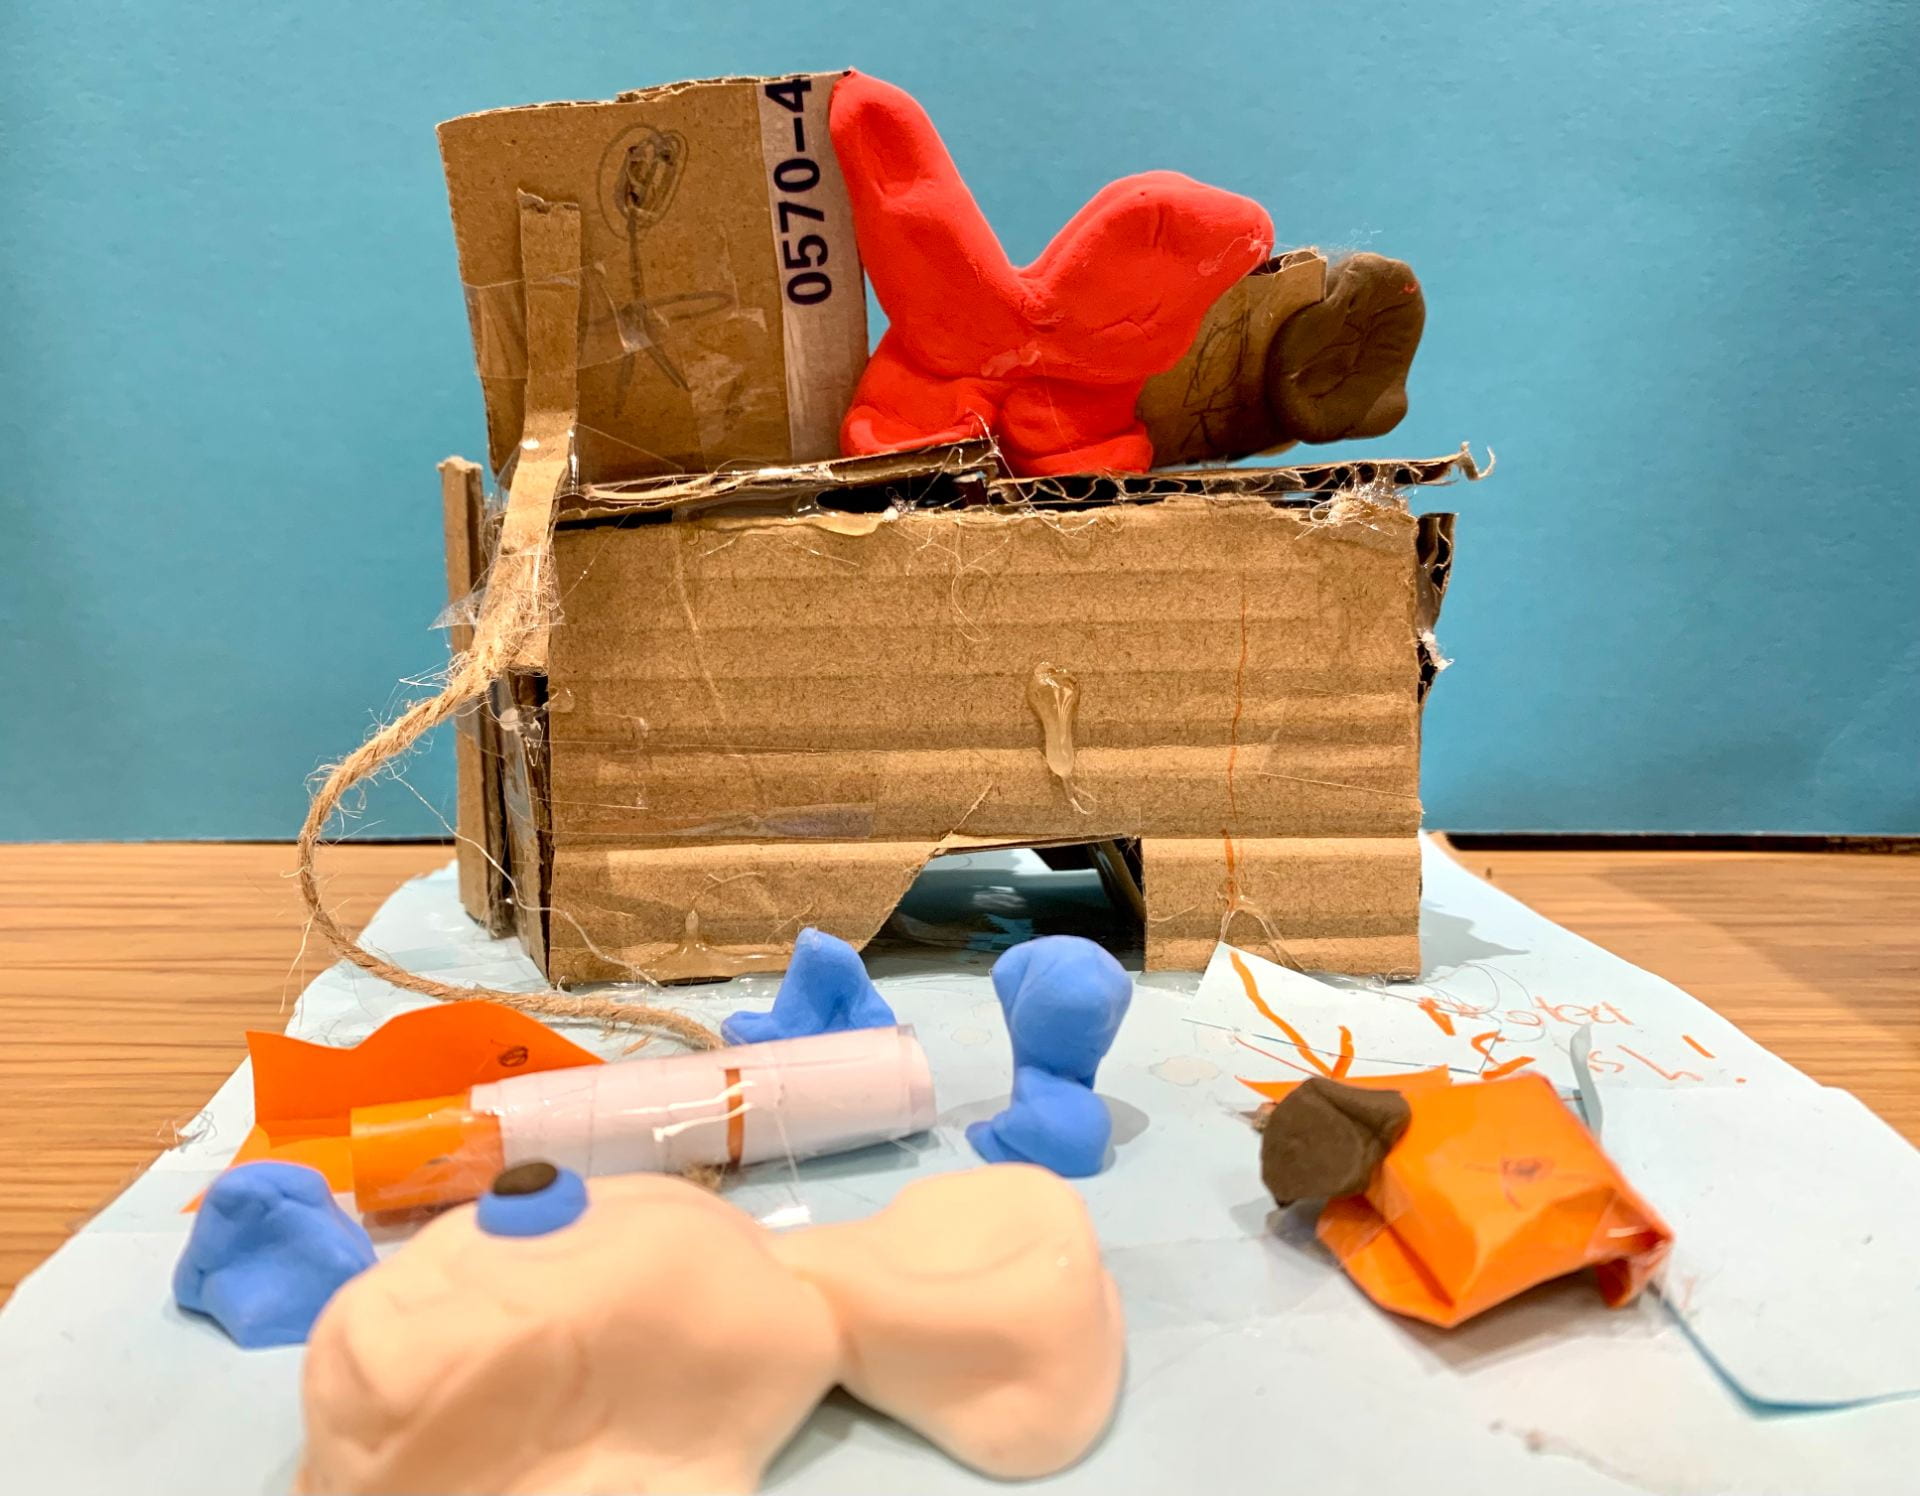
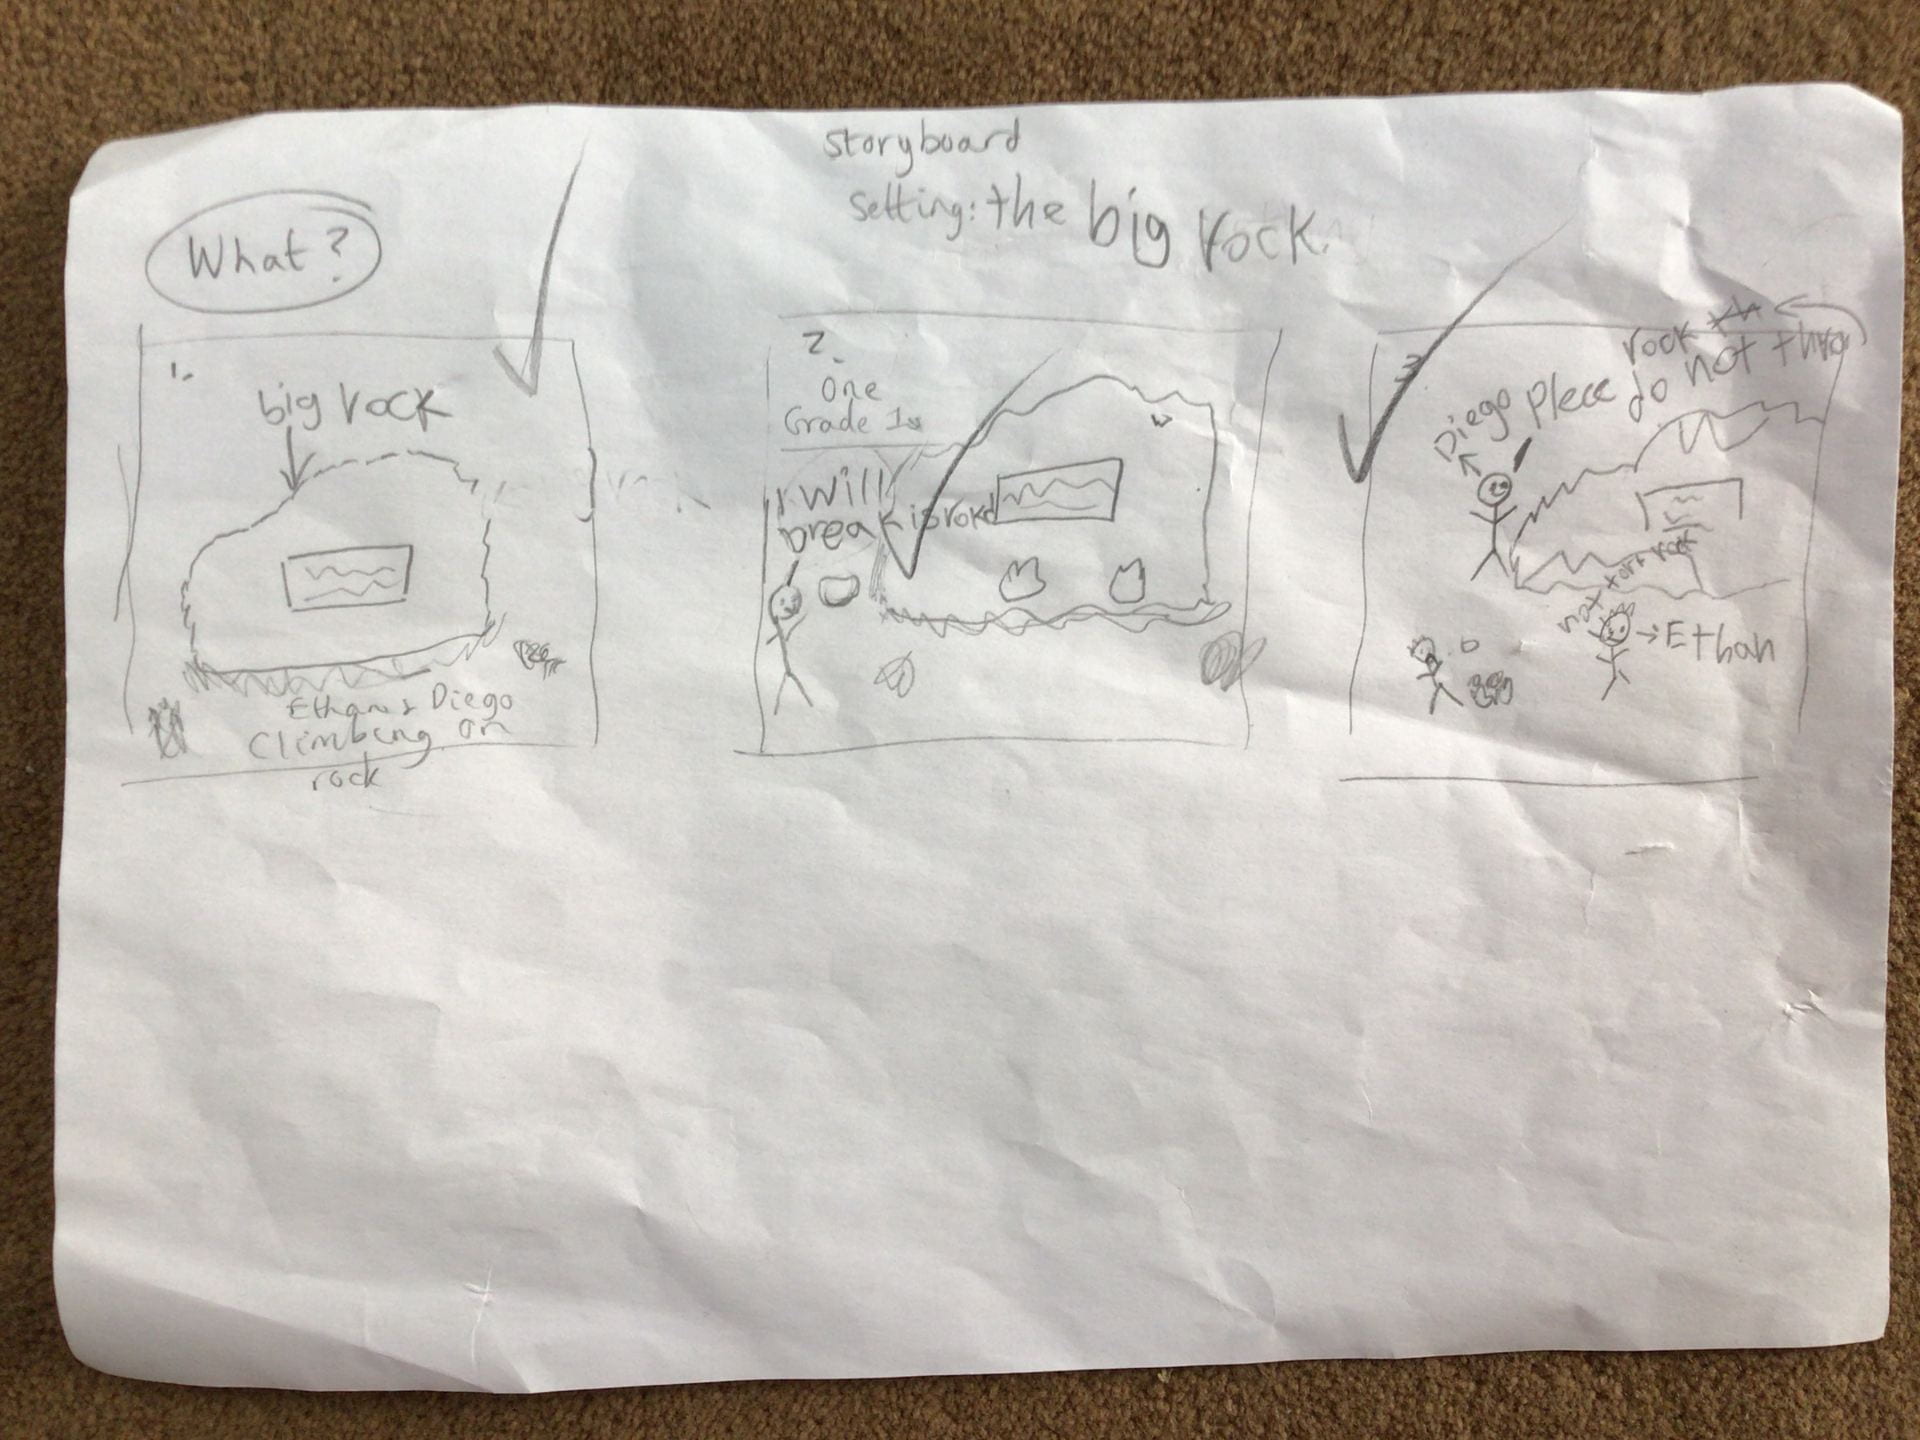
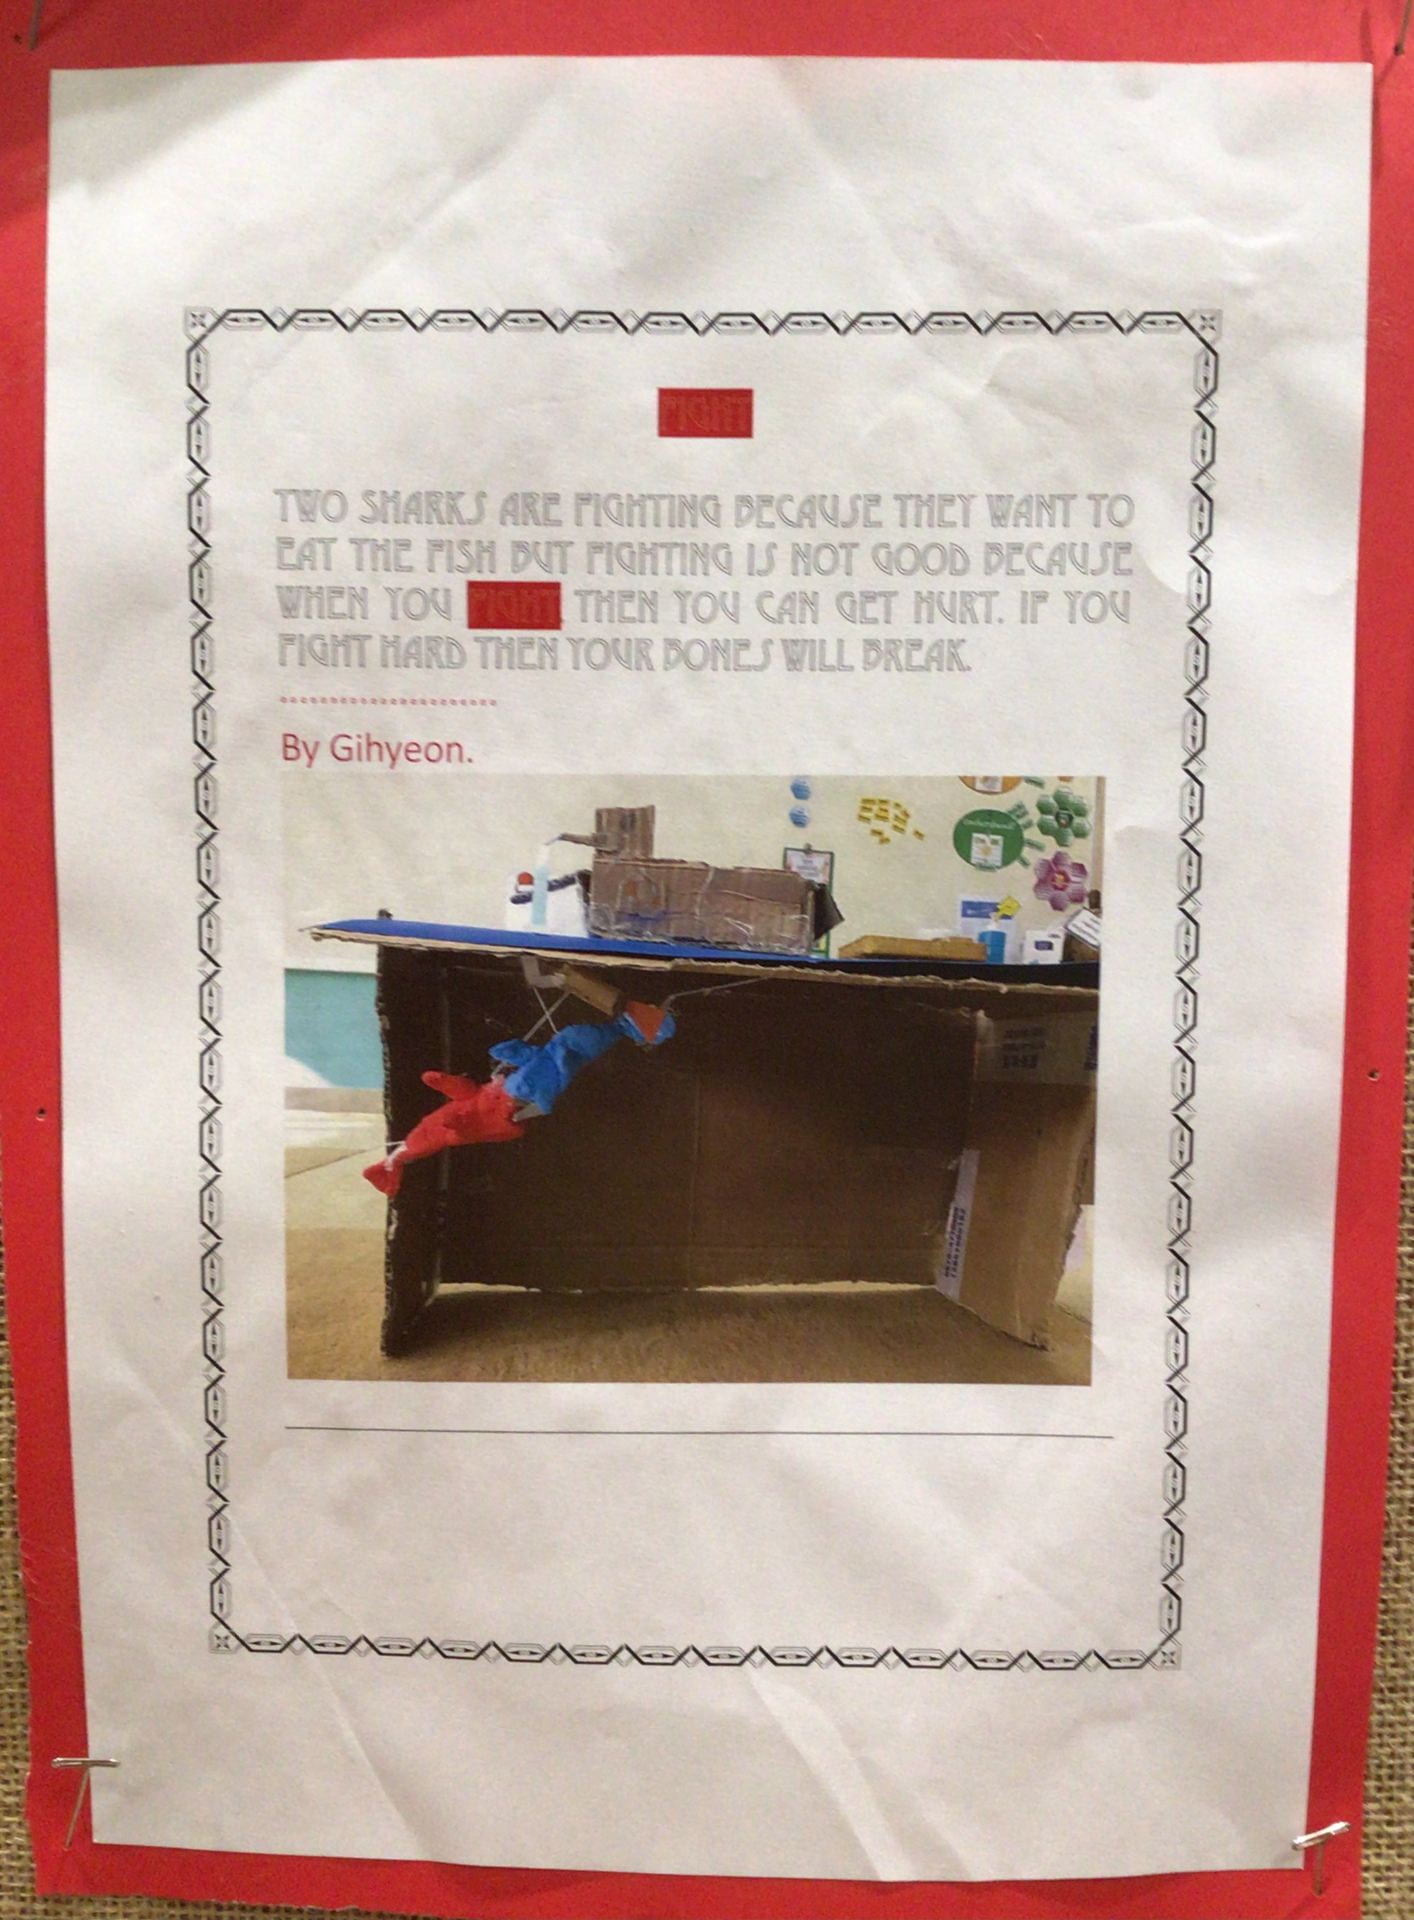
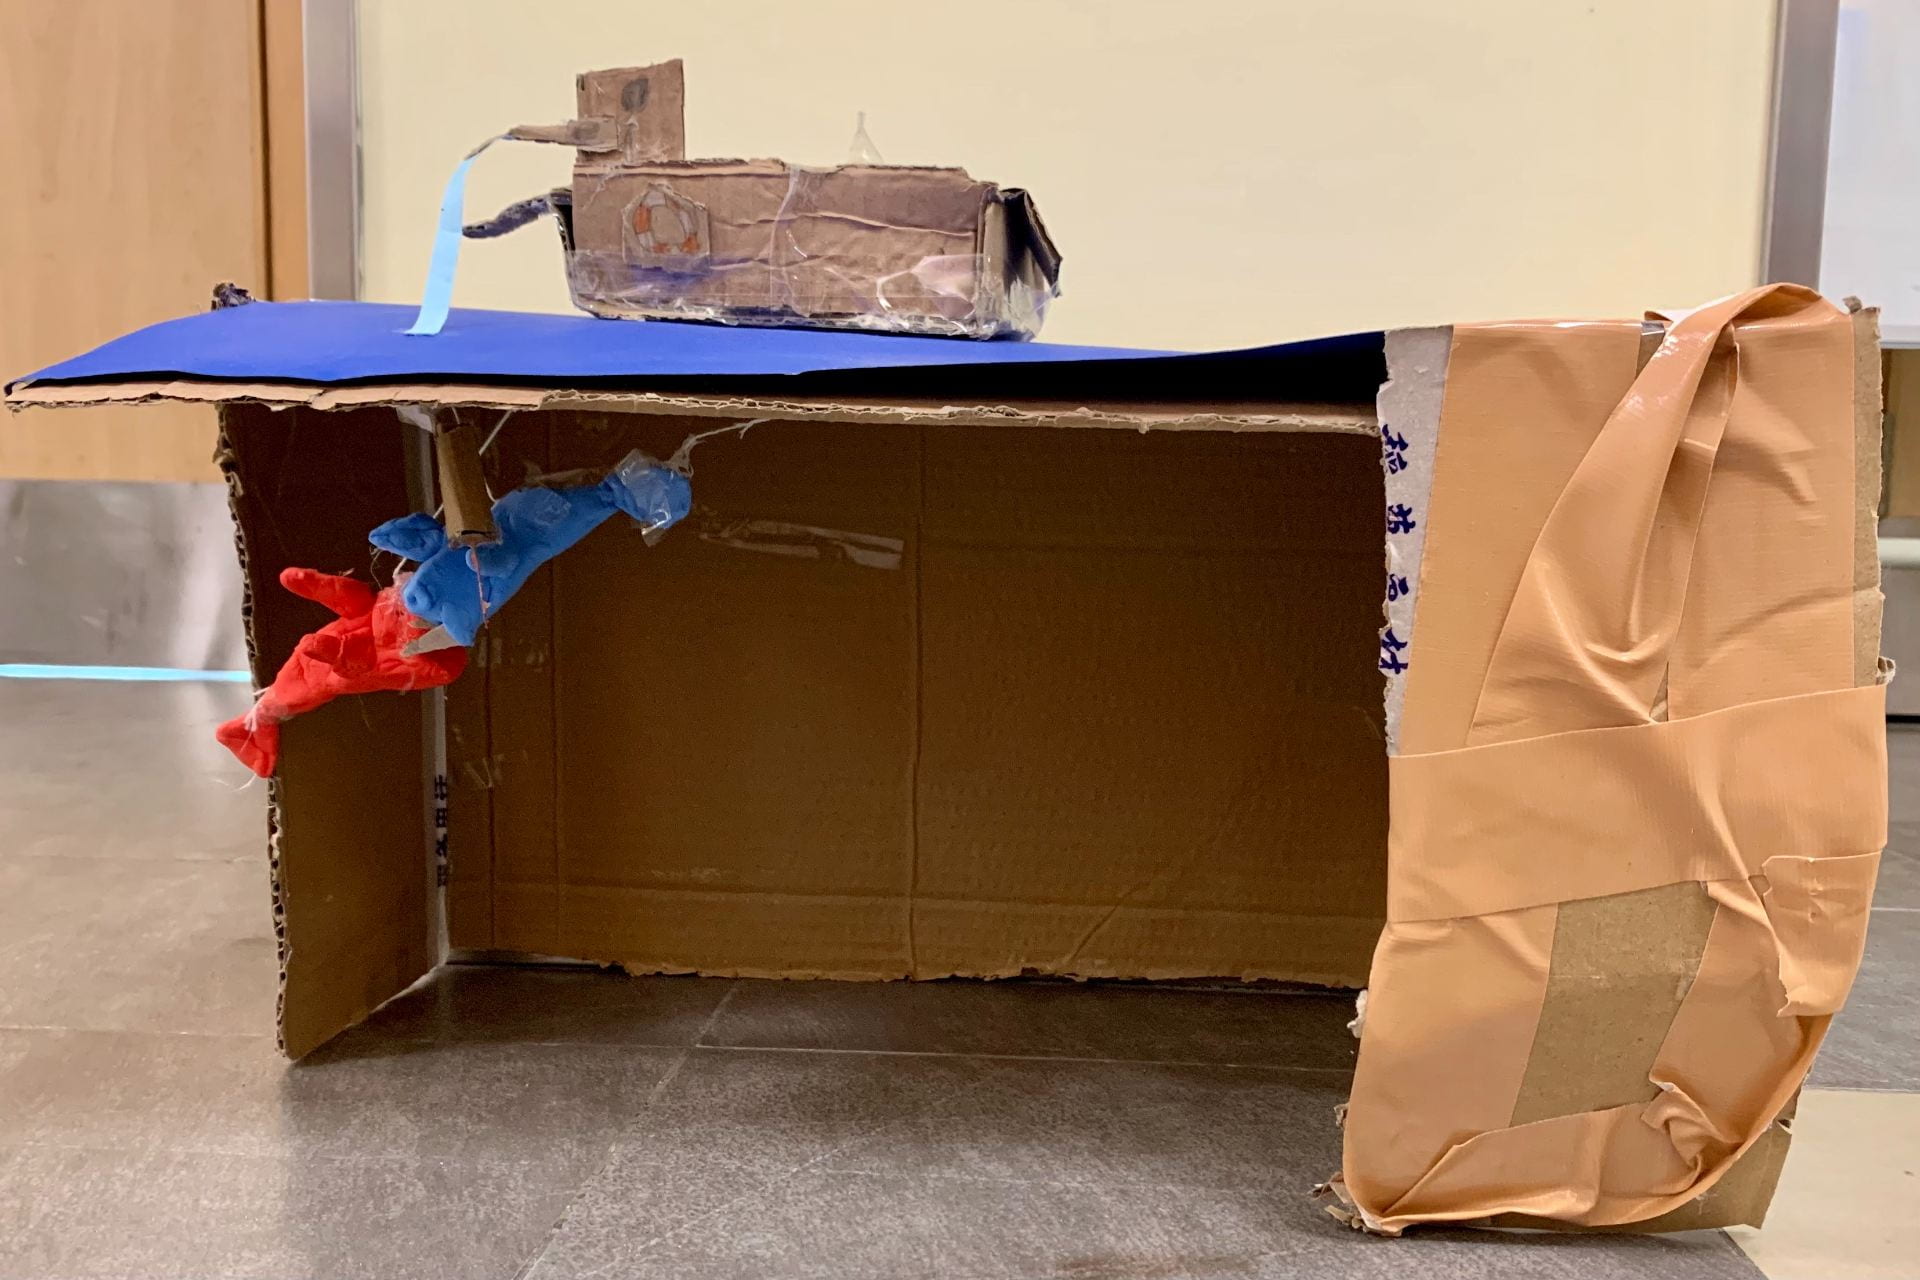
 The writers narrated the sketch of the story using interesting details and events, sharing problems that arise and how these are solved as the story unfolds. Including a powerful ending for the story was a key focus.


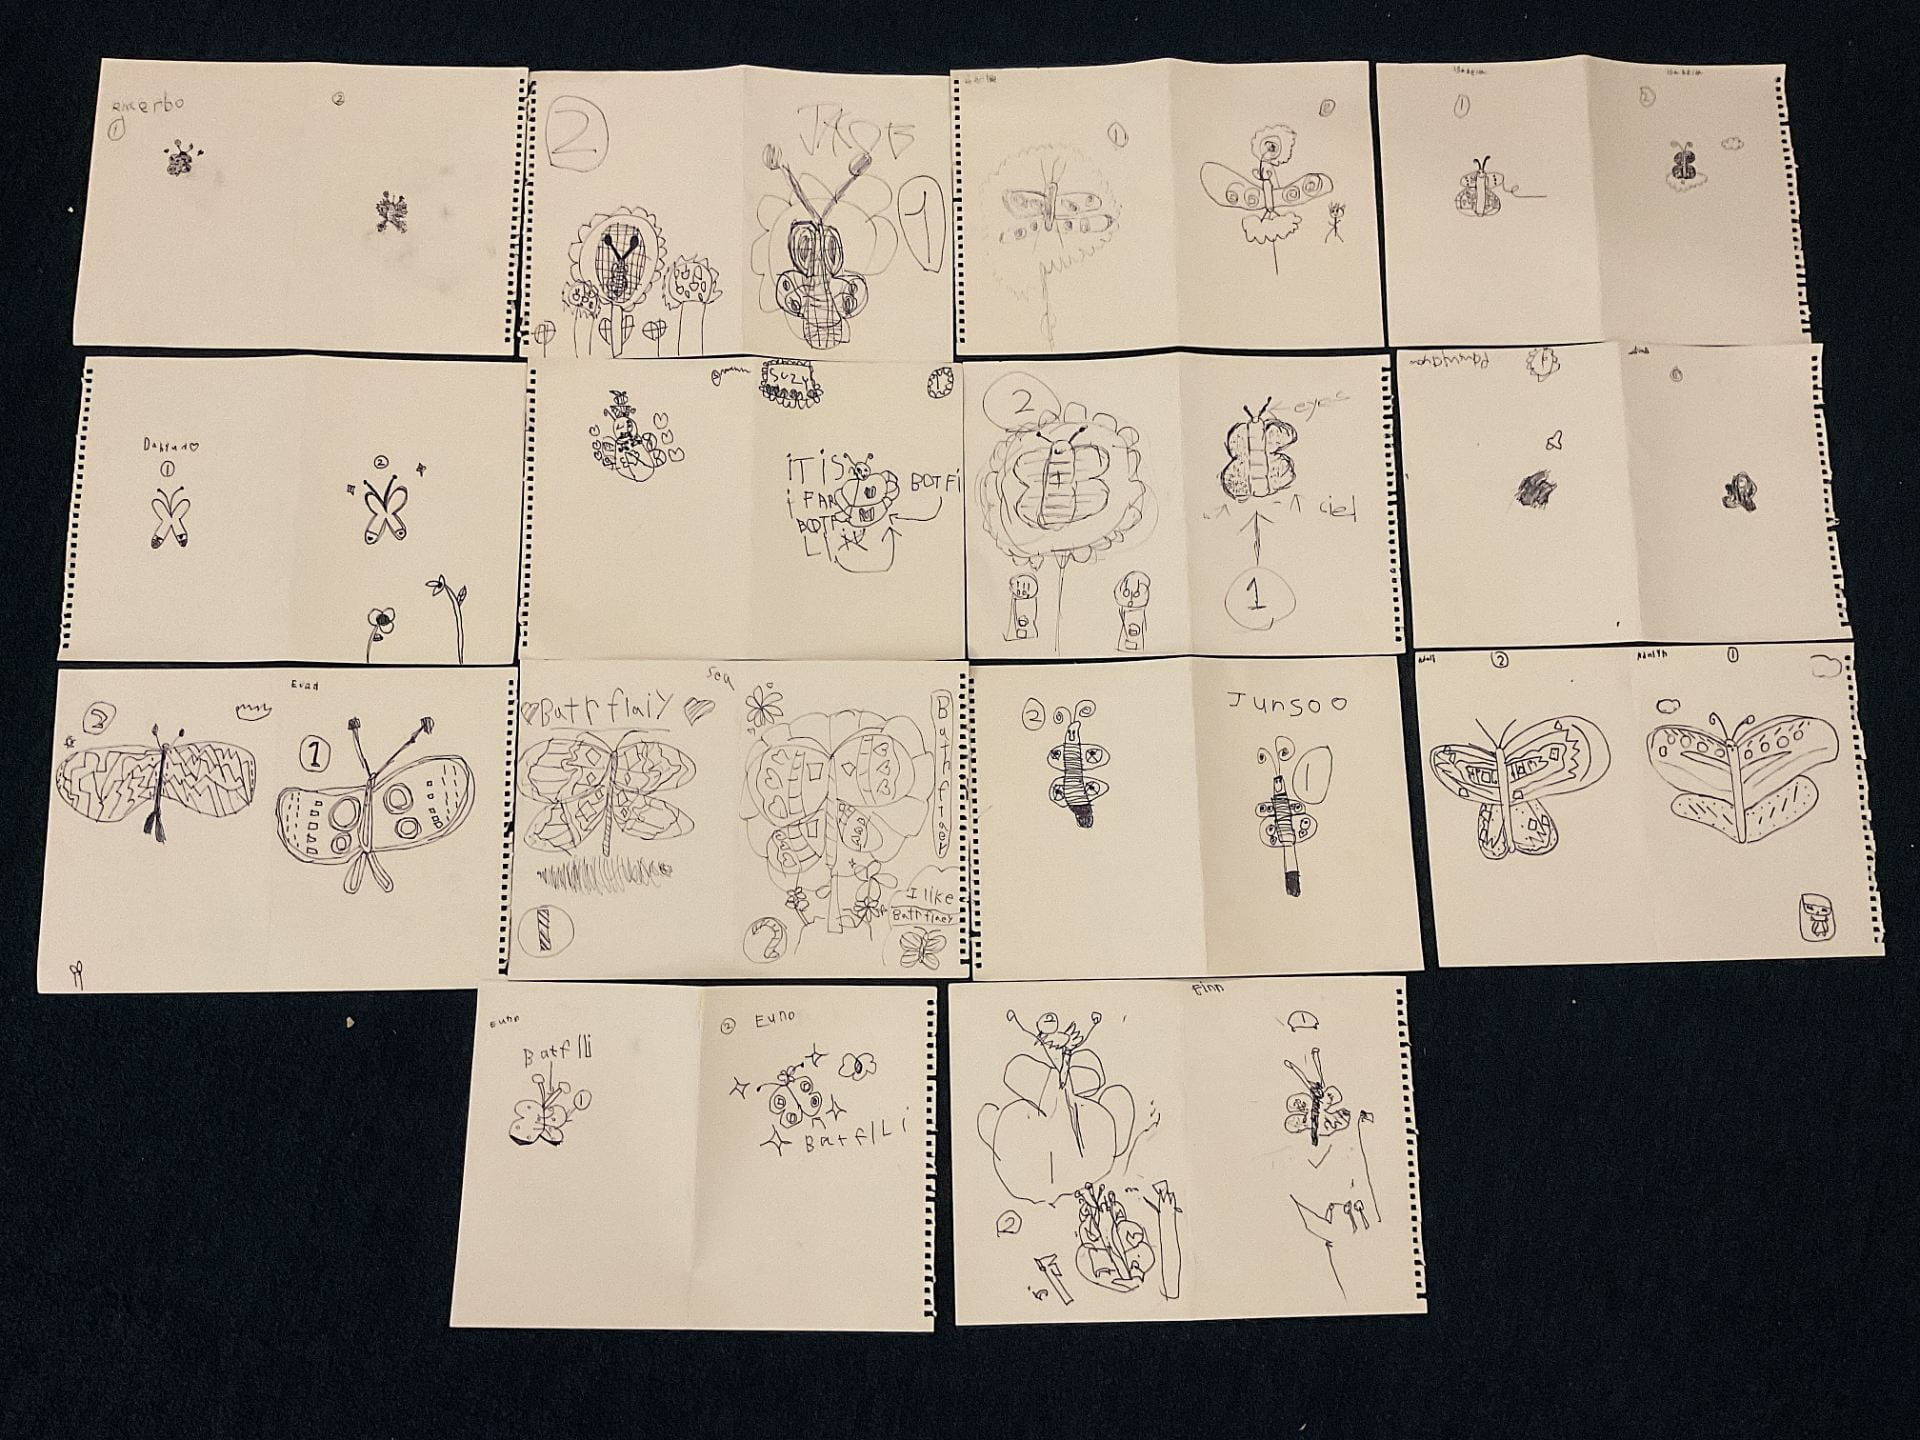
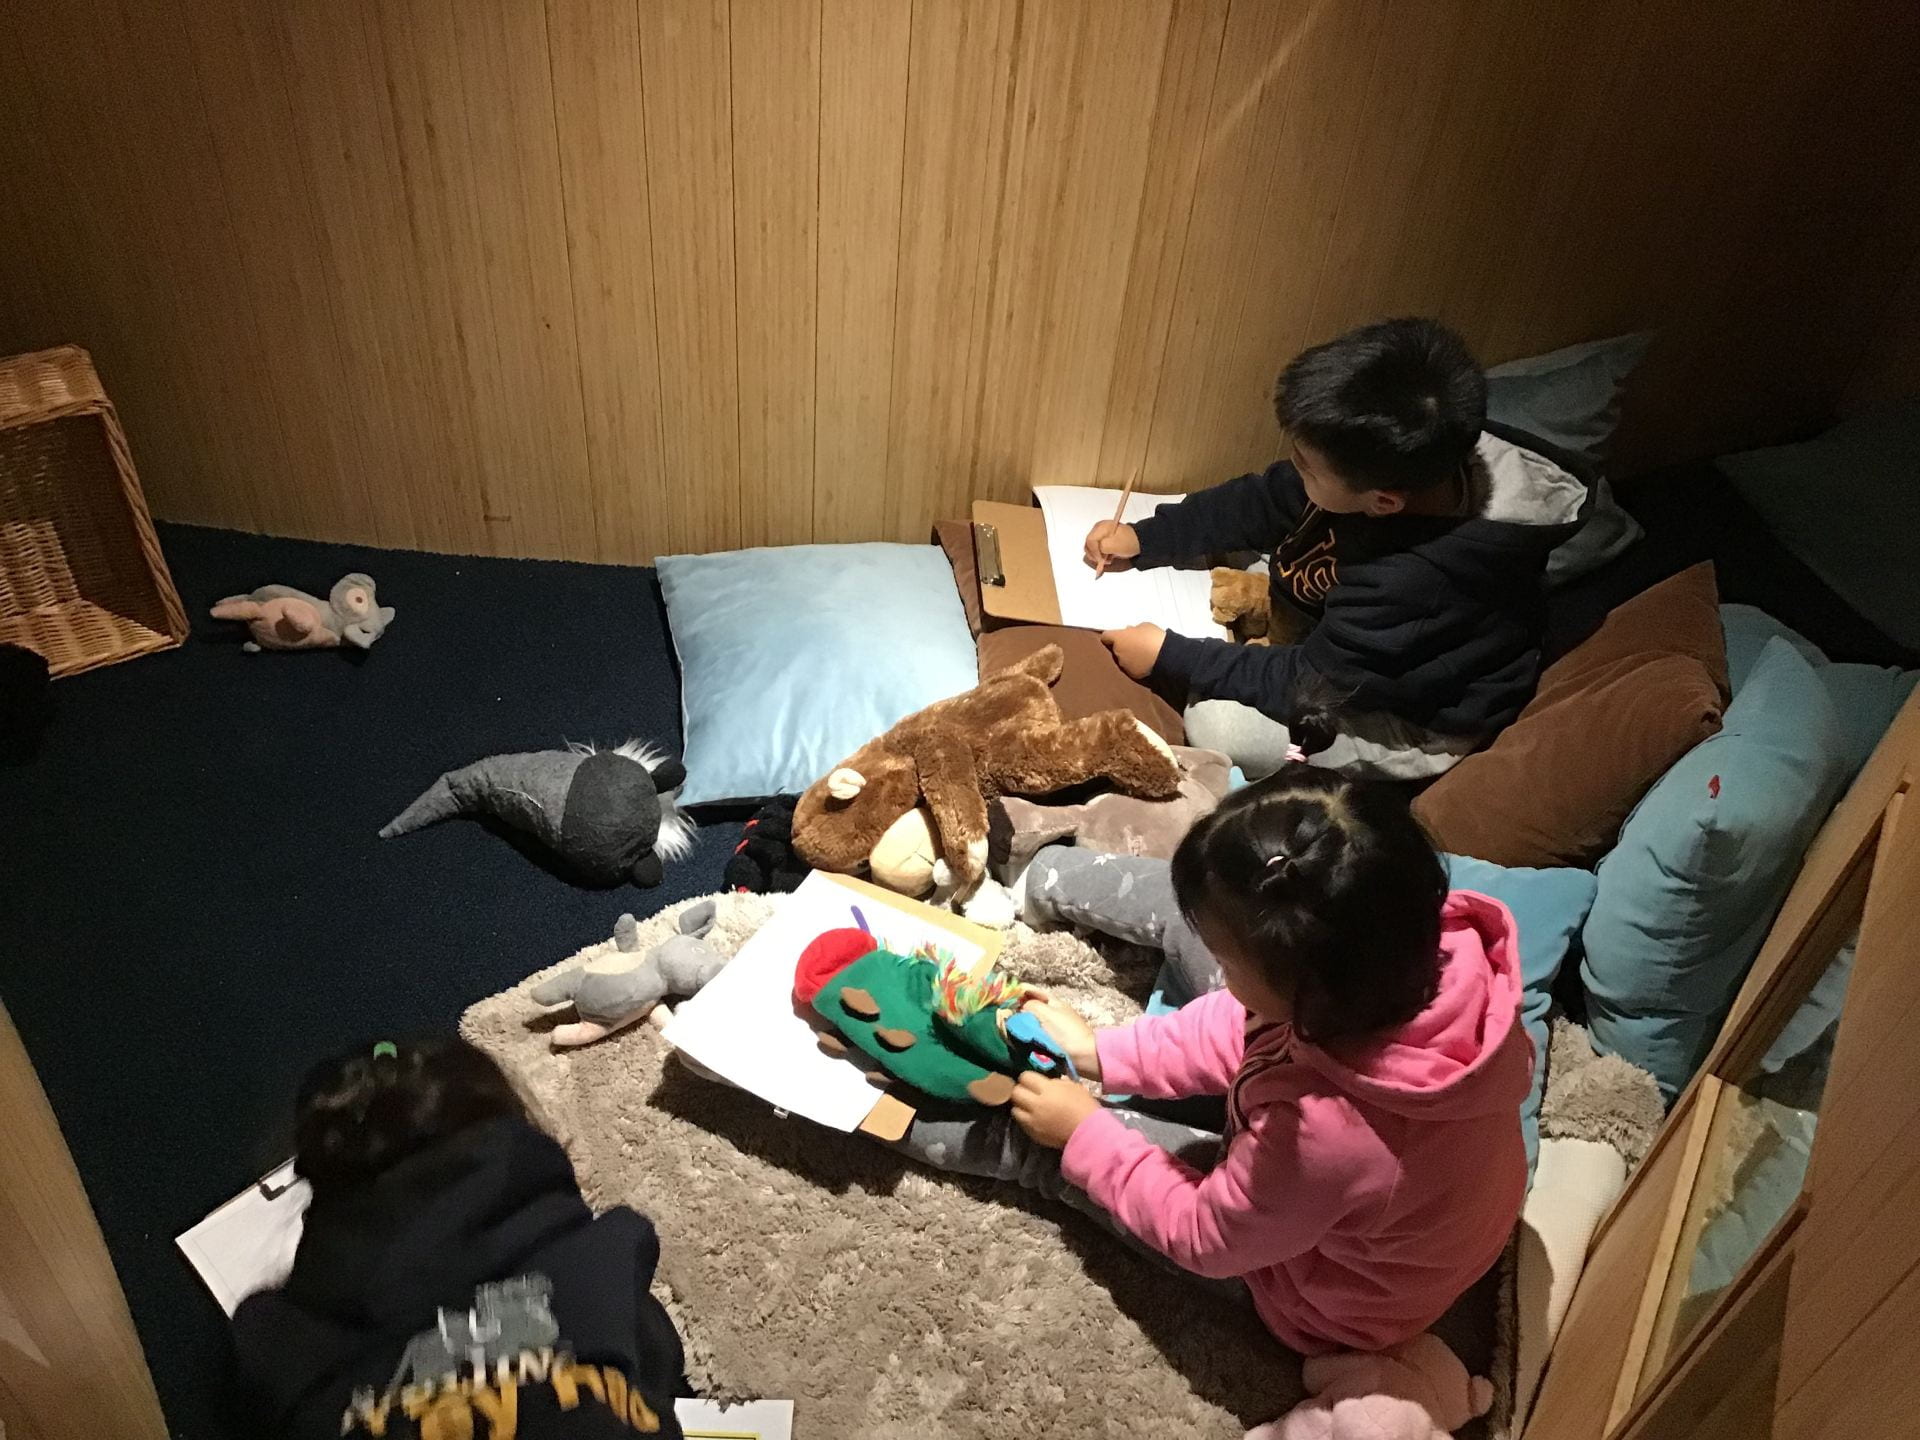
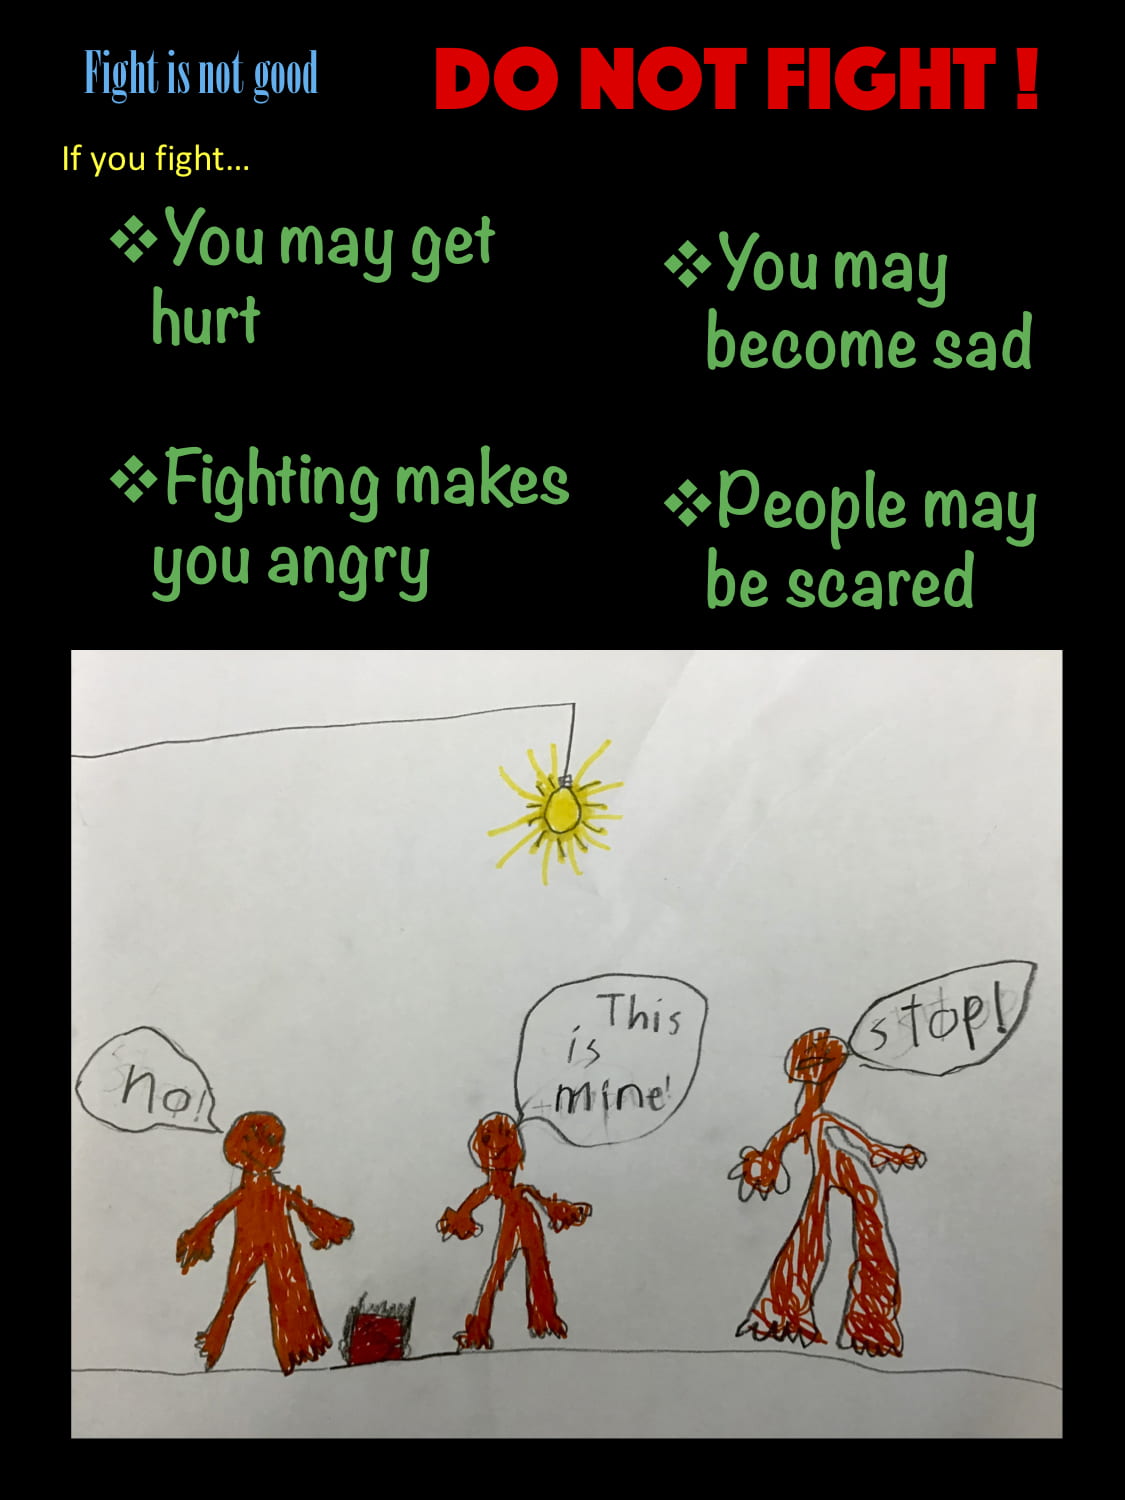
 We look forward to reading the young writers’ final stories!
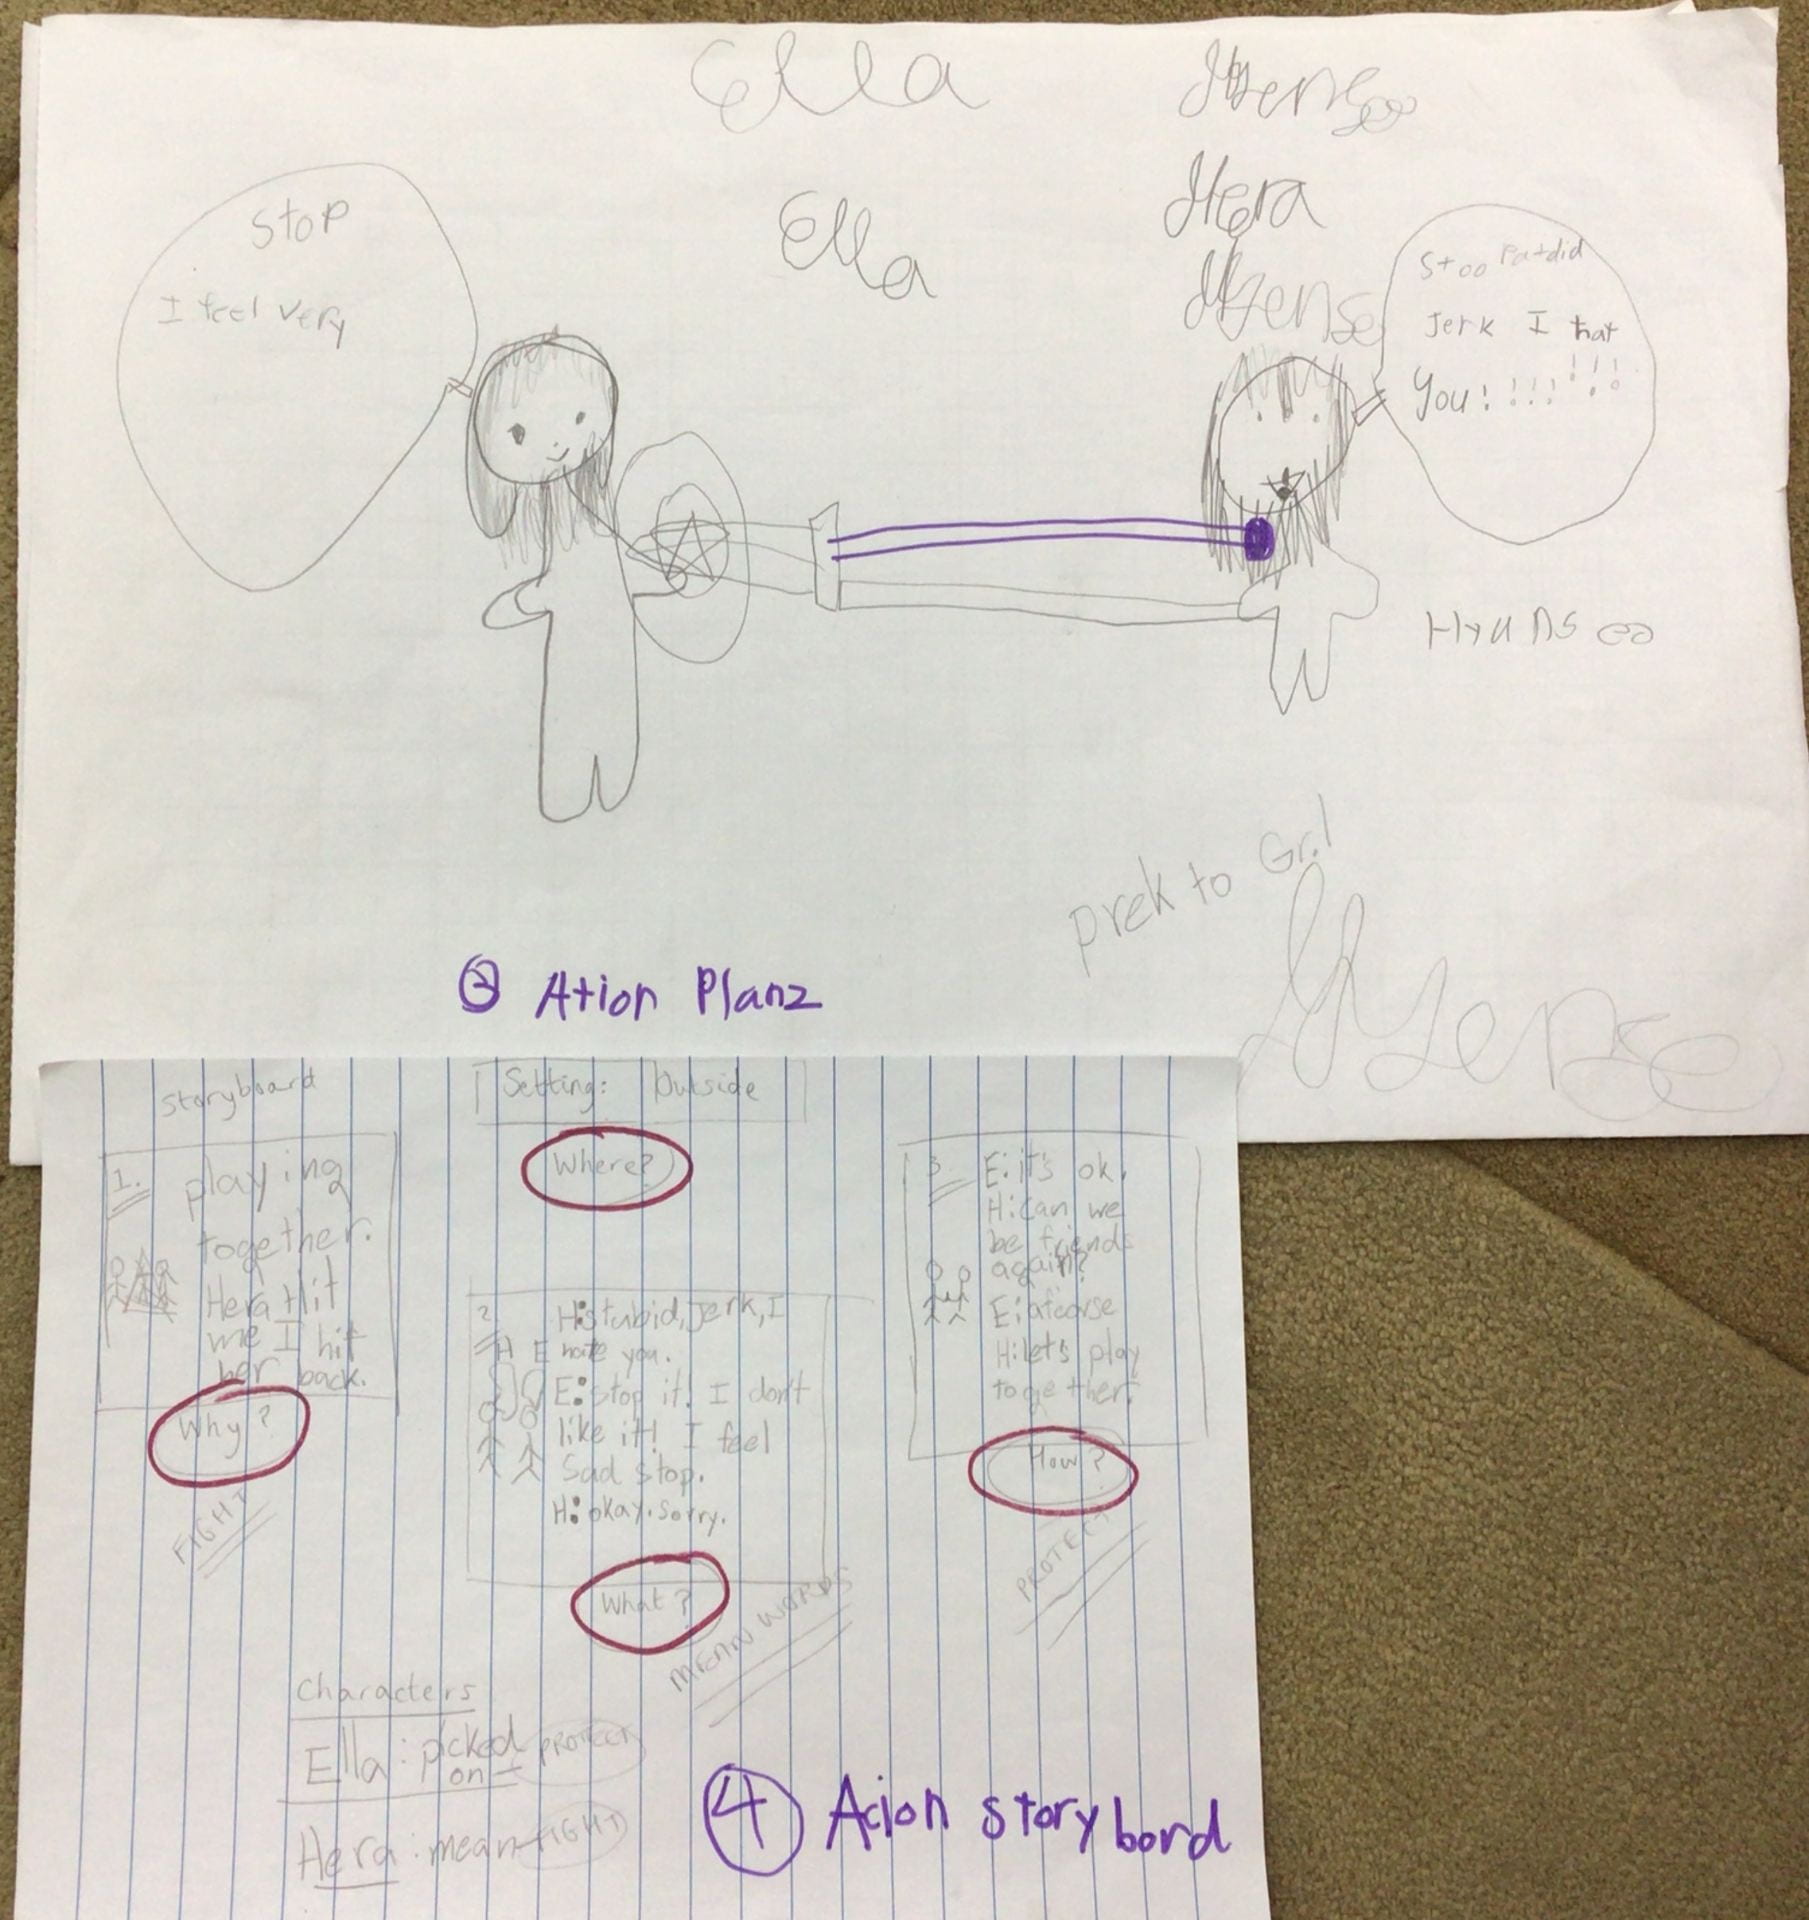
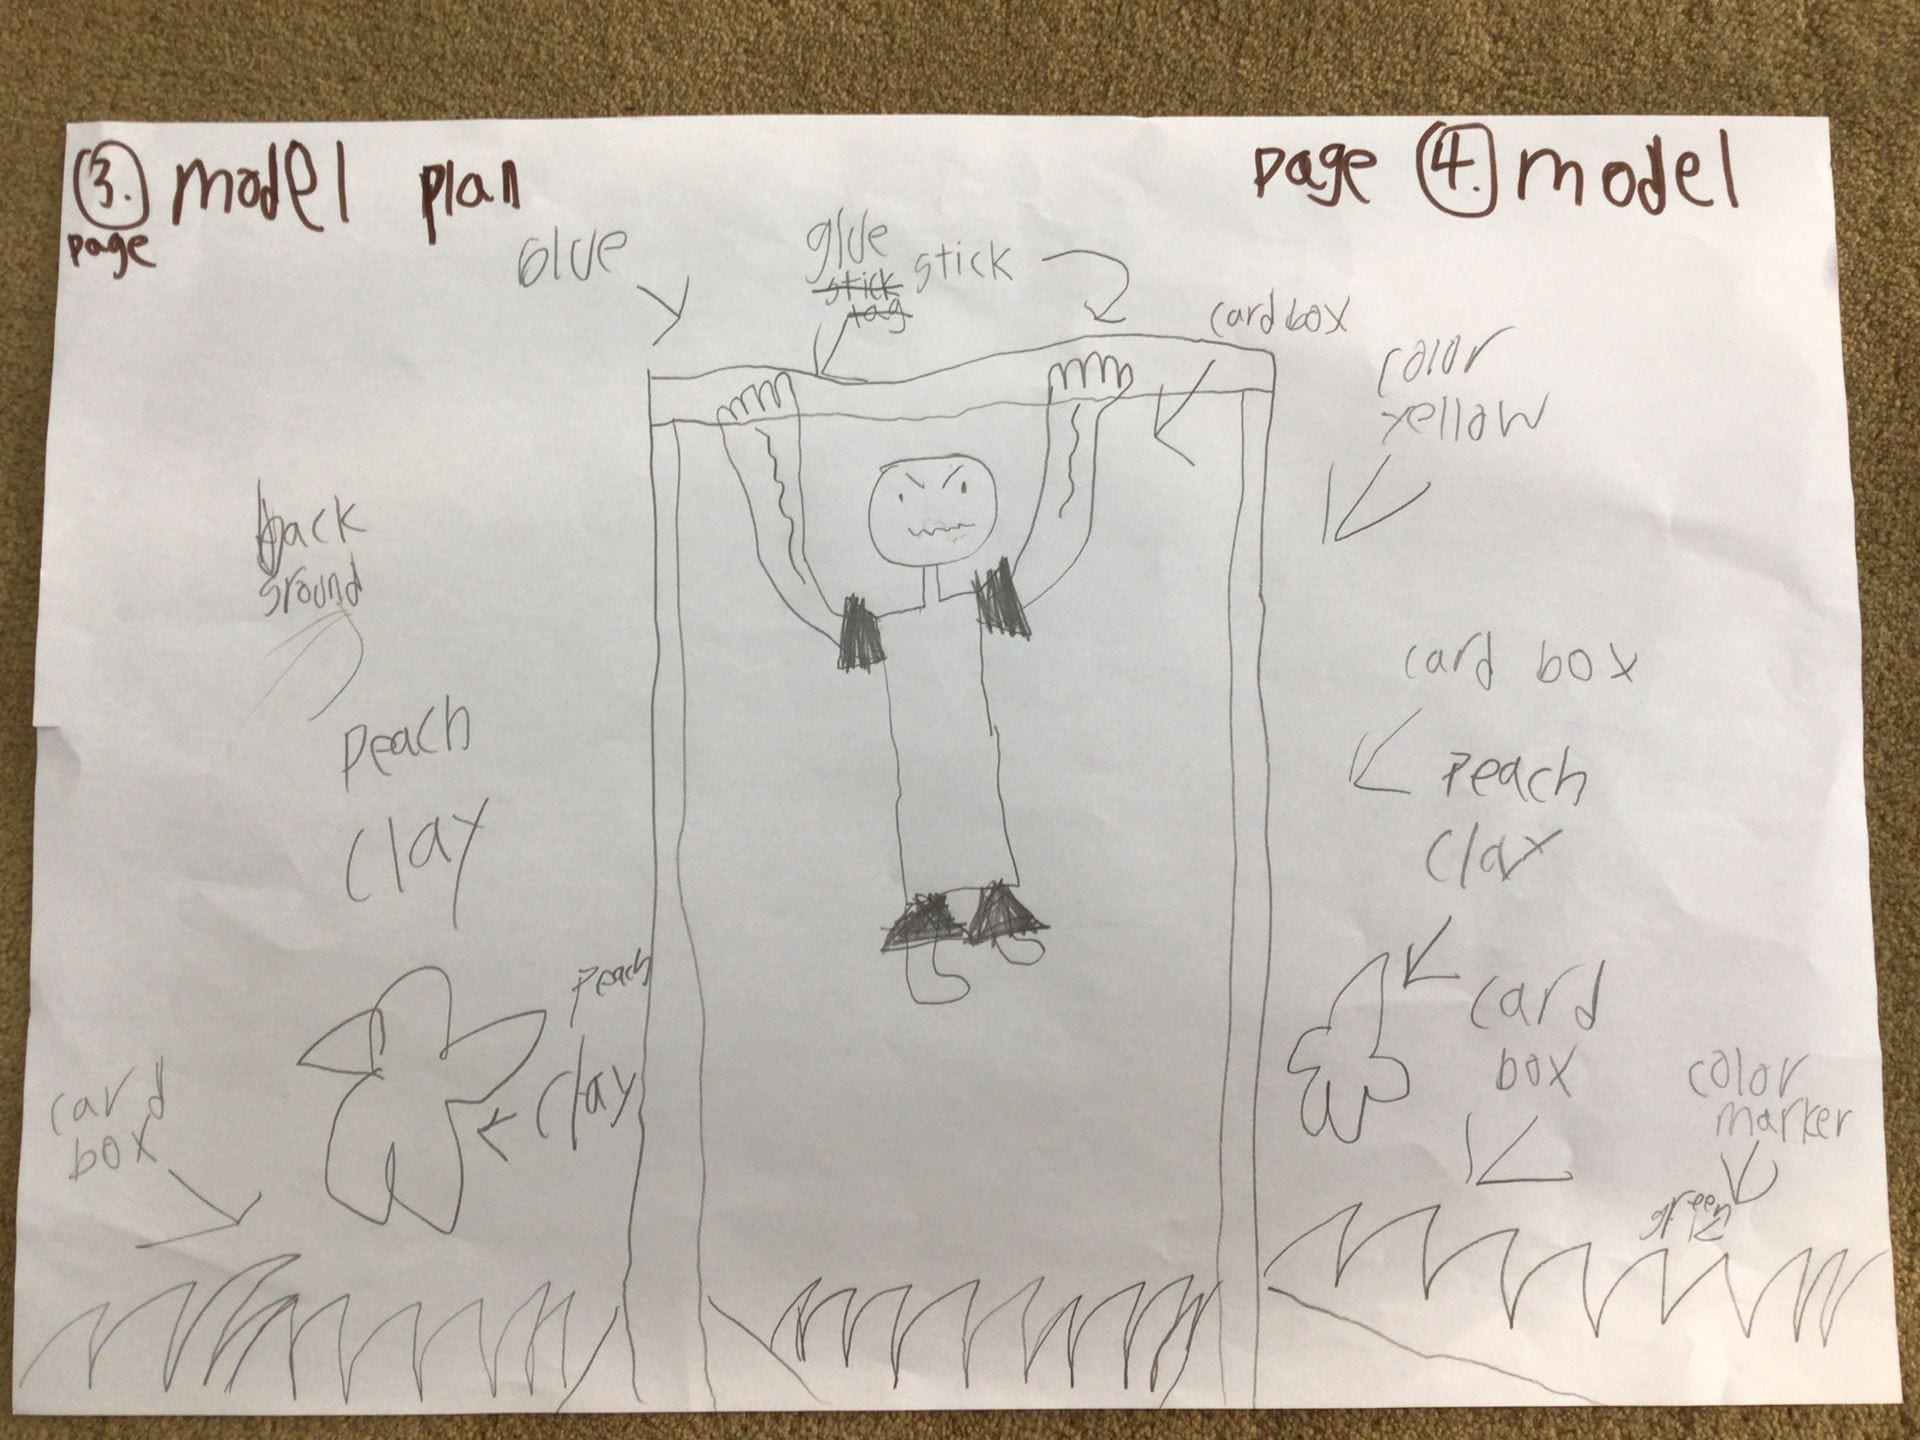
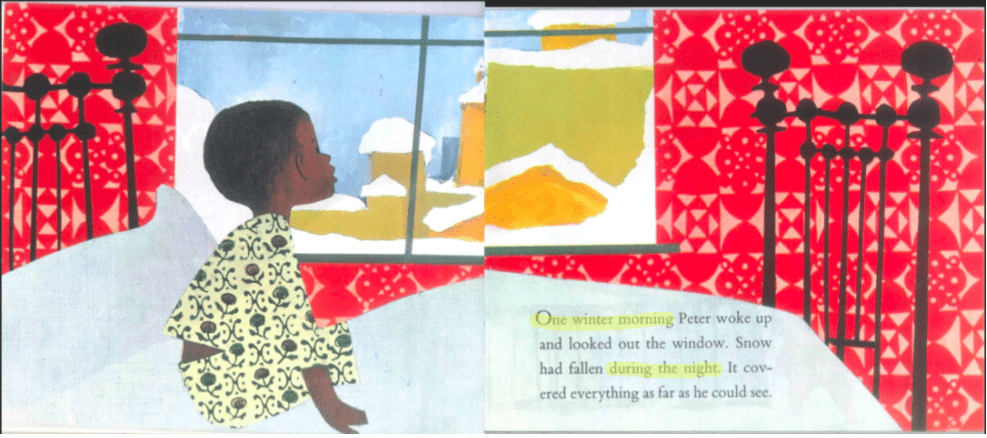
 The young writers started by revisiting their stories. Their stories were inspired by snakeskin, using this idea to create their own pieces of writing. As authors, they were encouraged to think about the characters, how they feel, what they say, and how they act in their story. We used a mentor text to learn more about stretching a story to expand on small moments. We read ‘Shortcut’ by Donald Crews.


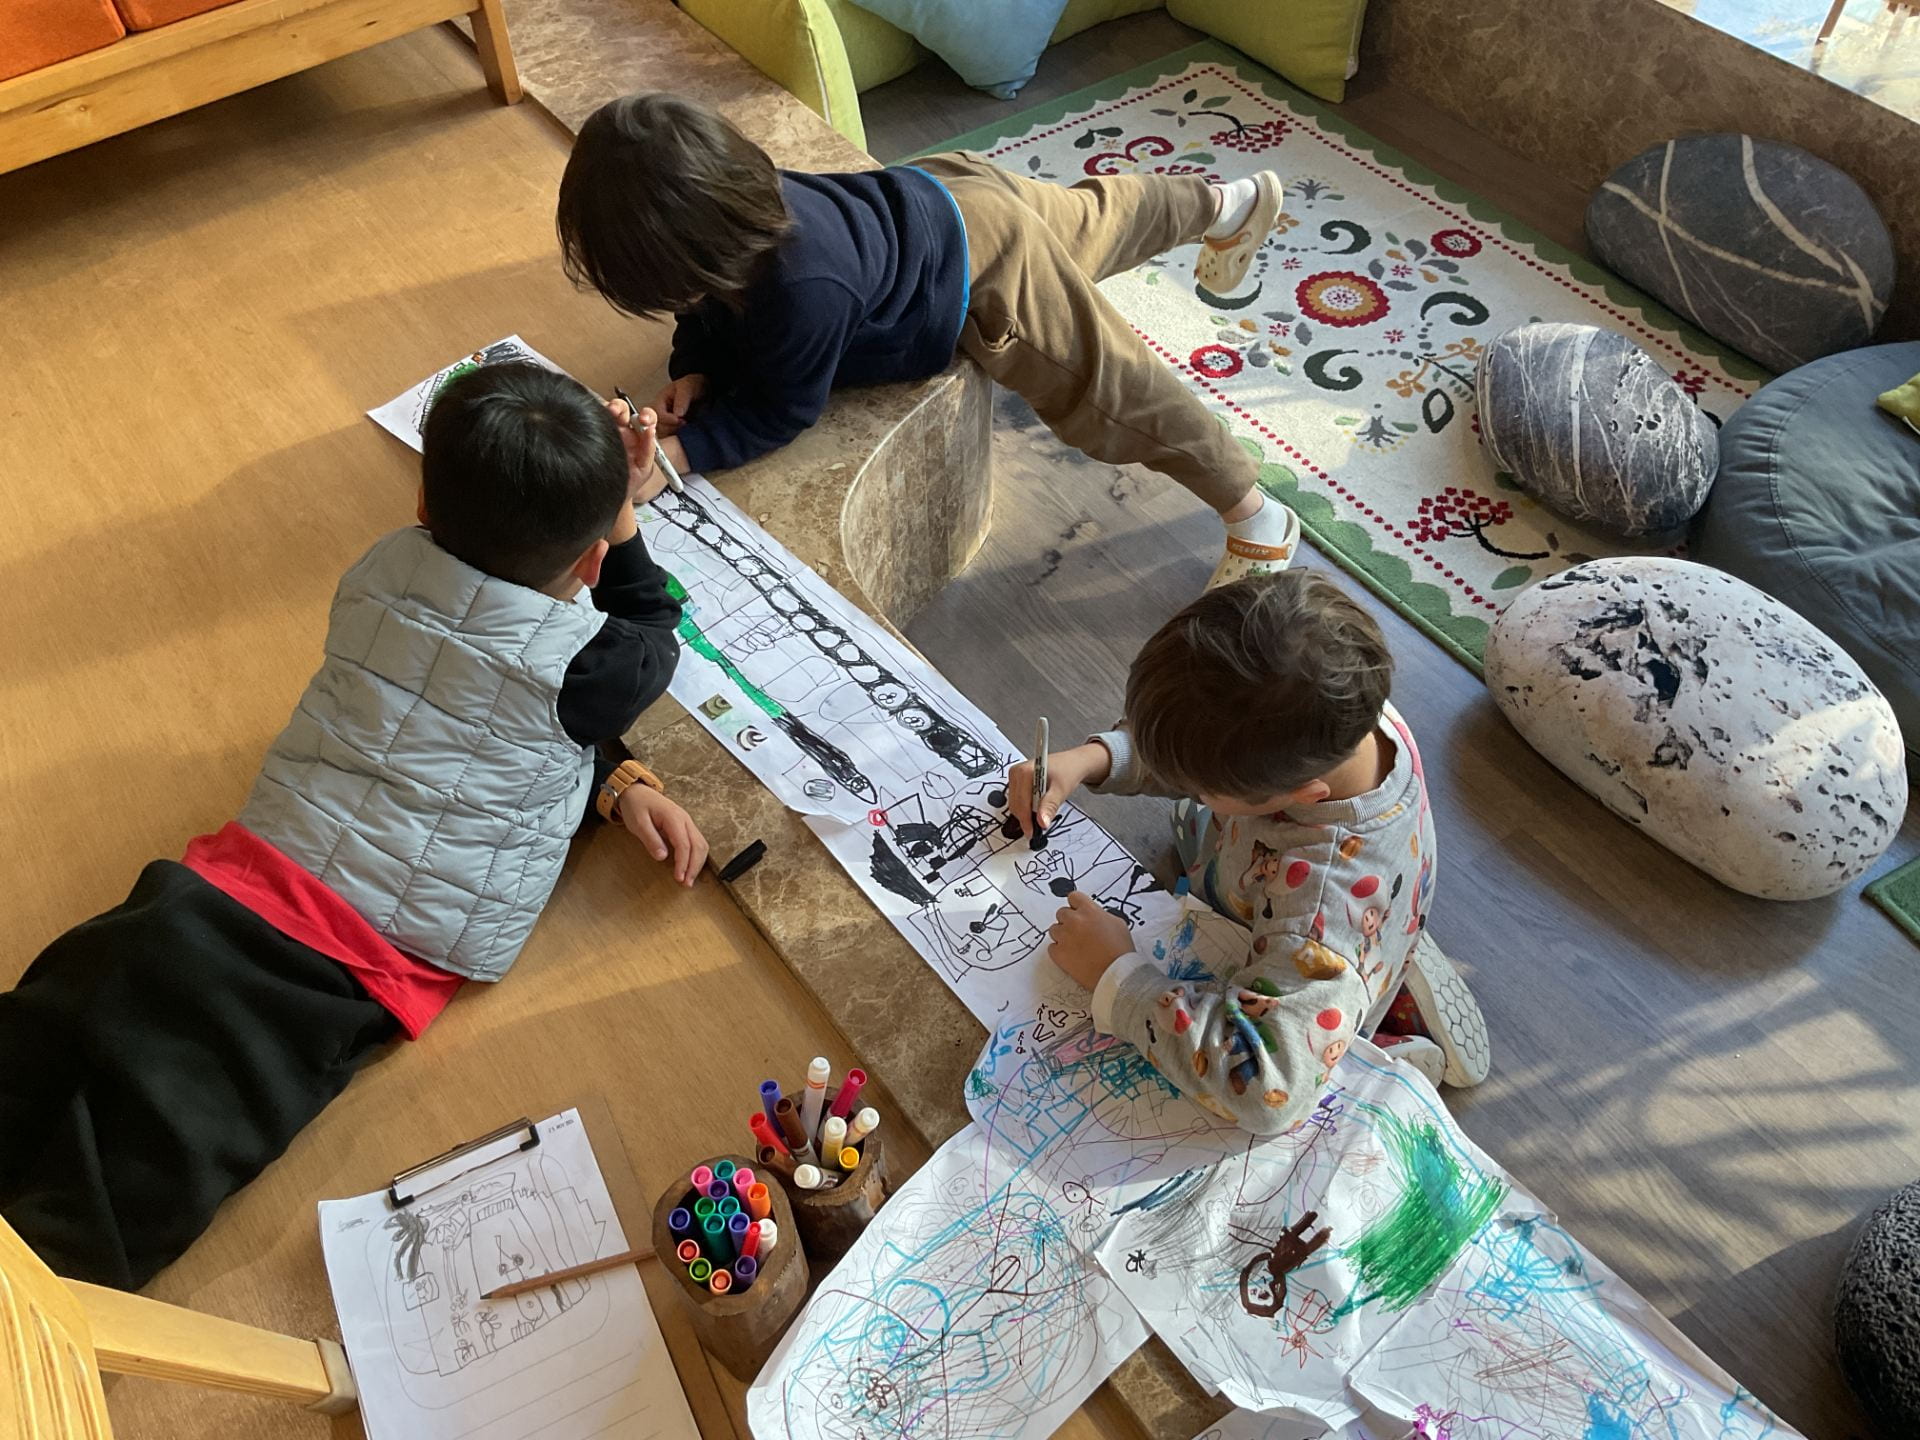
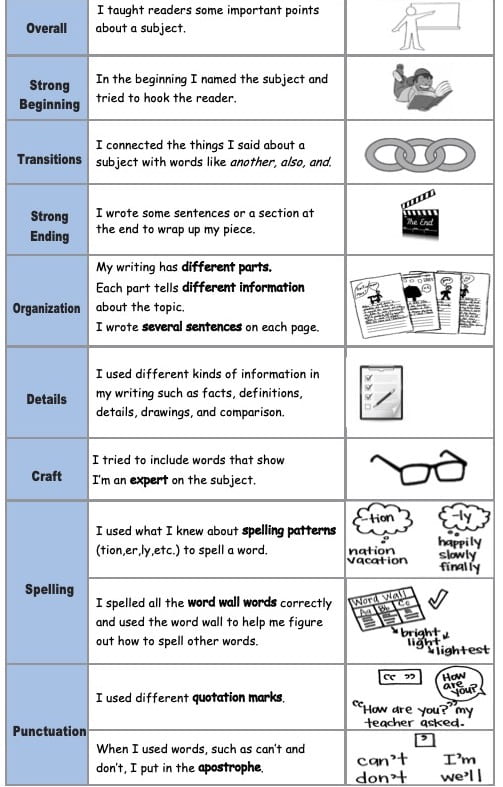
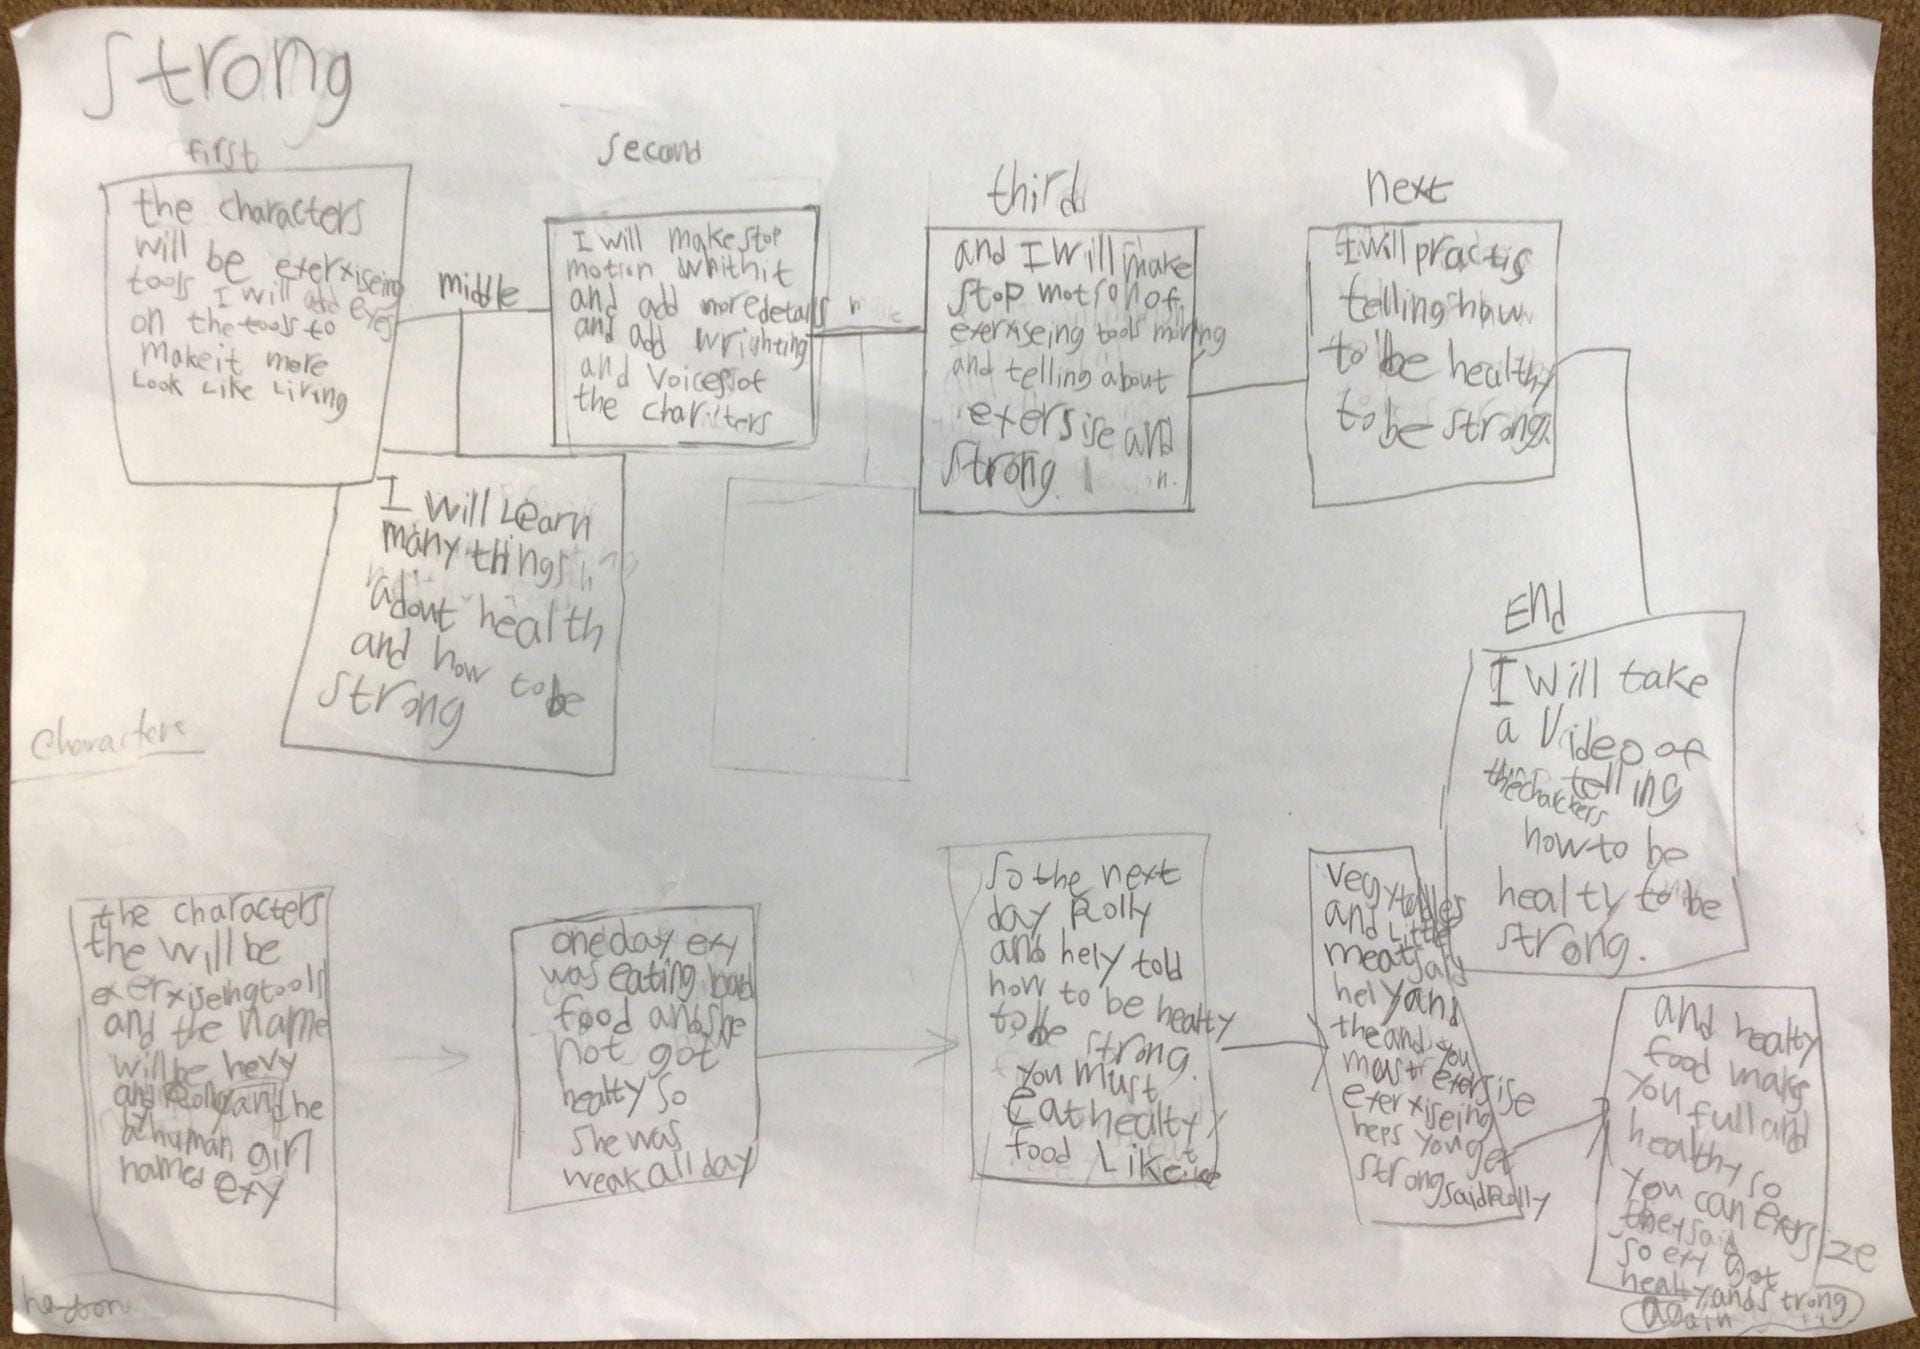
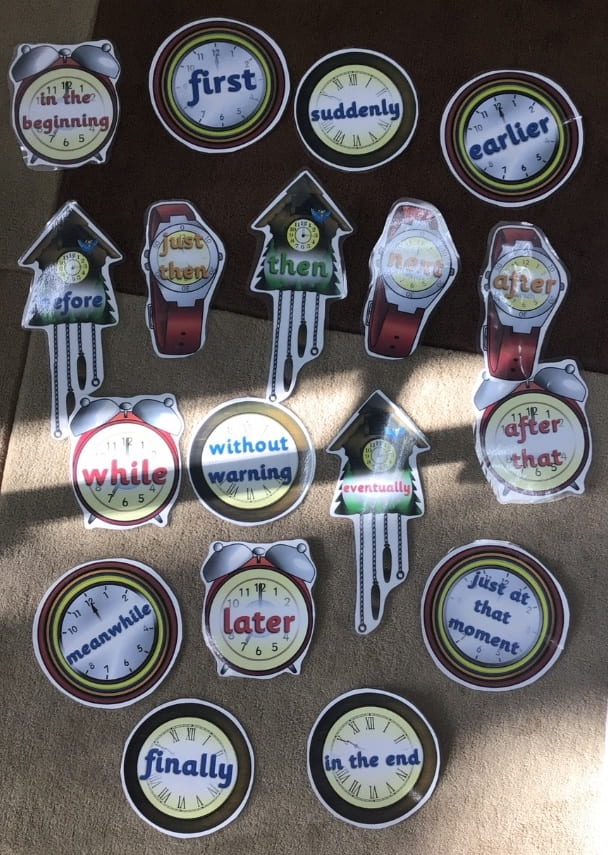
 They were encouraged to add more details to help readers follow the story effortlessly. Rereading what they had written before helped ensure their stories flow smoothly.