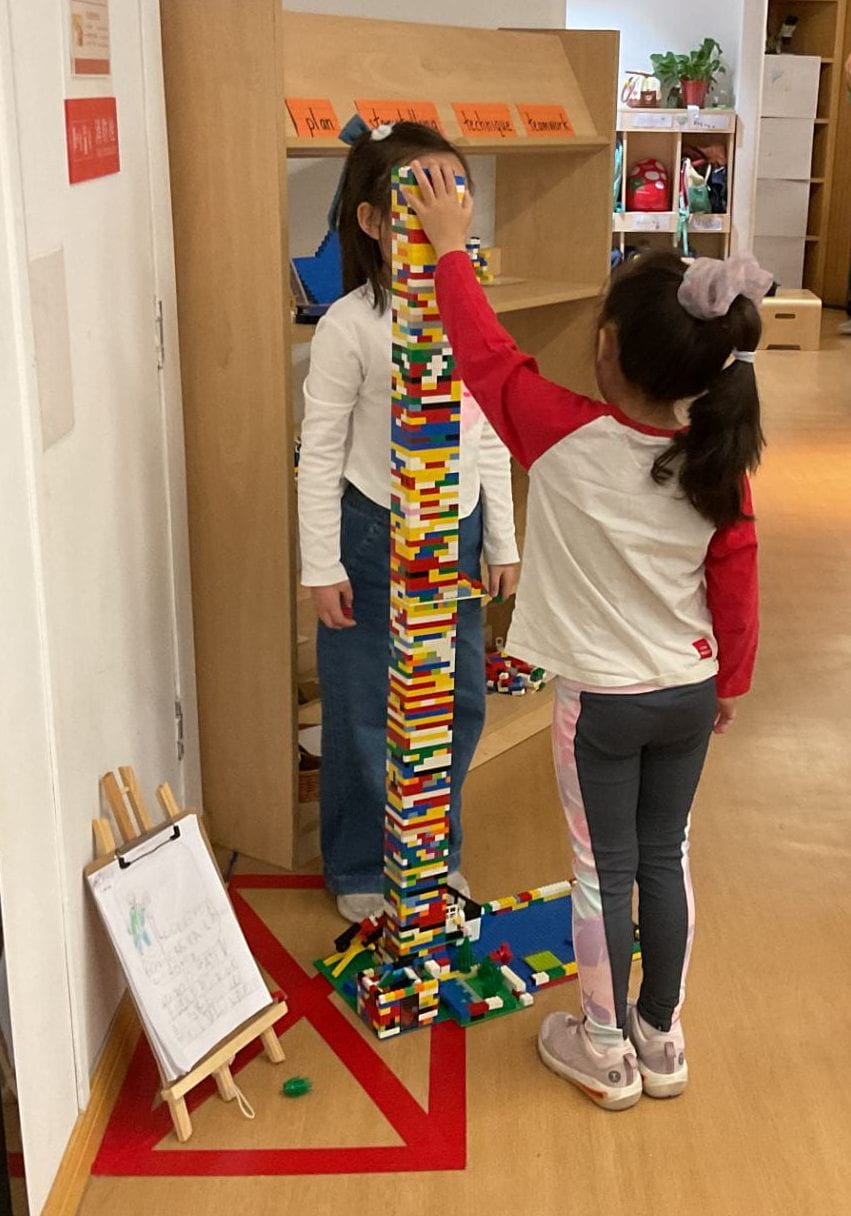
Over several days, Evan and a team of engineers have been building a structure in the block play area. The team worked hard to find solutions for the steeple as it kept falling over.  Through trial and error, they explored different ways to make the structure taller. One afternoon, Evan was excited to learn that the block tower was taller than him. He wondered if it was taller than Adalyn (as she was taller than him). As Adalyn stood next to the tower, Evan could see that it was taller than her.

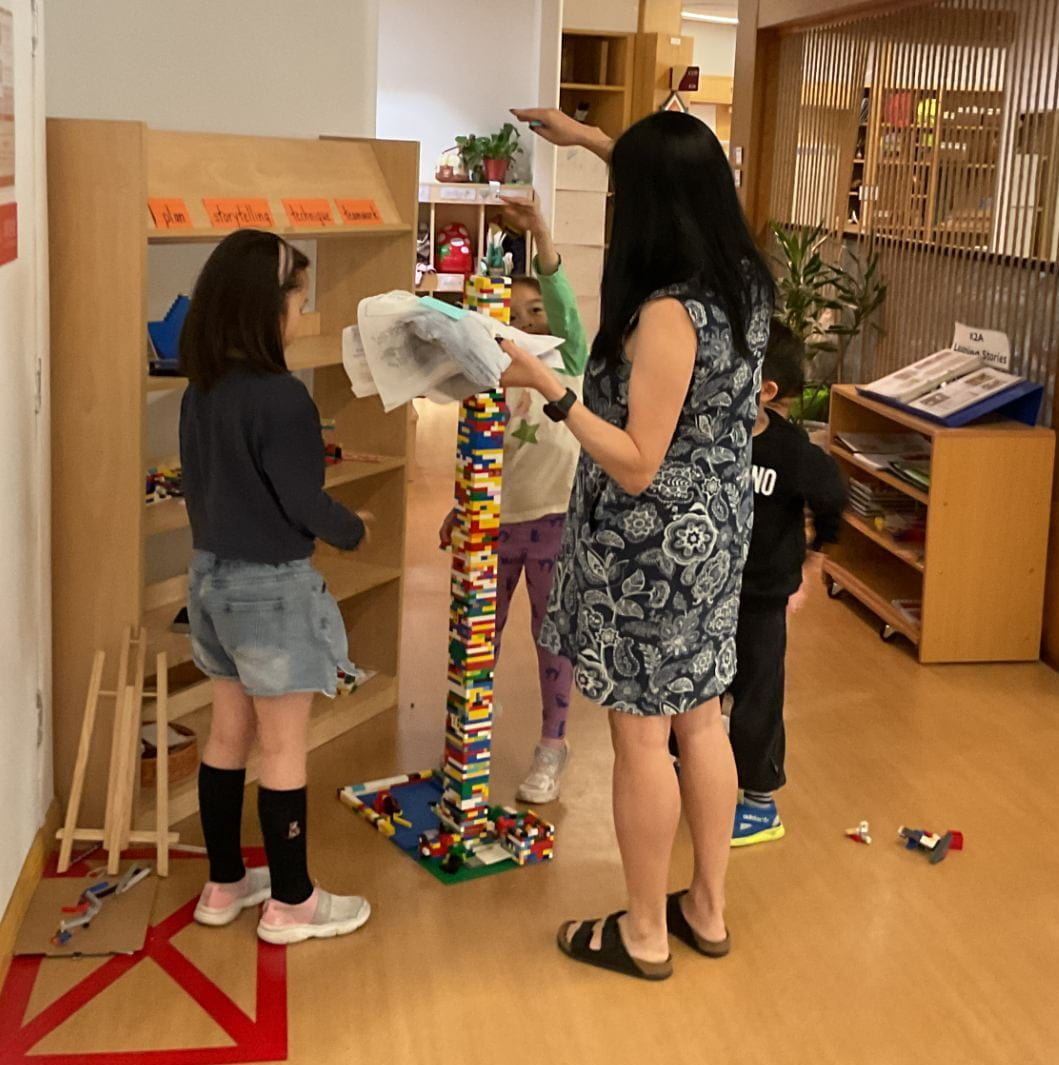
Adeline and Evan wondered if the tower was taller than the teachers. First, Ms. Sophia stood next to the tower. She was taller than the tower. Ms. Shemo and Ms. Sophia were both taller than the tower!
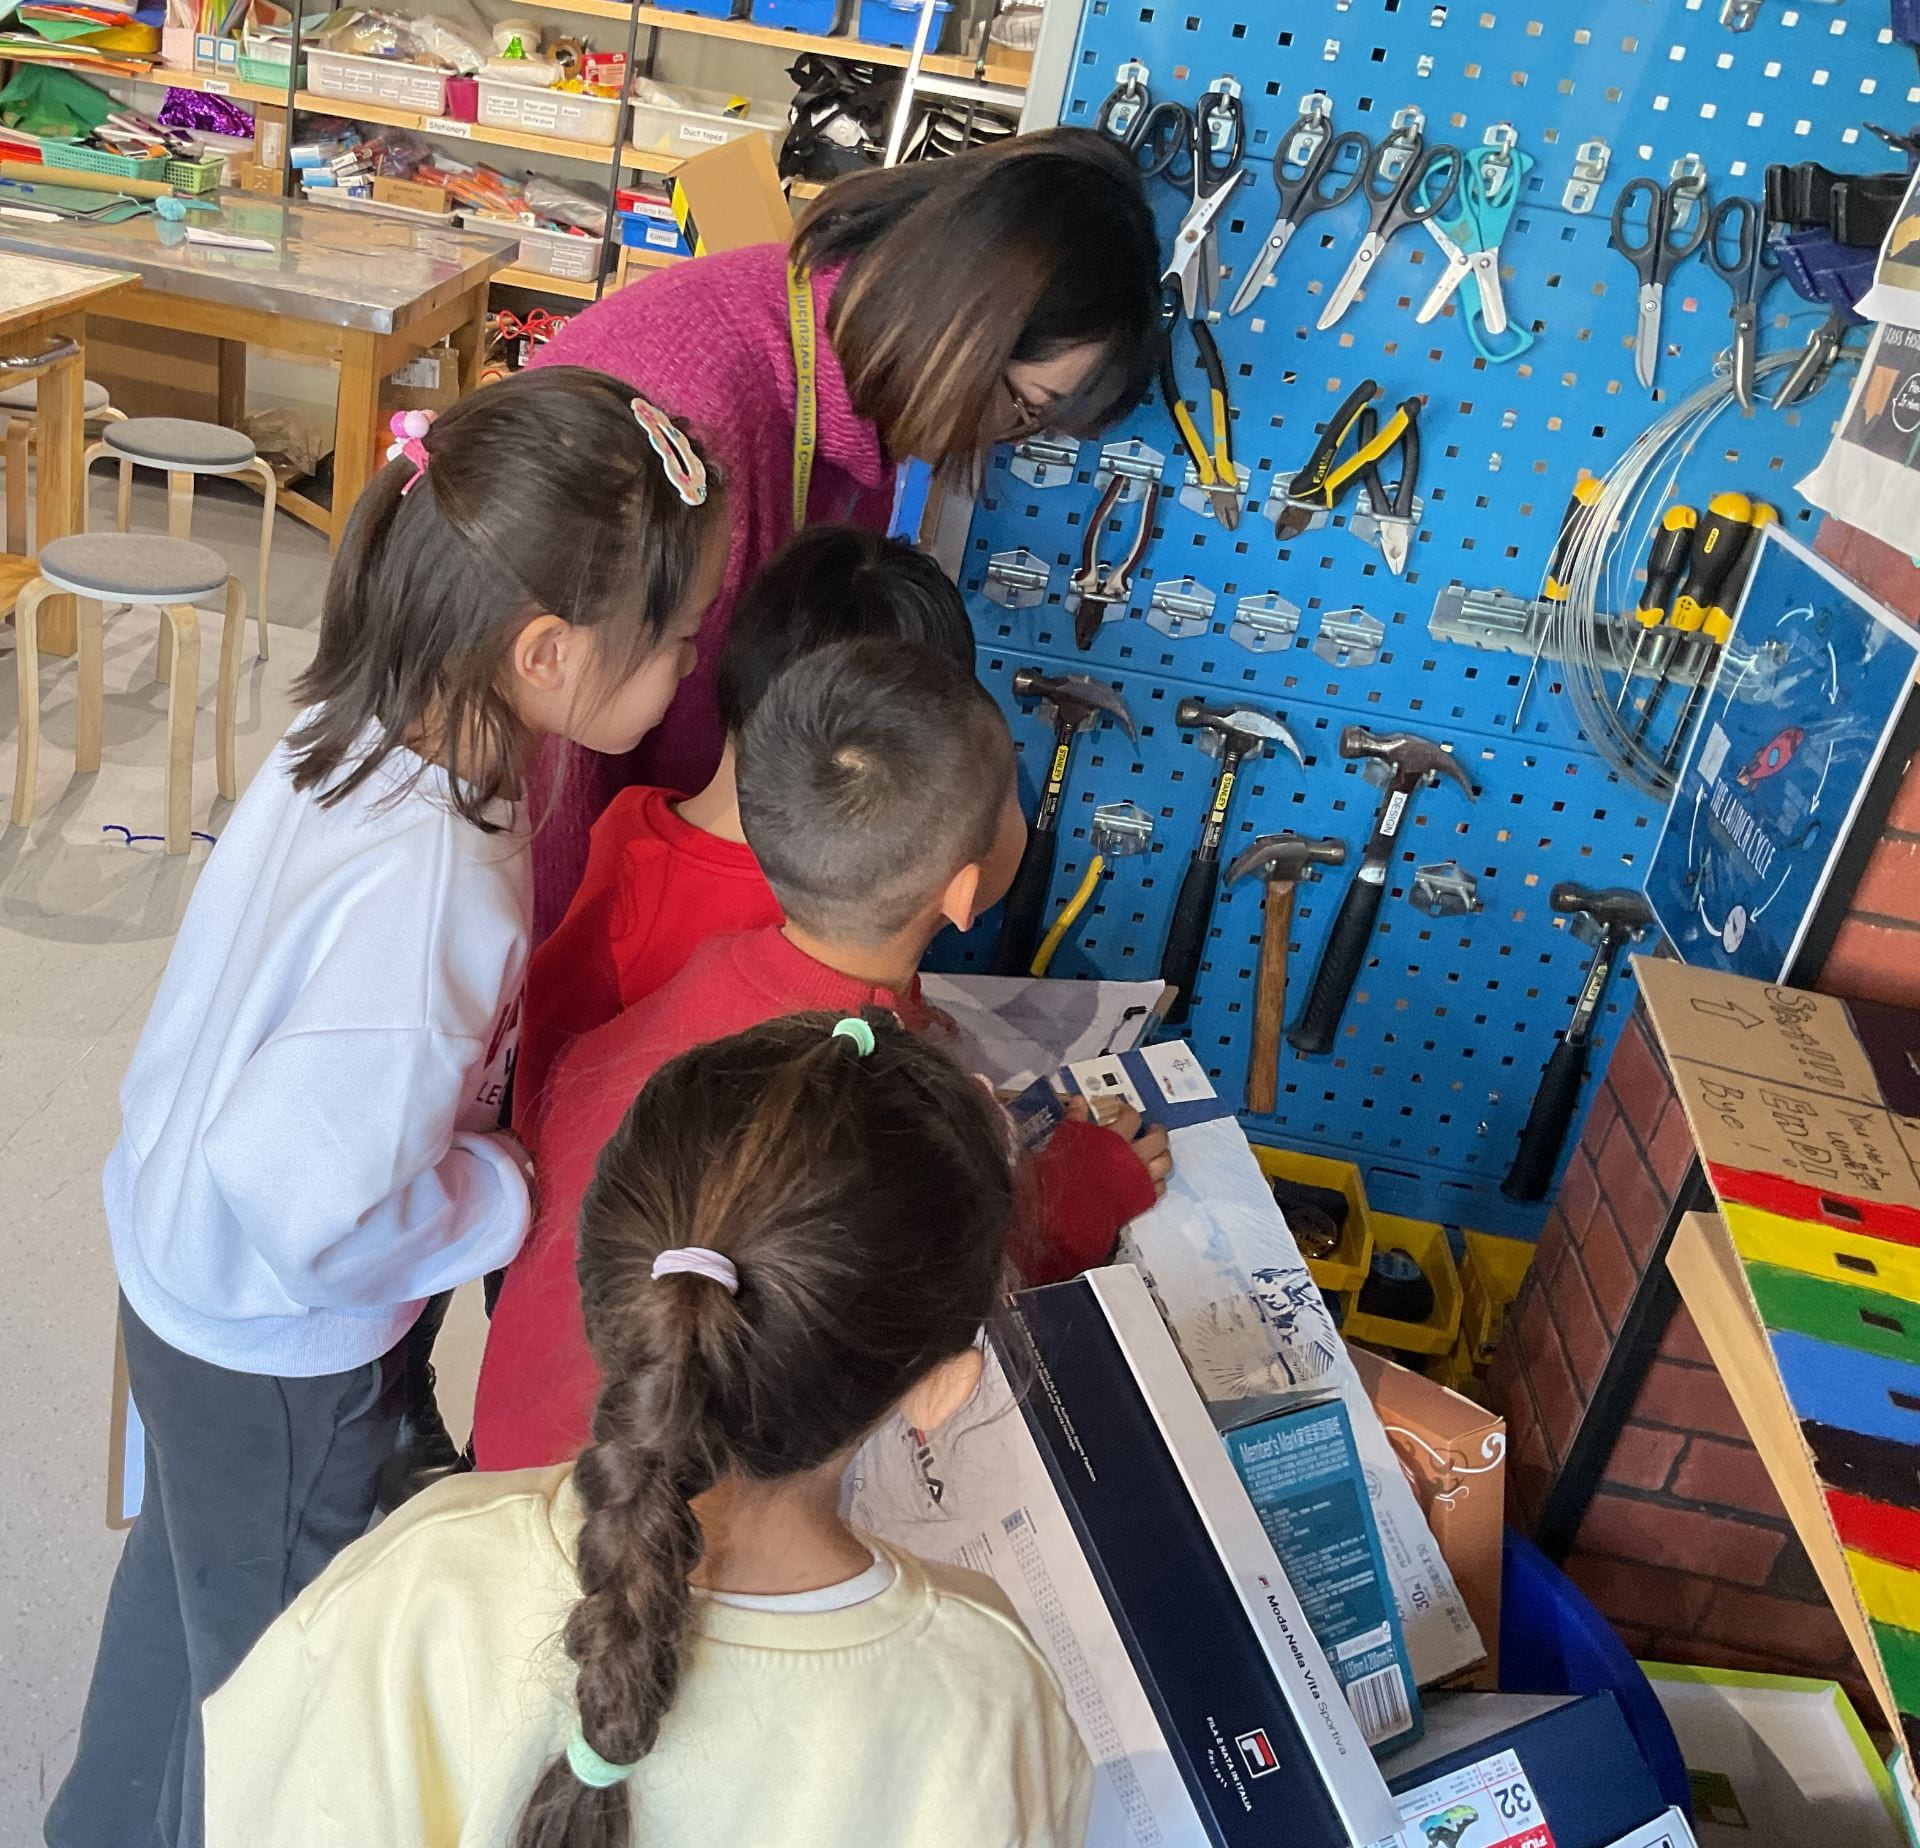
The engineers went back to work. The tower was now taller than them making it harder for them to place the blocks. George looked around the classroom. He was excited to share his solution, “I know, we can get a chair to stand on then we will be able to reach that high.” (in Mandarin) The team carefully positioned the chairs, so they reach beyond the highest block on the structure allowing them to reposition and test their new ideas.

As they stacked the new blocks, the steeple on the tower collapsed. They persevered, trying many different positions and shapes, but parts of the tower continued to fall. Evan looked around for new shapes that could be used in the structure and noticed a block they had not used before. He had a new idea that he wanted the team to test, “We can add more flat pieces on the joint part and the building can be more stable and will not be that easy to fall.” (in Mandarin)
Isabella “I found more of this kind of green wooden pieces and I’m going to add them at the joint part of the block sticks.” (in Mandarin)
Evan “We need to top the stick on the middle part of the two underneath. Because it will help the one on the top to stay more stable.” (in Mandarin)

They used all the green blocks that were available on the shelf. But there weren’t enough. As Isabella observed the structure, she realised the significance of the flatter, wider shapes that made the building more stable. The flat shapes held more blocks which in turn allowed them to go higher. She looked around for blocks that had similar characteristics and paused at the wooden cookies. She decided to test her theory.

Even though the building collapsed many times, Evan didn’t give up. He continued stacking the blocks, learning through trial and error that being more intentional about the placement of the blocks resulted in greater success. After many attempts, his tower was done.

He was ready to invite Ms. Shemo to stand next to the building. The team were excited to see that the building was as tall as Ms. Shemo!
As Ms. Shemo looked at the building she invited the children to think about the concept of measurement, “How can we measure the height of the building?”
Ms. Shemo was worried about the building collapsing before the children could have an opportunity to explore tools that help us measure. Therefore, she suggested recording the height of the building on the wall next to the structure. Isabella helped Ms. Shemo find a solution to gauge the approximate height. They used a coloured sticker to mark the position.
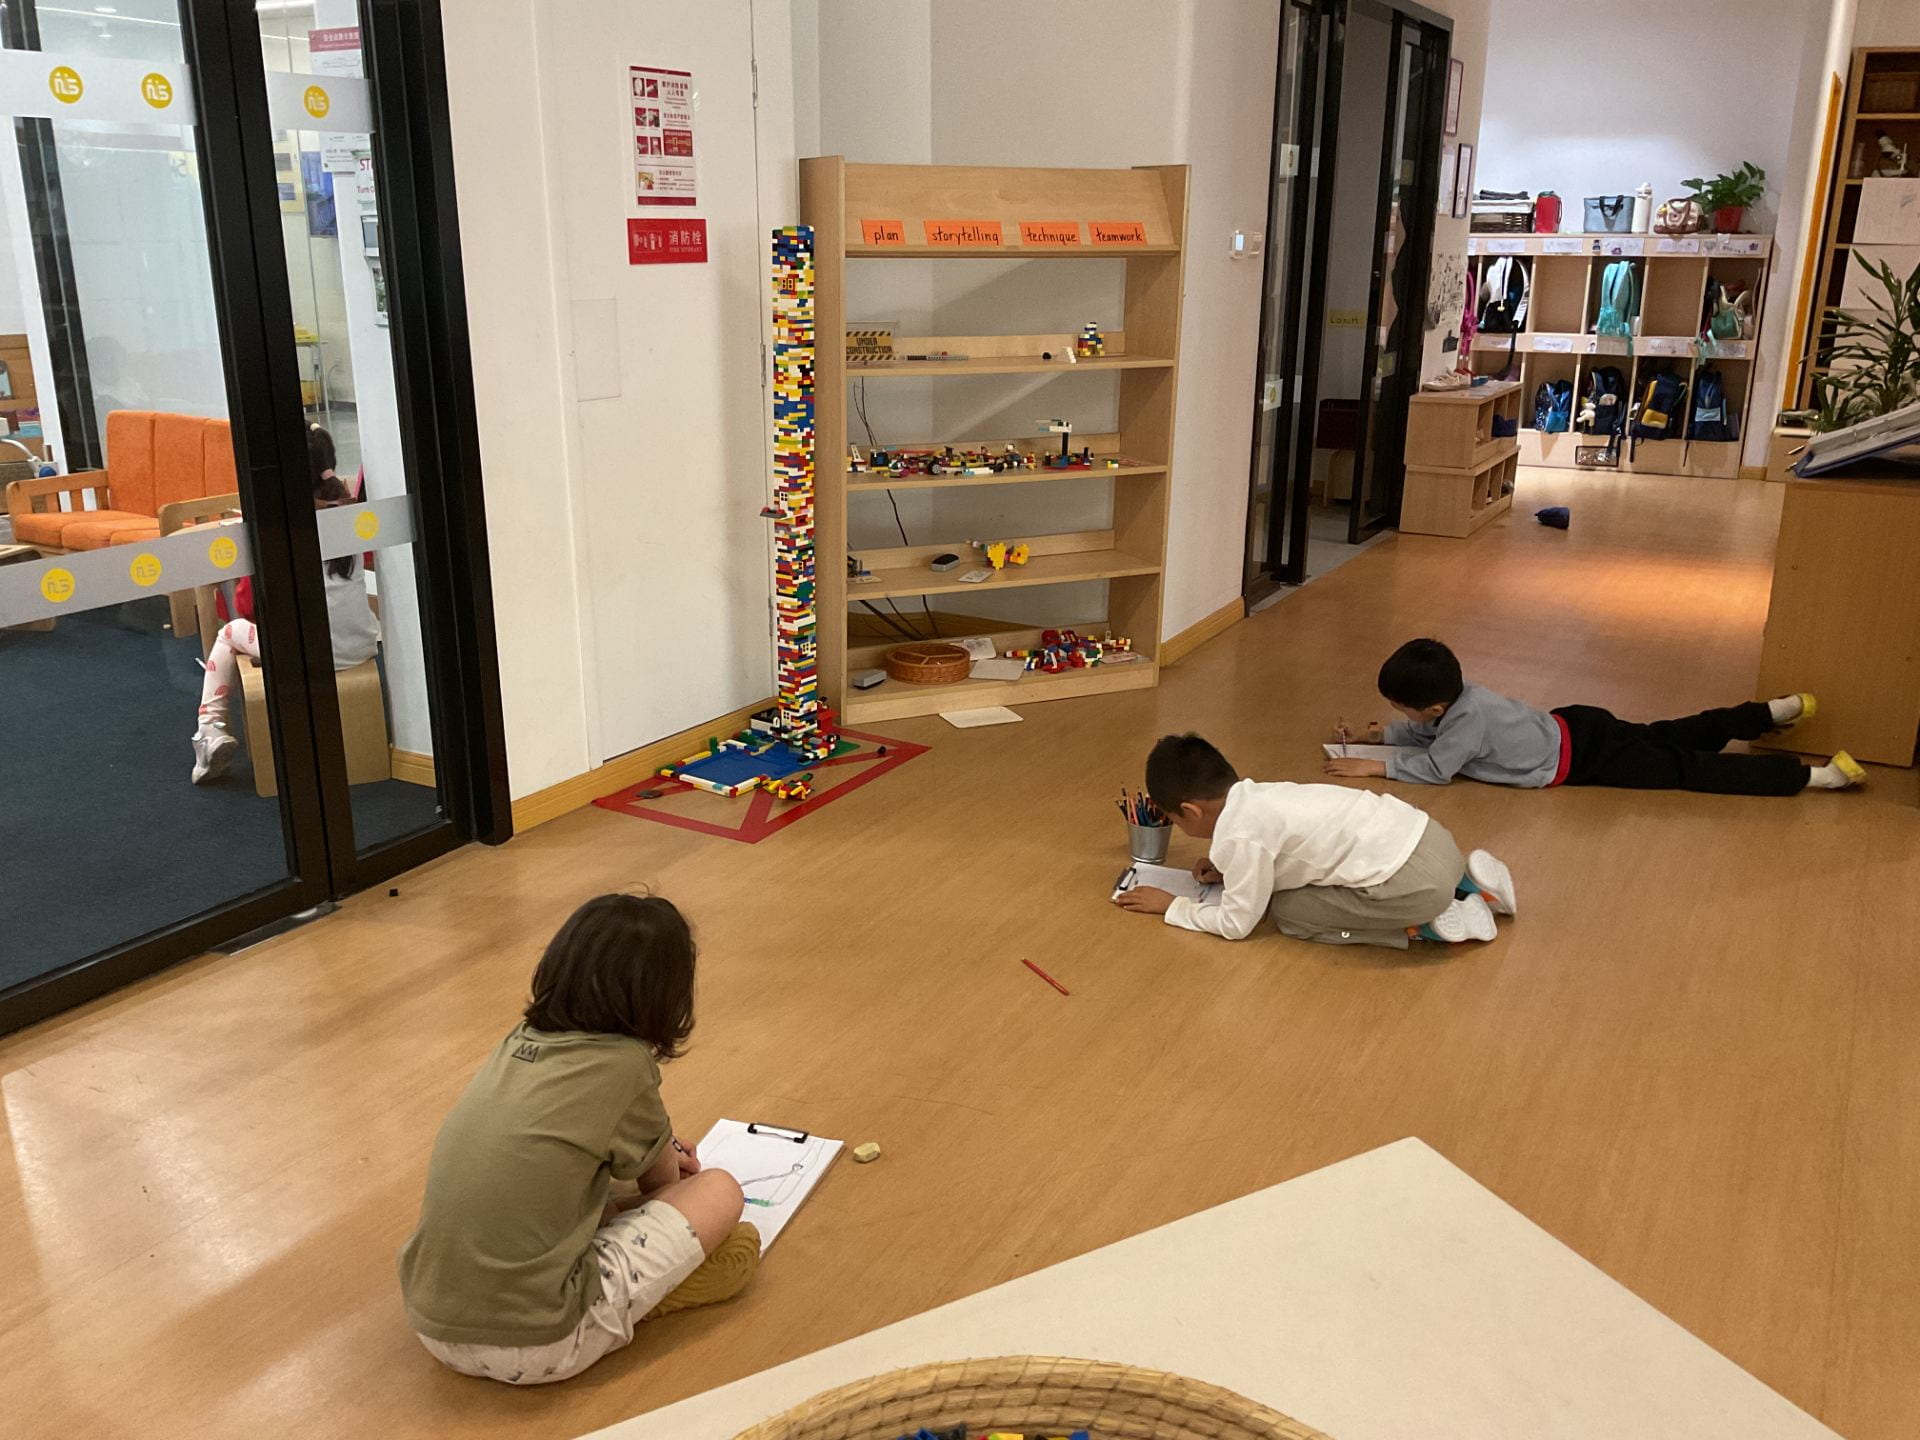
The team continued to work on their tower, testing theories and ideas to make the tower even taller. After several days, they were ready to test the height to see if it was taller than Ms. Shemo.
They called Ms. Shemo to stand next to the building. The children cheered with excitement as it was much taller than her!

Evan quickly remembered what they had done the previous day, and brought a flat, long beam to help Ms. Shemo find the correct level for the new sticker. 
Ms. Shemo invited the children to reflect on the question she had about the measurement of the structure. “How can we measure the height of the building?”
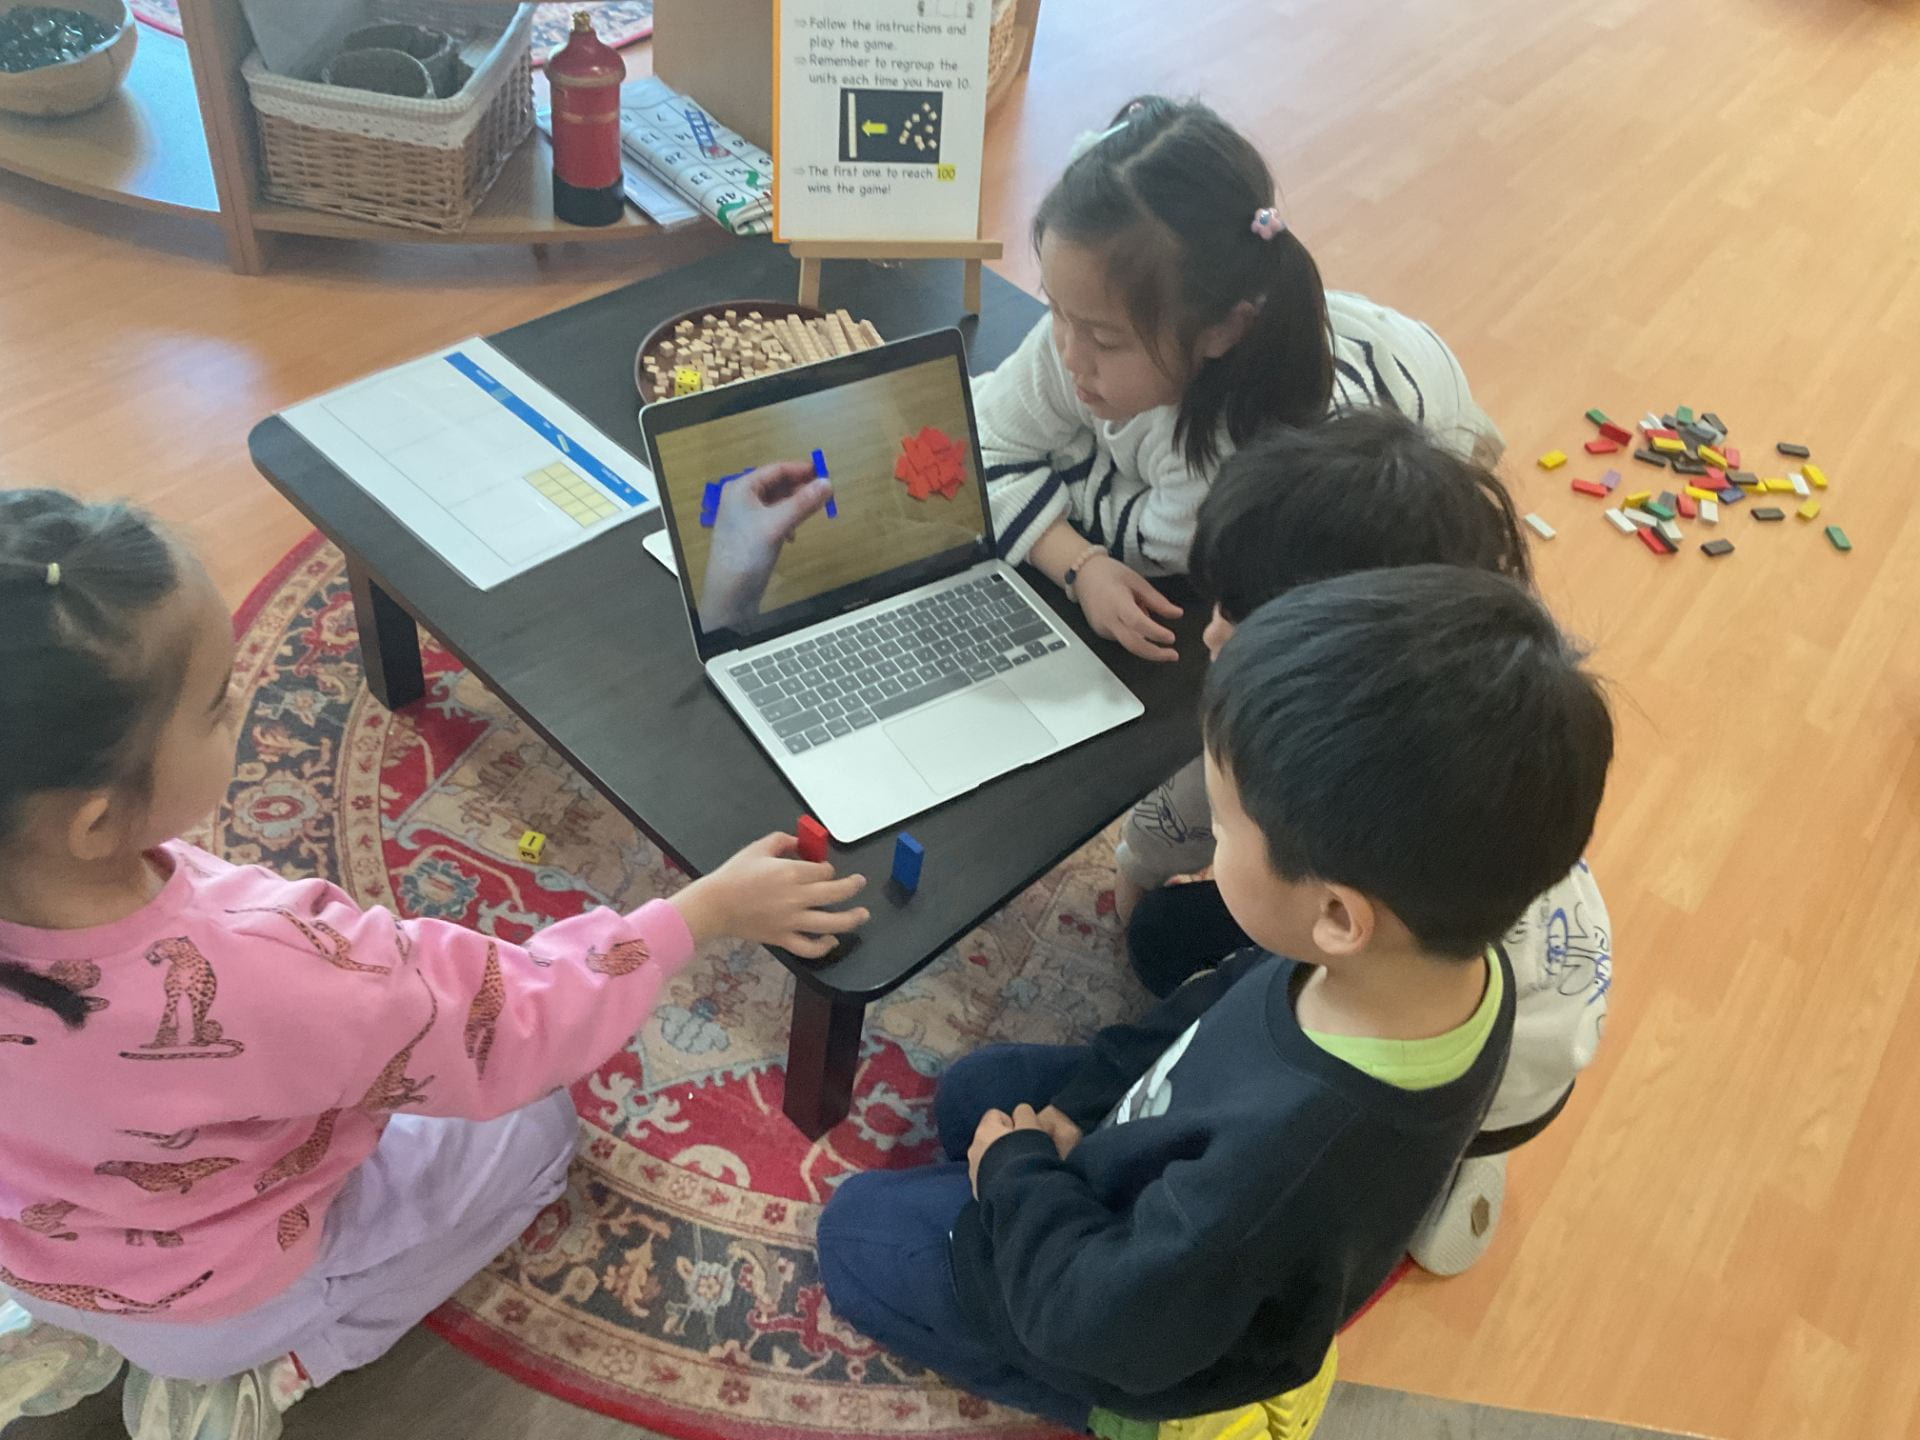
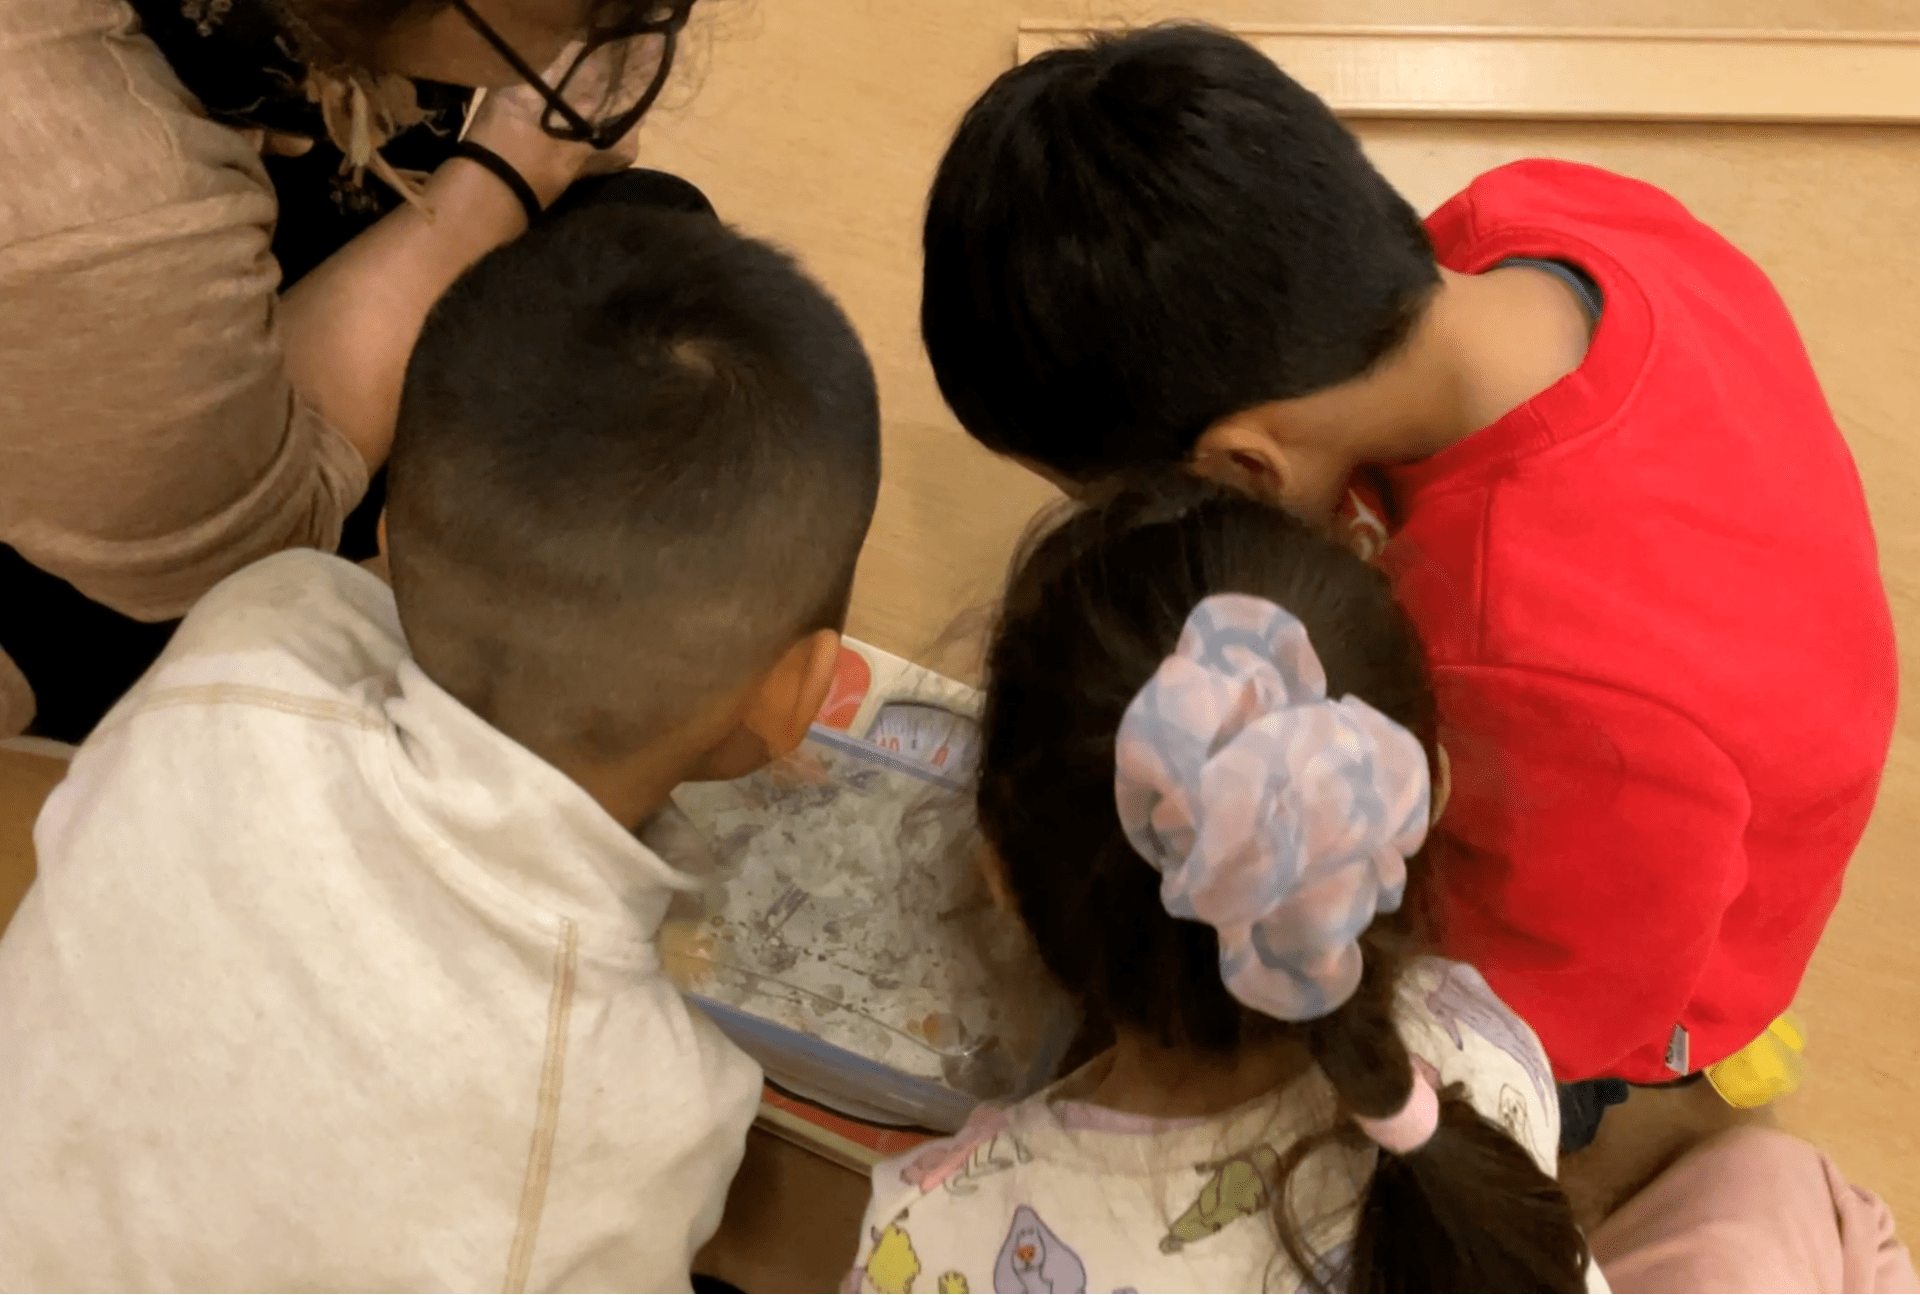
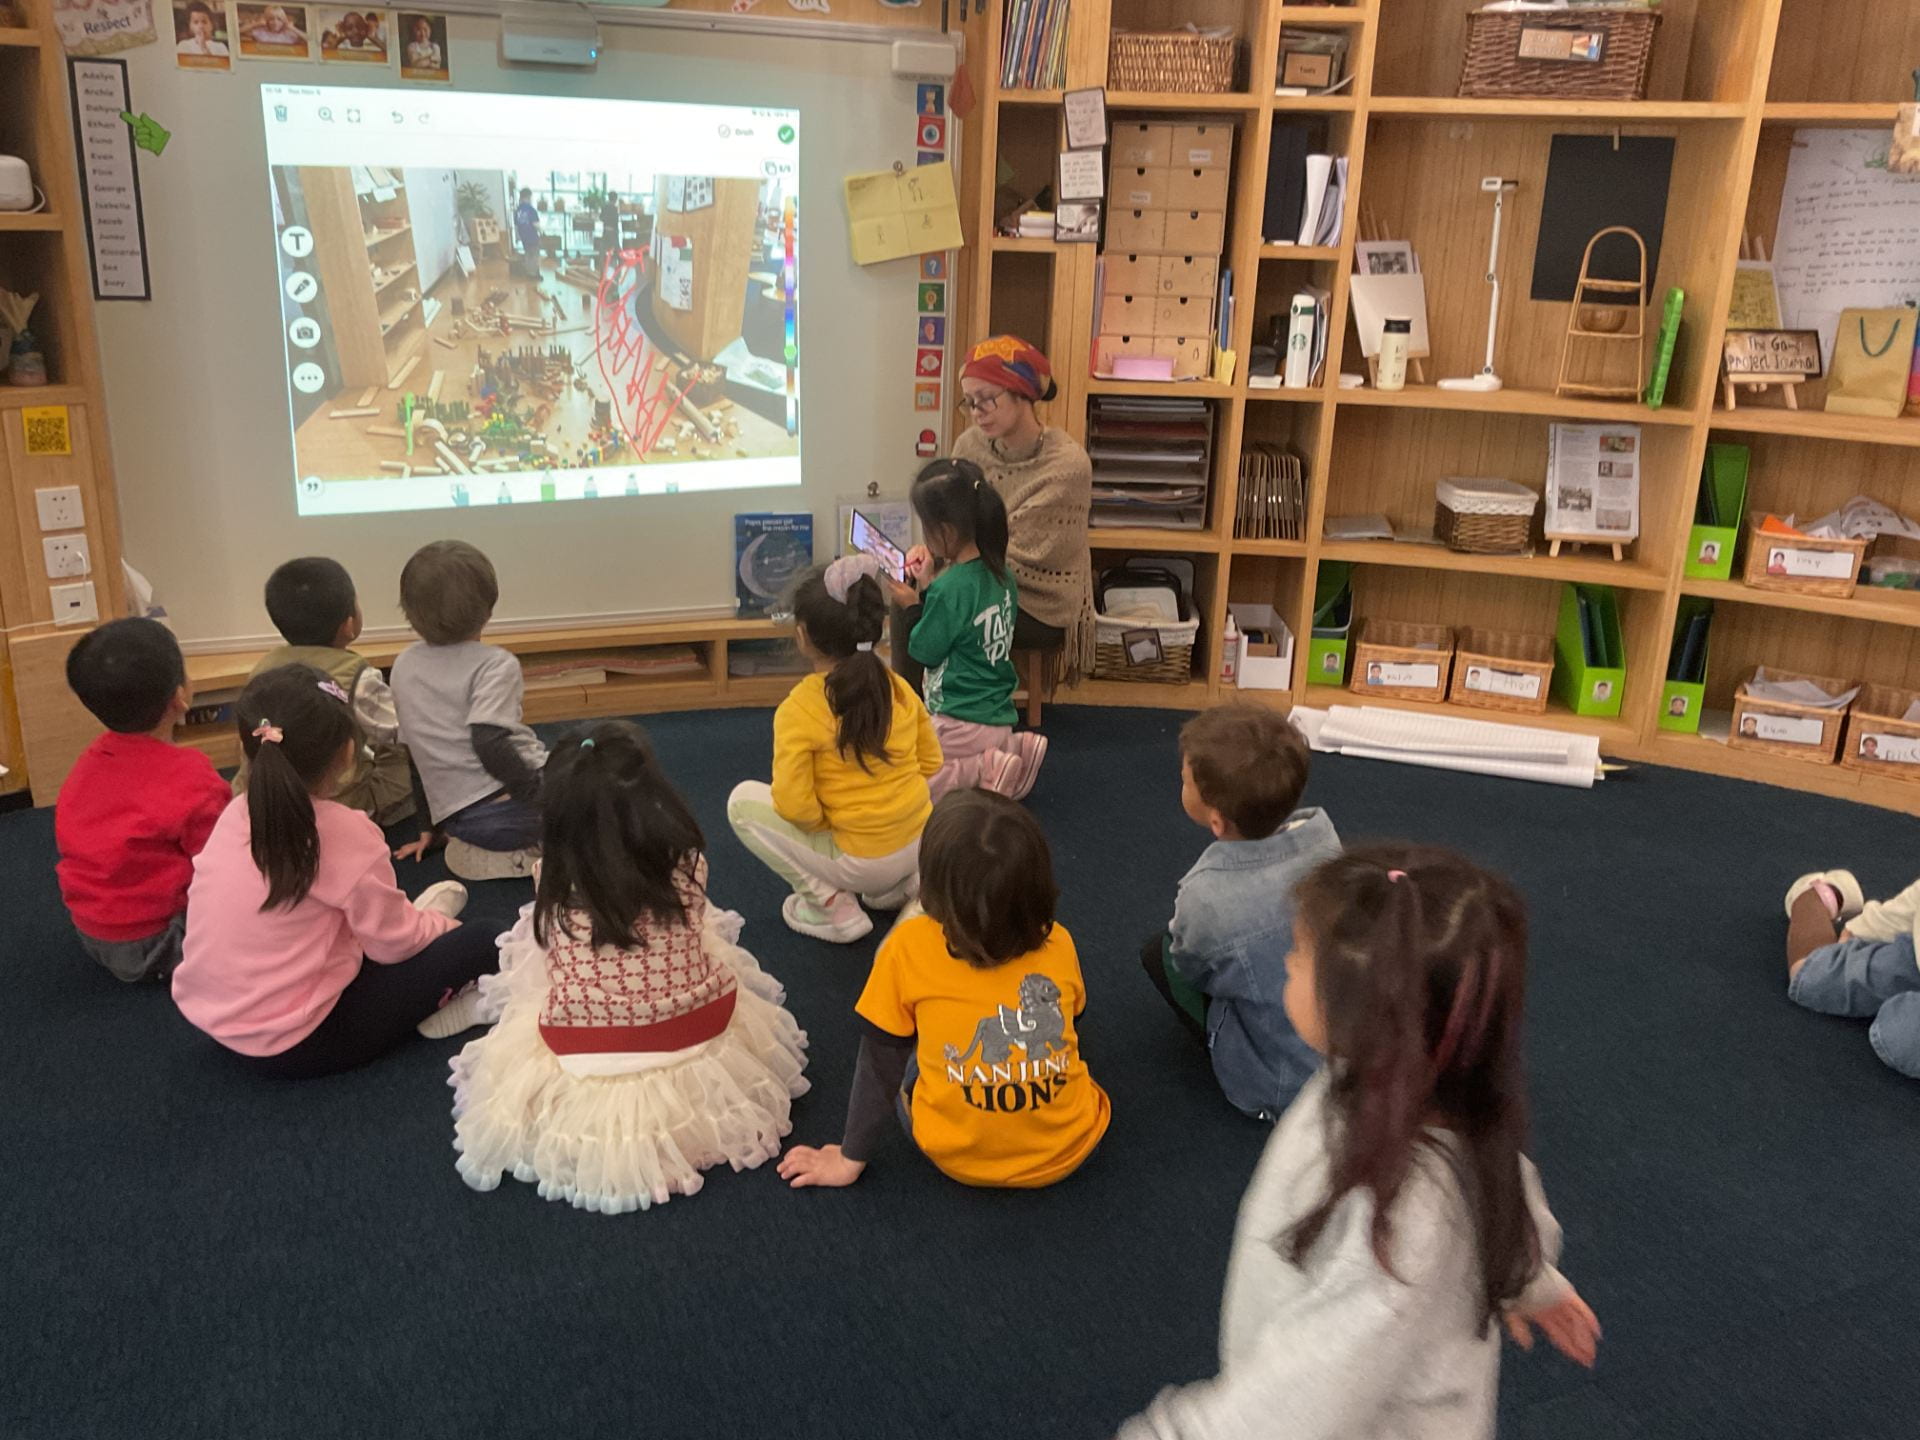
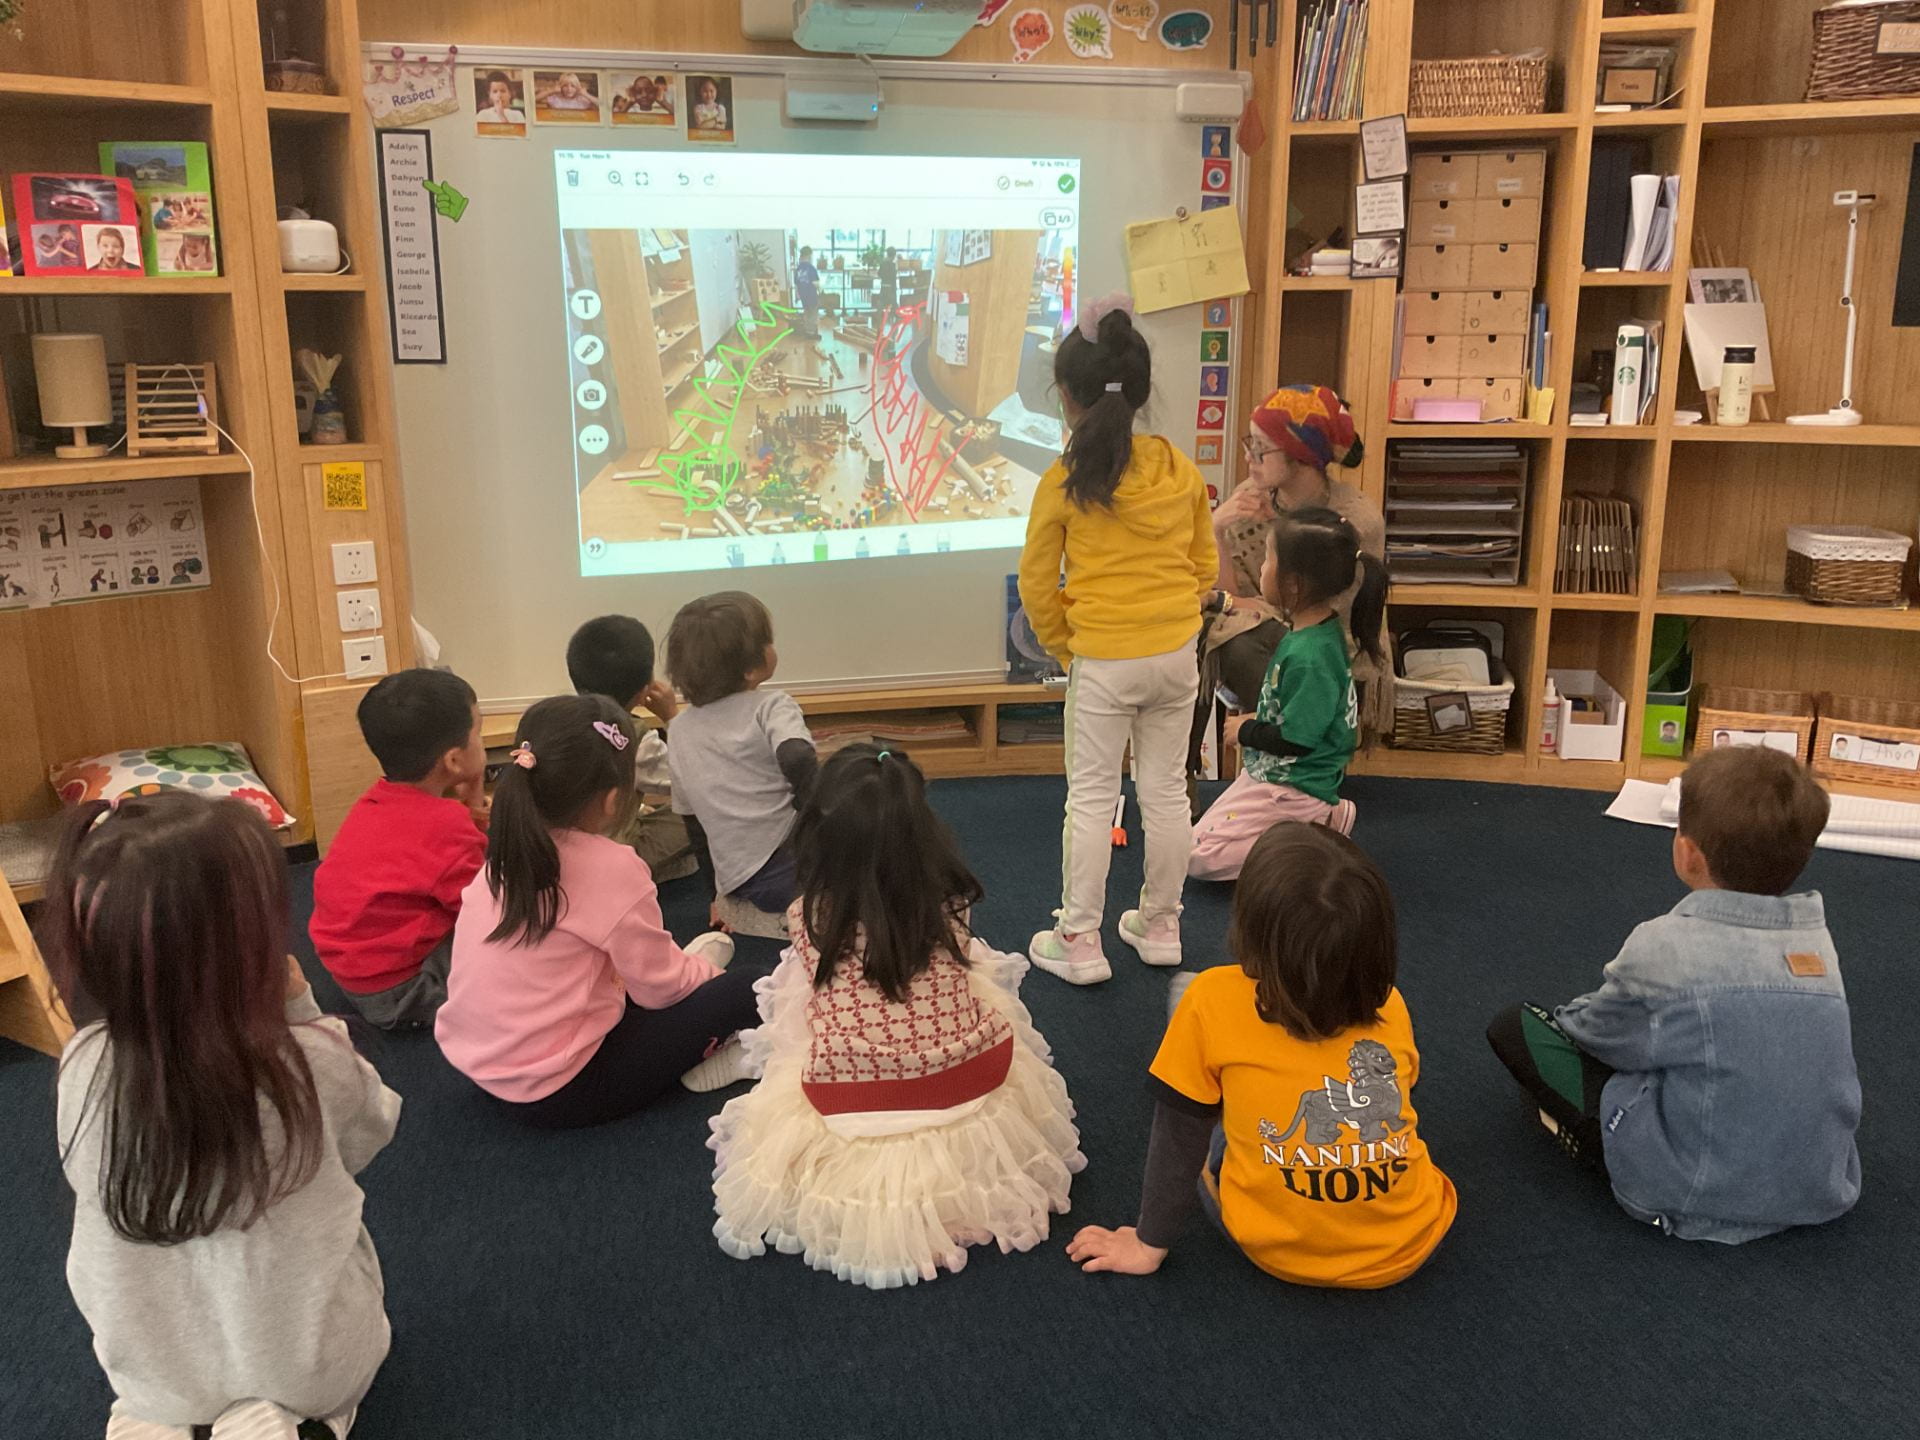
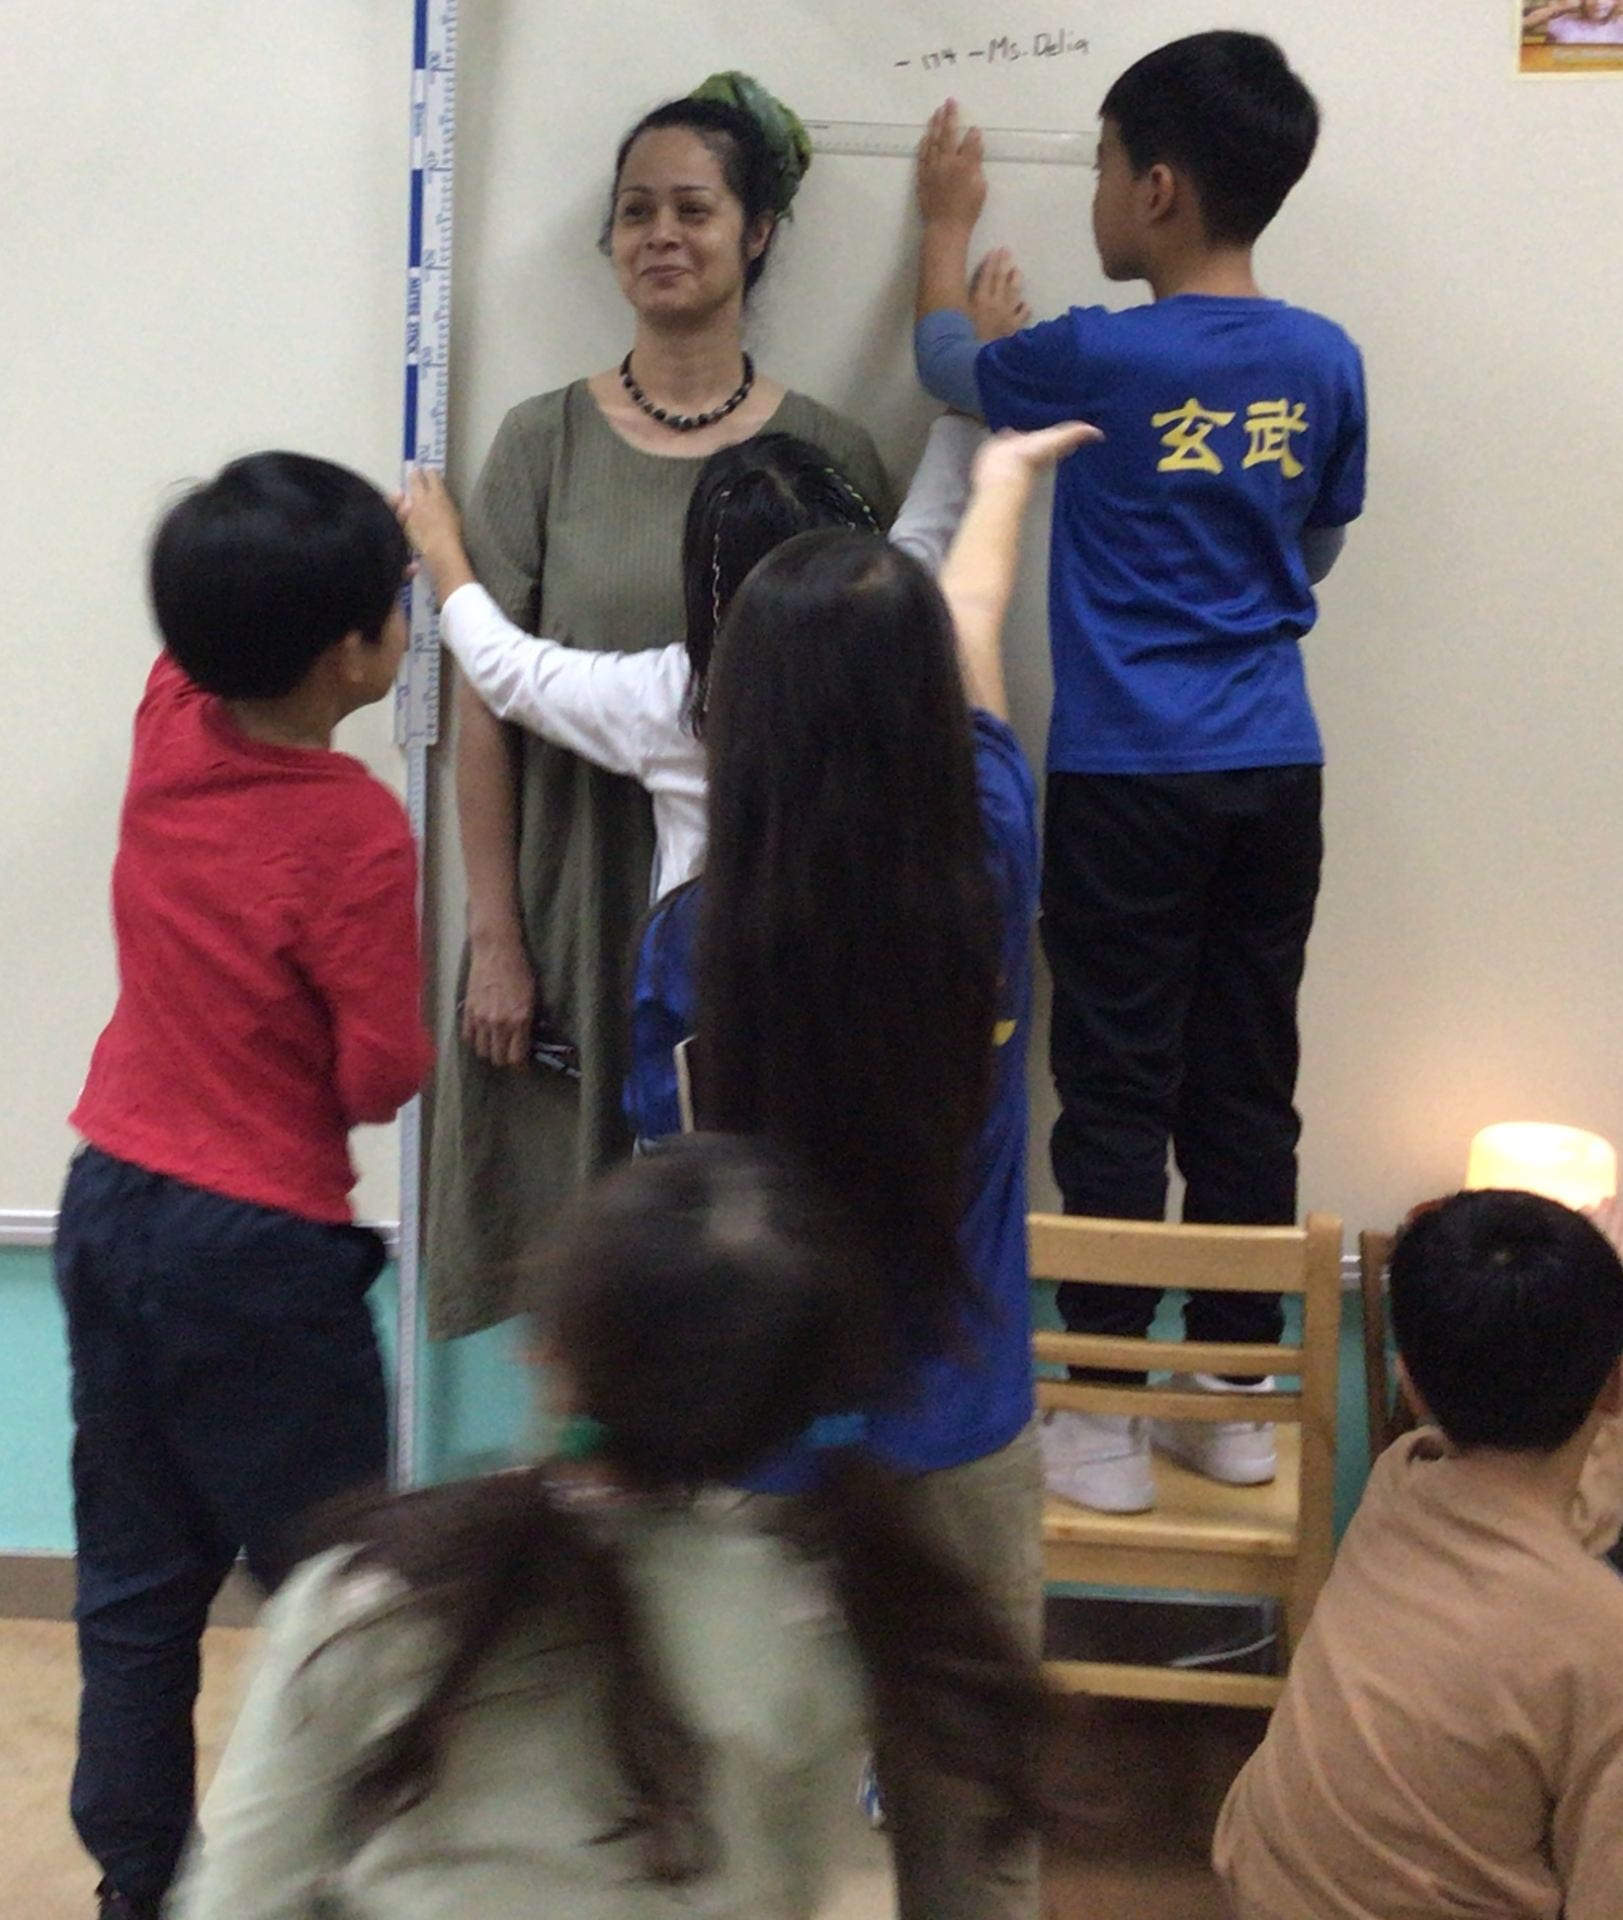
We decided to share a photograph from the previous year which focused on the concept of ‘measurement’ to guide the children’s thinking.
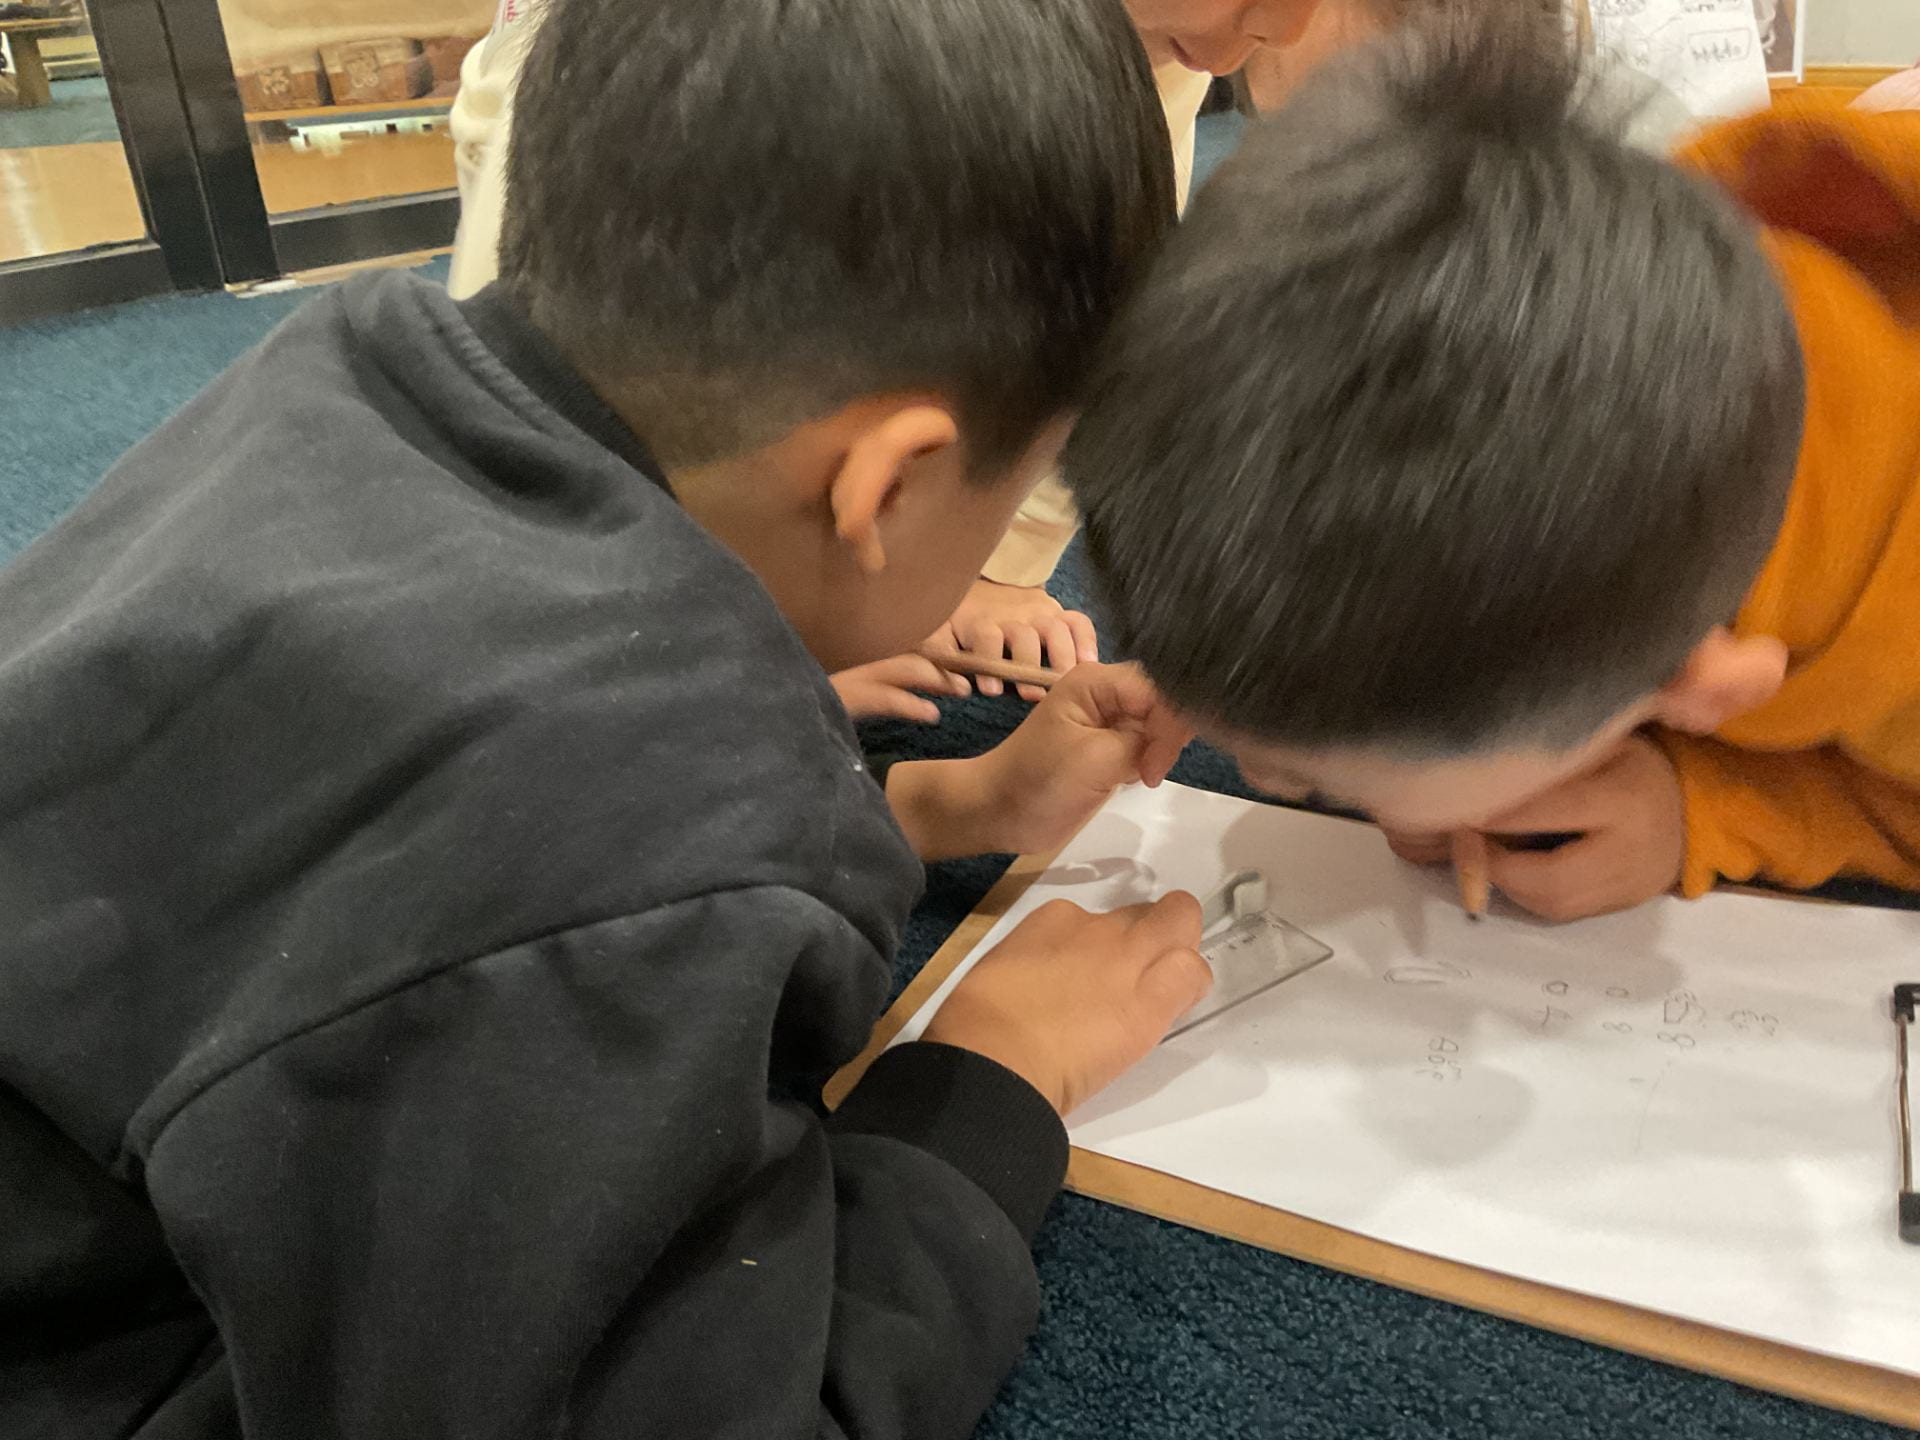
The children quickly tapped into their memories from the previous year, recalling how they had explored height by creating a ruler.
- Adalyn “He was seeing who is taller.”
- Isabella “He is using his hand.”
- Ethan “Edward is stretching his hand to his head.”
- Suzy “I see some numbers.”
- Evan “I see some colouring.”
- Isabella “I see some drawing.”
- Suzy “The numbers is for knowing who is bigger.”
- Jacob “Finn is 33 tall.”
- Evan “I think Edward is 20.”
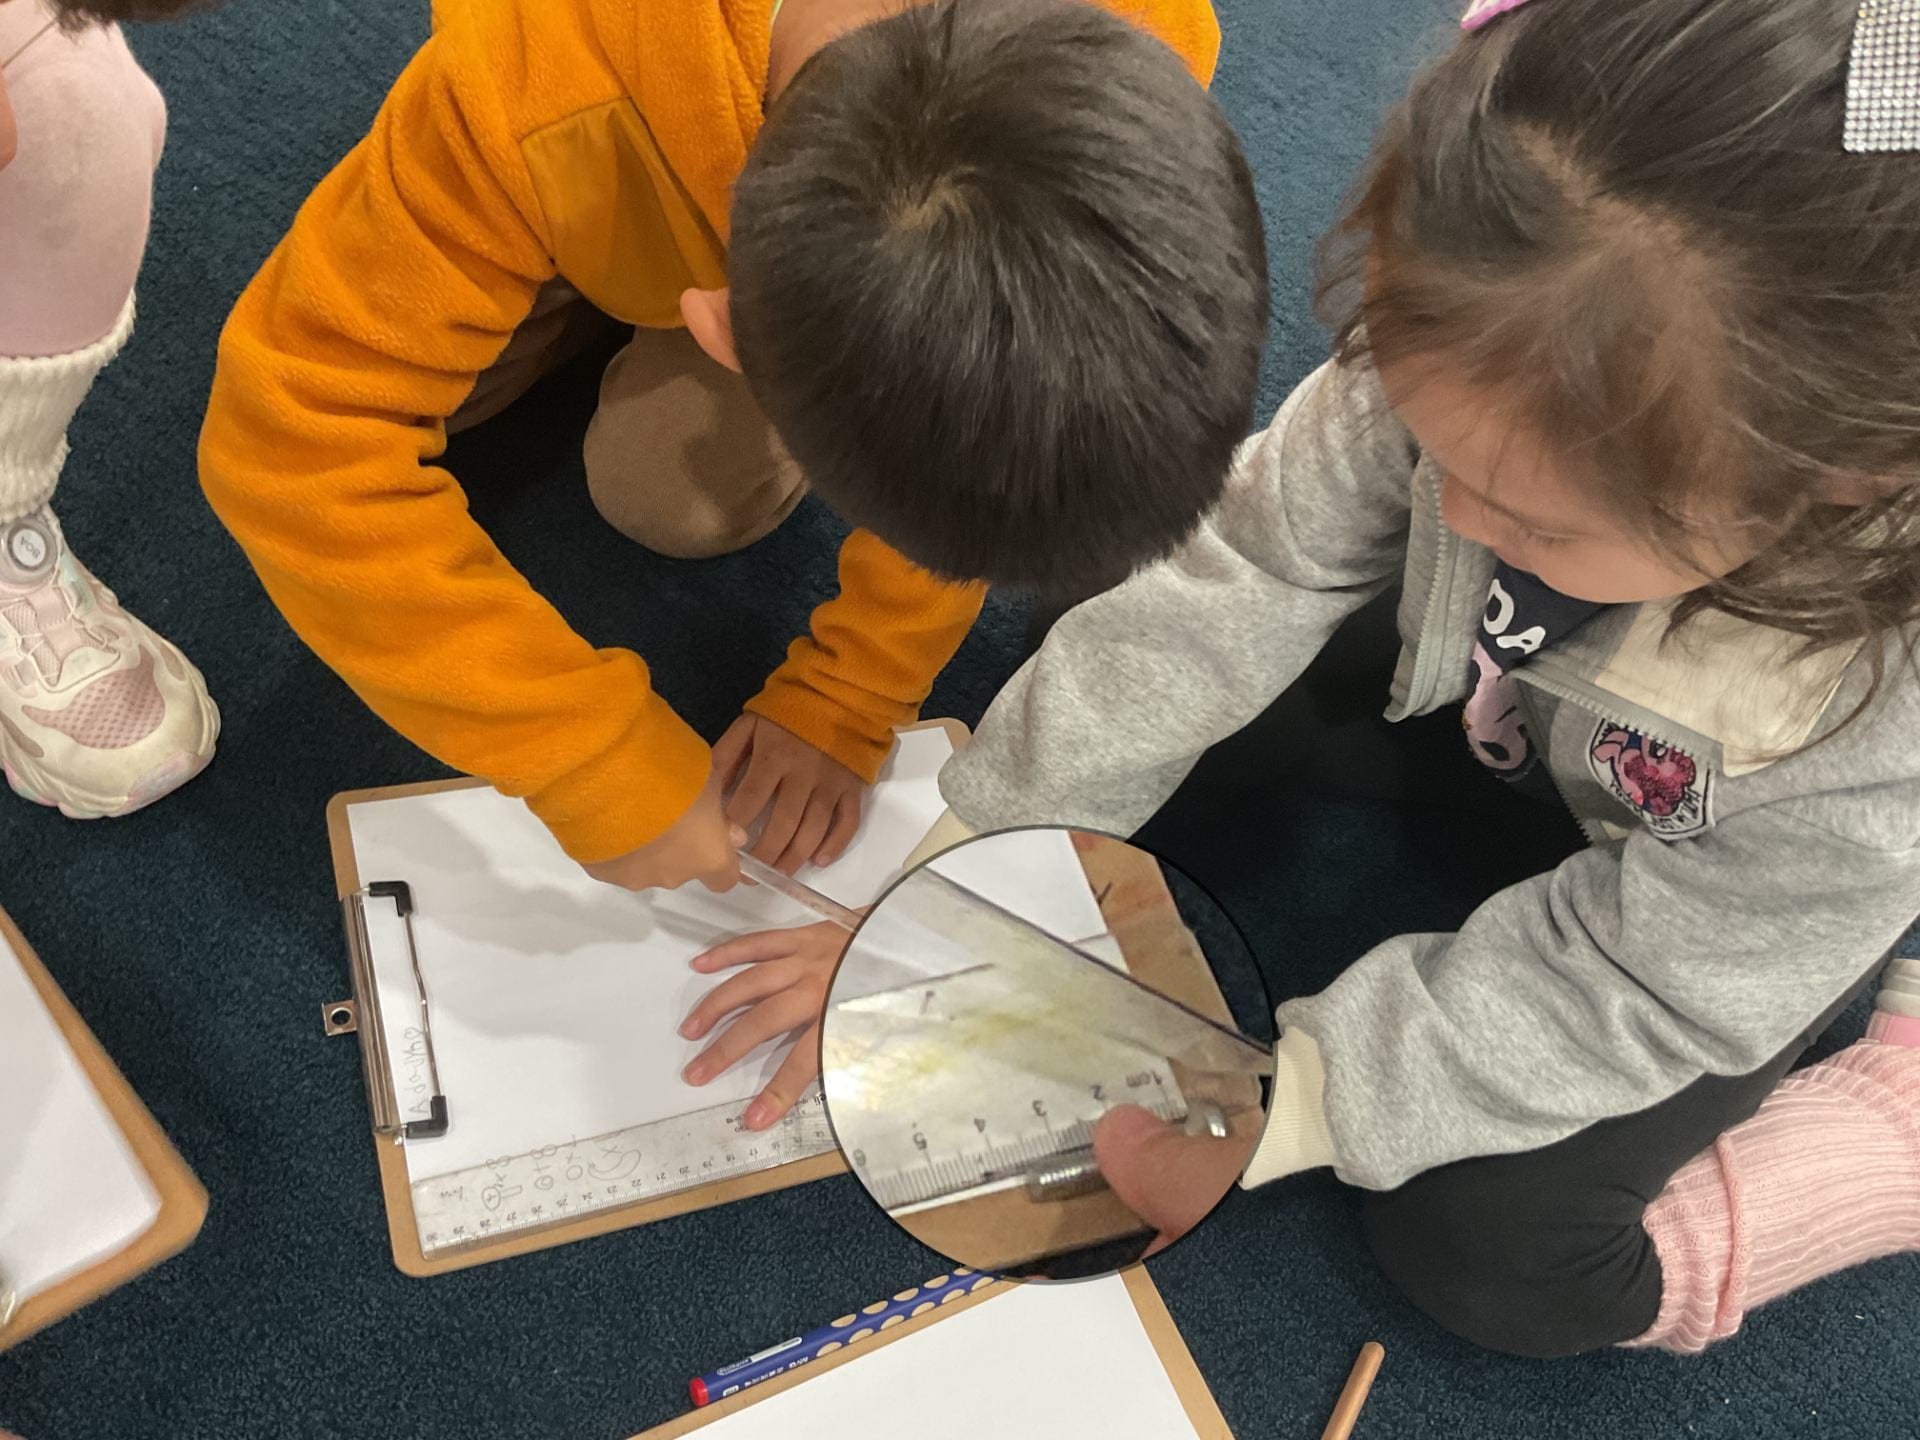
As Suzy demonstrated how to read the measurement, Isabella reminded her that she needed to place her hand ‘straight’ (not at an angle) and read the number across.
- Suzy “How can we know that because we can see a number over here.”

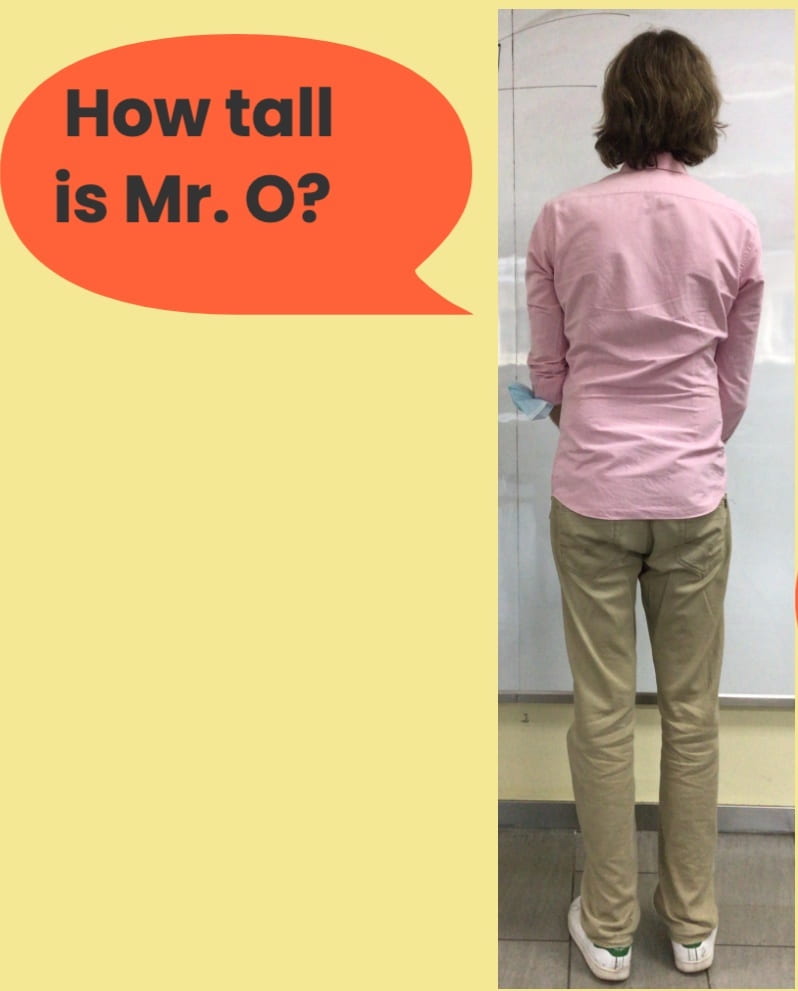
 As we looked at the photograph of the tower, we invited the children to think about their wondering, “How tall is the tower?”
- Suzy “I think the building is 56.”
- Isabella “I think it is 57.”
- “That ruler on the wall is 66” explained Jacob, recalling the highest number on the ruler they had created the previous year.
- Isabella “100 is too many!”
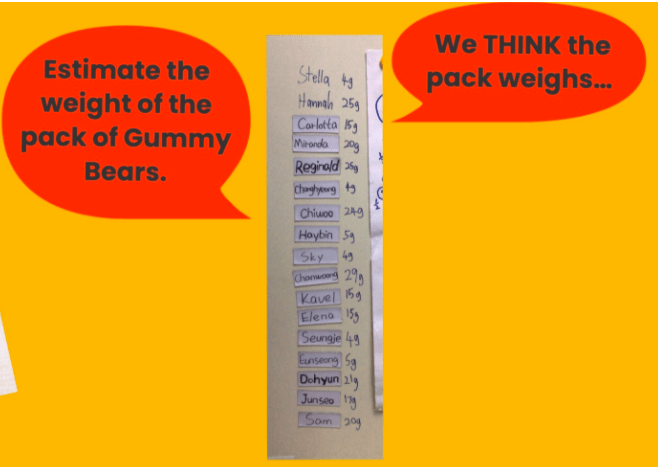
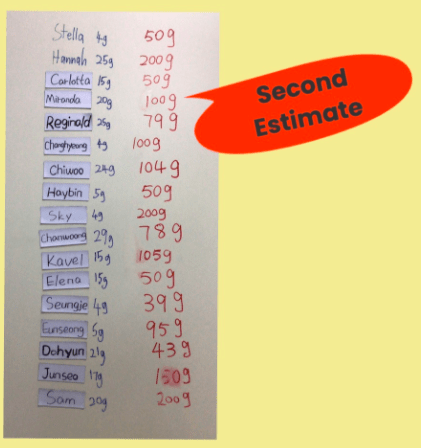
As the children shouted out their estimates, we recorded them on a table.
We look forward to seeing how the children will use their prior knowledge about measurement to find out the height of the new tower.